background image


11 

(G)


MAINTENANCE 


Adding POT-PERM 

Your unit requires POT-PERM on a regular basis. Typically, a jug (5 lbs) of POT PERM should last three to four months 
or more before refilling with POT PERM powder is required. Fill the chemical tank with a full jug of POT-PERM. You do 
not need to add water to the chemical tank except the first time when you install the unit. 

Check the POT PERM level once a month and add as required. If you find that the water level is much higher than the 
felt pad, please call Rainfresh customer care. POT PERM can be ordered from the same retailer  
 

How to calculate Regeneration Frequency (Factory set for once every 3 days) 

a)


Calculate KMnO

4

 (Potassium Permanganate) demand 

Multiply Manganese concentration by 3 and Hydrogen Sulphide (H

2

S) concentration by 5 and add these to the Iron 

concentration. For example if Iron level is 2 PPM, Manganese is 0.5 PPM and H

2

S is 1 PPM, then KMnO

4

 demand = 2 + 

(3 x 0.5) + (5 x 1) = 2 + 1.5 + 5 = 8.5 PPM  

b)


Calculate Unit Capacity 

Unit capacity in US Gallons is then given by:  

               37,850___________  =     37,850___   = 1,176.4 US Gal 


            KMnO

4

 demand x 3.785   

  8.5 x 3.785 

c)


Estimate water usage in the home 

Multiply the number of people in the house by 60 to get estimated water consumption per day. For example for 4 
people in the house, total water consumed = 4 x 60 = 240 Gal. 

d)


Calculate Regeneration frequency (days between regenerations) 

Therefore system should be set to regenerate = 1176/240 = 4.9 days = once every 4 days. 

Do not change regeneration frequency to more than once every 4 days. 


Winterizing the system


If the unit is to be winterized, the best way is to close the by-pass valve and unscrew the 2 screws adjacent to the by-
pass valves that hold the unit and the by-pass valve together, and carry the unit to a place where it will not be 
subject to freezing temperatures.  

Care of Your Greensand filter 

To  retain  the  attractive  appearance  of  your  new  filter,  clean  occasionally  with  mild  soap  solution.    Do  not  use 
abrasive cleaners, ammonia or solvents.   


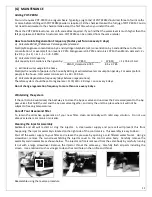
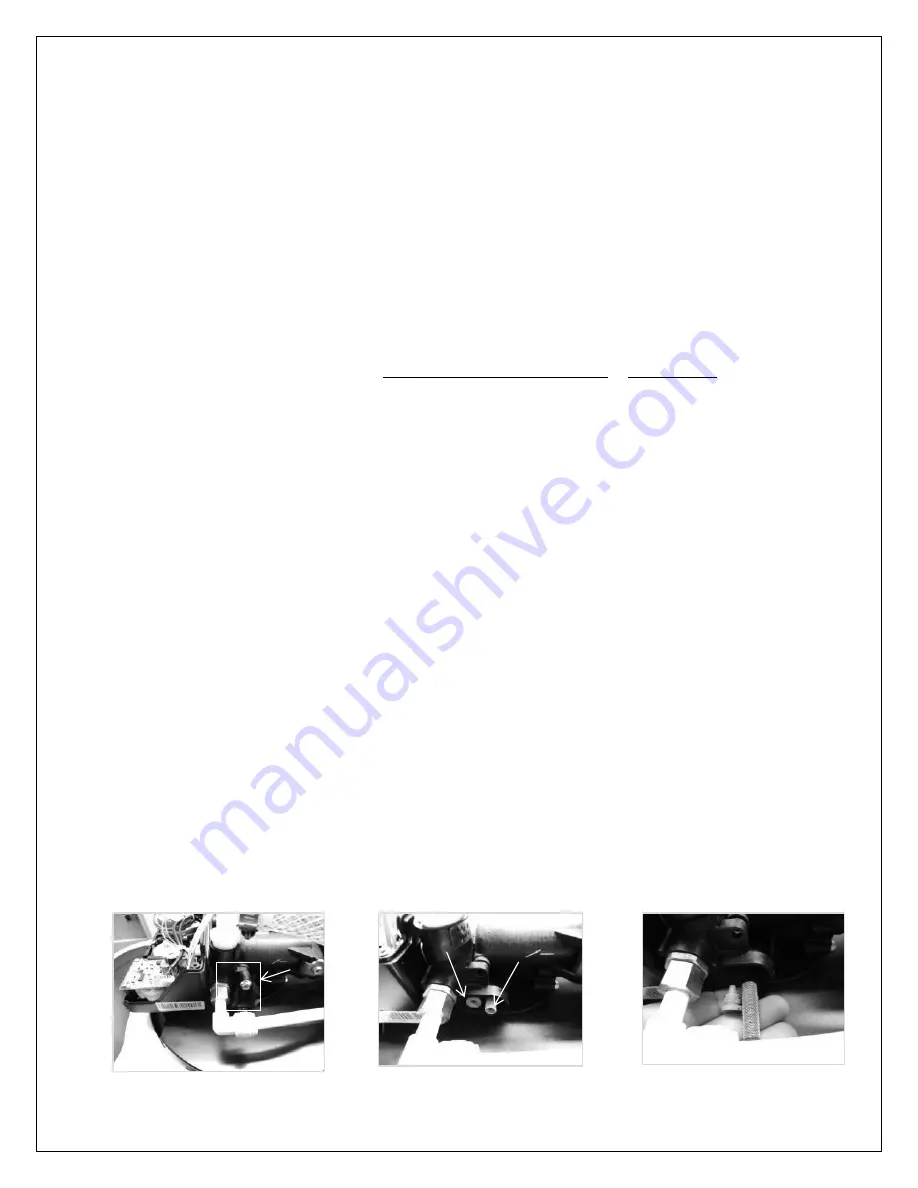
Cleaning the Injector Assembly 

Sediment  and  silt  will  restrict  or  clog  the  injector.    A  clean  water  supply  and  pure  salt  will  prevent  this  from 
happening. The injector assembly is located on the right side of the control valve.  This assembly is easy to clean. 


Shut  off the  water  supply to your  filter  and  release  the  pressure  by  opening  a cold  filtered  water  faucet.    Using a 
screwdriver,  remove  the  two  screws  holding  the  injector  cover  to  the  control  valve  body.    Carefully  remove  the 
assembly and disassemble as shown below.  The injector orifice is removed from the valve body by carefully turning 
it  out  with  a  large  screwdriver.  Remove  the  injector  throat  the  same  way.    Carefully  flush  all  parts  including  the 
screen.  Use a mild acid such as vinegar to clean the small holes in the orifice and throat. 


Reassemble using the reverse procedure. 

Injector 

Screen 

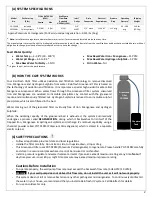
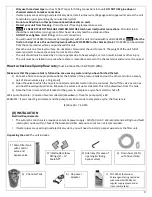
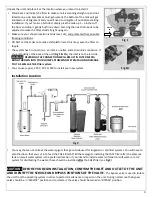
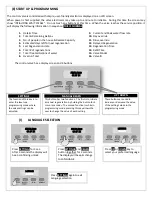
Содержание CGFE948

Страница 1: ...Monday to Friday 8 30 AM to 5 00 PM EST www rainfresh ca TABLE OF CONTENTS A System Specifications 2 B How the CGFE System Works 2 C Safety Precautions 2 D Installation 3 a Electrical Requirements 3...

Страница 2: ...d media and simultaneously filtered out Hydrogen Sulphide is reduced to an insoluble sulphur precipitate which is also filtered in the bed Water coming out of the greensand filter is virtually free of...

Страница 3: ...ired How to check well pump flow rate must be more than 5 GPM 19 LPM Make sure that the pressure tank is full and no one uses any water until you have finished the test 1 Connect a hose to an appropri...

Страница 4: ...NECTIONS WILL RESULT IN FILTER MEDIA BEING THROWN INTO YOUR HOME S PLUMBING SYSTEM CAUSING DAMAGE TO IT AS WELL AS THE Filter system You can use copper CPVC PVC or PEX to install your new system Insta...

Страница 5: ...to the ceiling joists max 8 ft ceiling and run it to the nearest laundry tub or drain pipe This can be ran up overhead or down along the floor If running drain line more than 30 feet overhead increas...

Страница 6: ...nsert Allen key into the bypass handles and make sure that the valve is in BYPASS position Turn on the switch for the well pump If you had emptied the pressure tank allow it to fill up until the well...

Страница 7: ...ride 12 Delayed Regeneration 13 Regeneration Time 14 Refill Time 15 Valve Model 16 Valve ID The control valve has a display screen and 4 buttons PROGRAMMING I LANGUAGE SELECTION SETTINGS The function...

Страница 8: ...urrent minutes TIME OF DAY 08 51 PM 7 Press SETTINGS key again and AM PM will be highlighted 8 Now press UP or DOWN key to change AM PM value to current time 9 Press SETTINGS button again and YEAR wil...

Страница 9: ...ss SETTINGS again and this completes the programming LOAD DEFAULT NO PROGRAMMING COMPLETE Unlock display by pressing SETTINGS for 3 sec Press UP DOWN keys together for 3 seconds until unit beeps and d...

Страница 10: ...s approximately 1 5 hours During this time you may hear water running intermittently to the drain Manual Bypass In the case of emergency such as an overflowing chemical tank you can isolate your filte...

Страница 11: ...n frequency days between regenerations Therefore system should be set to regenerate 1176 240 4 9 days once every 4 days Do not change regeneration frequency to more than once every 4 days Winterizing...

Страница 12: ...uildup in line feeding filter 2 Iron buildup inside valve or tank 3 Inlet of control valve plugged due to dirt 1 Clean replace supply line 2 Clean control valve increase regeneration frequency 3 Clean...

Страница 13: ...13 PARTS LIST...
Страница 14: ...t its option of any part found by company inspection to be defective provided that the product has not been misused abuse altered or damaged by Consumer with respect to the original installation as de...

Отзывы: