


Page 11
HANDHELD UTILITIES
To maintain consistency with the Central Control Software and
the Wireless Rotors, the Handheld has been designed with
several functions that have direct impact on the data and the
ways that it is stored.
At this time, the Synchron feature is not available. This feature
will allow the Handheld and Central Control Software
Databases to be synchronized.
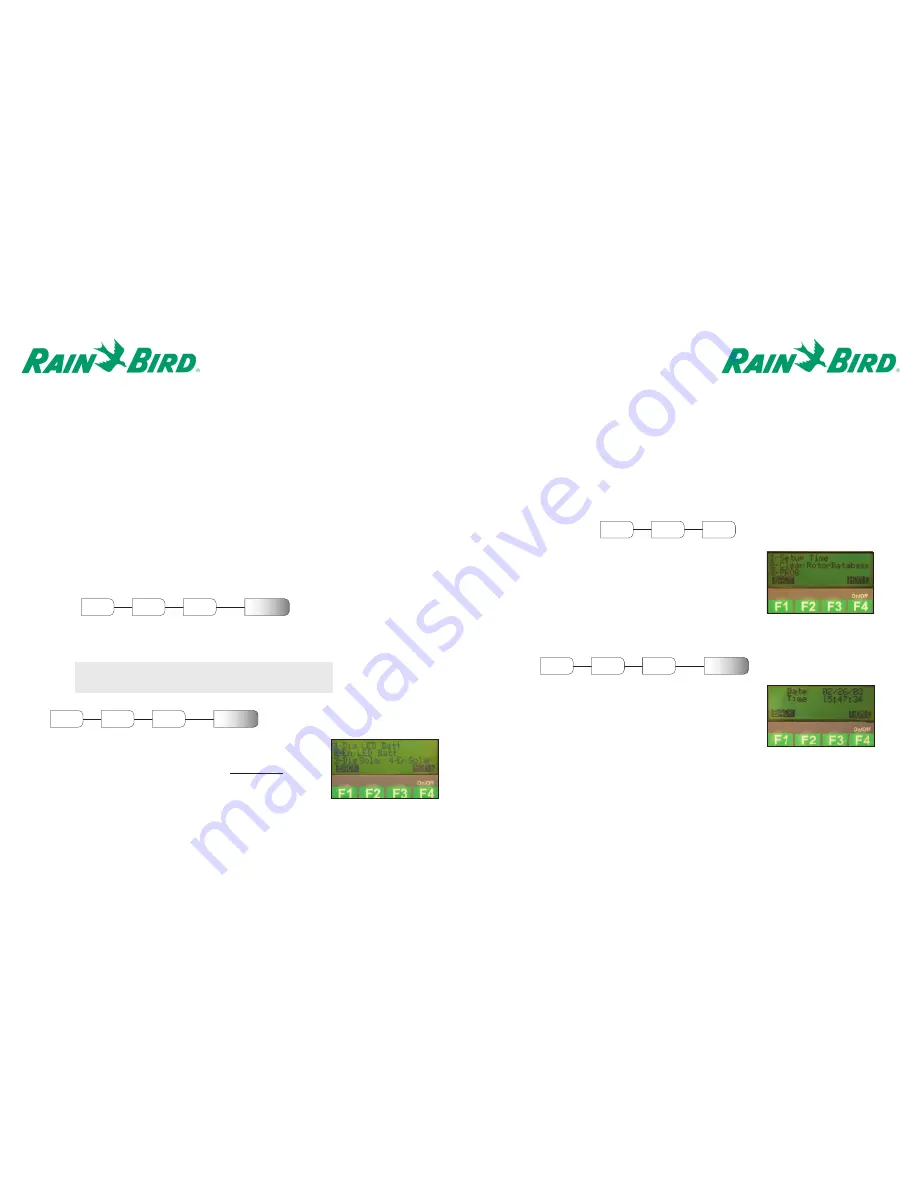
Setup Time
Within the Setup Time menu, the clock for the Handheld can be
changed. The initial location of the cursor will be the first digit
of the month. Enter the Date using a MM/DD/YY format.
For example, February 26, 2003 would be
entered as 02/26/03.
Once the Date has been entered, enter the new time
(HH:MM:SS) in military format.
For example, 3:47pm 34 seconds would be
entered as 15:47:34.
Note: Each field of the Date/Time requires two digits.
Page 10
By selecting <2> ExitSleep, the Rotor will exit its Hibernation state and return to its normal mode
of operation. This command will only be accepted by the Rotor if selected between 10:30 AM and
1:30 PM.
By selecting <3> EnterSleep, the Rotor will enter its Hibernation state. While the Rotor is in this
state, it will not be capable of running any of the irrigation schedules programmed into it. While
in this state, the Rotor will activate itself to listen for the ExitSleep command only between
10:30AM and 1:30PM. For the Rotor to acknowledge this command from the Handheld, the user
must provide the appropriate three-digit Security Password. Alternatively, a magnet can be used
to reactivate the Rotor for operation without the use of the Handheld.
By selecting <4> Reset, the Rotor will begin a sequence to reinitialize itself. This command
should only be used in the case that the Rotor fails to respond to commands issued from the
central control software of handheld.
Send Time
By selecting Send Time, a command will be sent to synchronize the time within the rotor with the
time within the handheld.
Note: Make sure the Handheld is set for the correct date
and time prior to selecting Send Time.
Diag
Within the Diag Menu, the rotor can be commanded to enable and disable
the display of the diagnostics using the rotor LED for the state of the
battery and solar panel. Reference the table in the
Maintenance
section to
differentiate between the various states of the battery and solar panel.
By selecting <1> Dis LED Batt, the rotor will disable the displaying of
diagnostics on the LED for the state of the battery.
4
F1
F1
Enter
Rotor ID
Send Time
MAIN
MENU
Menu
Ctrl
5
F1
F1
Enter
Rotor ID
Diag
MAIN
MENU
Menu
Ctrl
F1
F3
MAIN
MENU
Menu
Unit
1
F1
F3
Setup Time
MAIN
MENU
Menu
Unit
By selecting <2> En LED Batt, the rotor will enable the displaying of diagnostics on the LED for the
state of the battery for five (5) minutes.
By selecting <3> Dis Solar, the rotor will disable the displaying of diagnostics of the LED for the
state of the solar panel.
By selecting <4> En Solar, the rotor will enable the displaying of diagnostics of the LED for the state
of the solar panel for five (5) minutes.