•
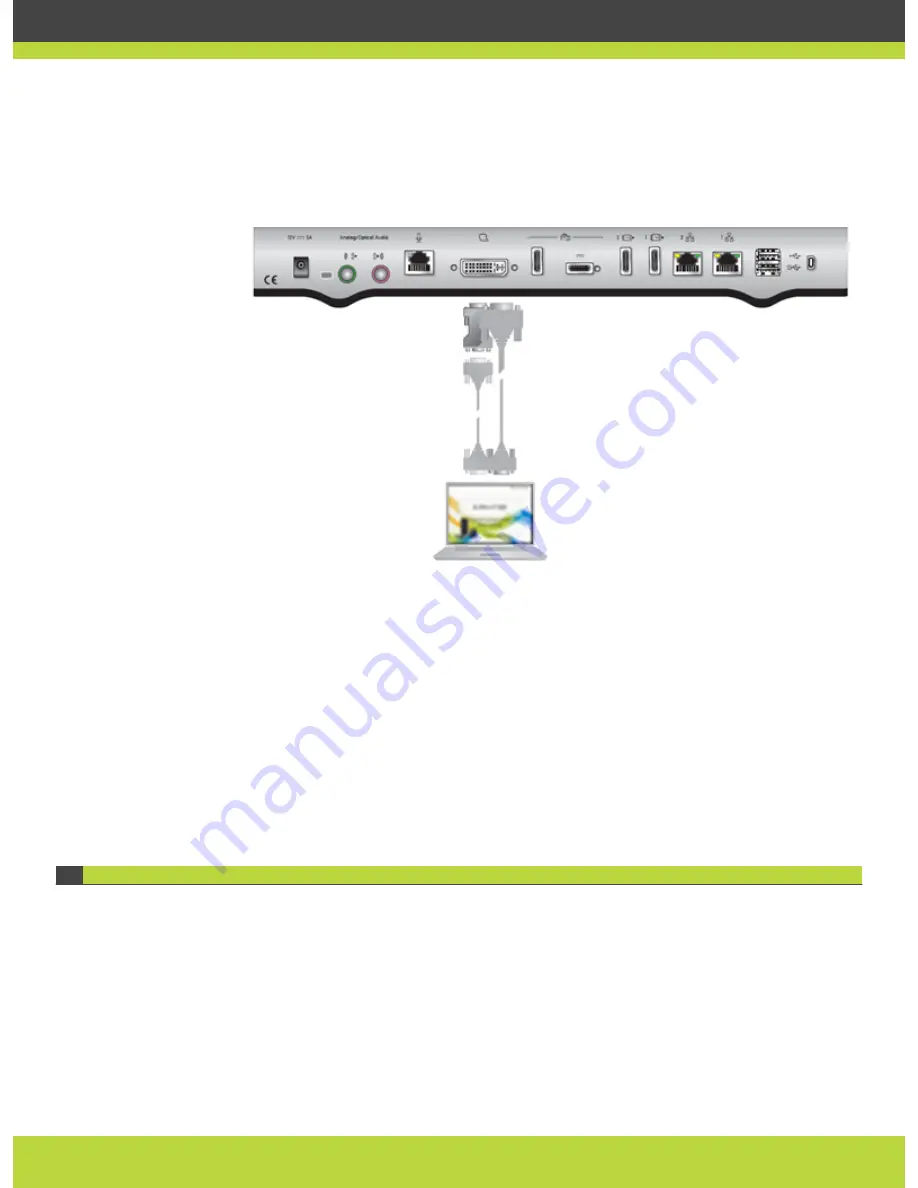
For computers and laptops with a DVI out connector, connect the DVI cable to the DVI-I
socket of the XT Codec Unit and connect the other end of the cable to the computer.
Figure 2-1
Connecting a computer to SCOPIA XT Series
•
For computers with a VGA output connector, use a DVI to VGA adapter.
a.
Connect the DVI-VGA adapter to the DVI-IN socket of the XT Codec Unit.
b.
Connect a VGA cable to the adapter. This cable is not supplied with the system.
c.
Connect the VGA cable to the PC/Laptop VGA out socket.
Step 2
Connect the computer audio to the XT Codec Unit.
•
Since audio input is not included in the DVI-I port to XT Codec Unit connection, establish
a separate audio connection from the computer’s audio output port into the optical audio
input port of the XT Codec Unit.
•
You can also use an external analog-to-digital converter if necessary.
Selecting the Computer Display Resolution
Configure the computer display to one of the supported picture resolutions and refresh
frequencies.
Please notice the following system behavior when selecting the display resolution:
•
If you connect a camera to the DVI-I input, the system manages it as PC content.
•
When using XGA adapters, the system supports only 60Hz for 720p and 1080p formats.
RADVISION | Administrator Guide for SCOPIA XT4000 Series Version 3.0
Maintenance Tasks | 10


