19
GB
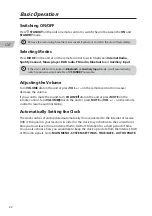
2. The Setup wizard menu will now appear on the
screen. The word ‘YES’ will be highlighted, press
the OK on your remote control to confirm.
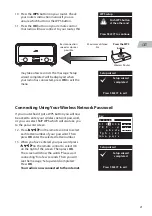
1. When your radio is connected to power the
splash screen will appear and the buttons will
light up.
DAB Radio
My Music
Bluetooth
Internet
Radio
http://
Digital Radio
by Radionette
Setup wizard
Start now?
NO
YES
Date / Time
12/24 hour format
12
24*
You now have to decide if you want to connect your radio to the internet now or later. If
you want to connect now, then select YES in the ‘Setup wizard’ or if later then select NO. To
get the most out of your radio we recommend you select YES and connect it to the internet
now.
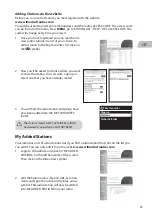
The Date/Time screen will now appear you can
choose to display the time using a 12 hour clock or
24 hour clock.
3. Press or on the remote control to select 12
or 24 then press OK.
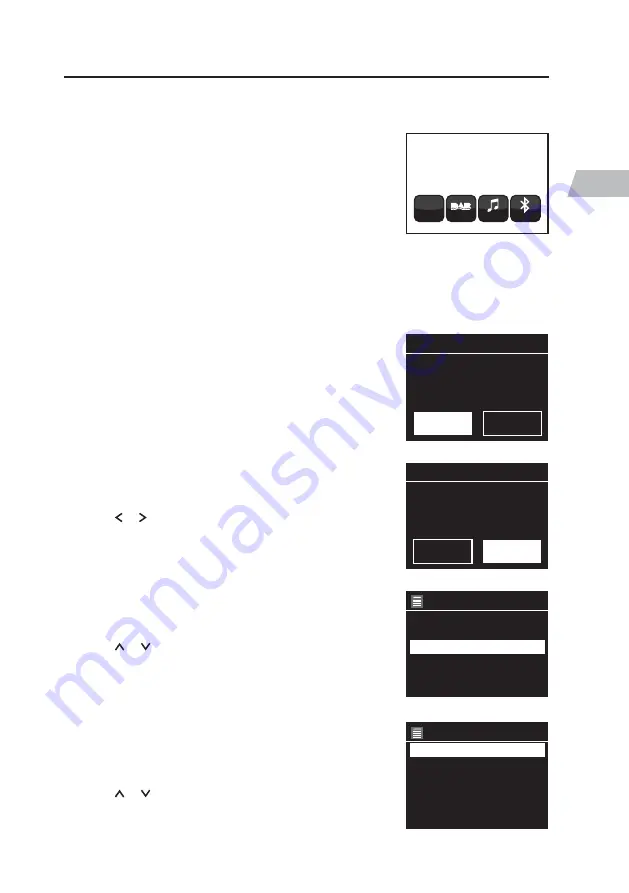
The AUTO UPDATE screen will now appear, here
you can choose where you would like the time and
date to be updated from.
4. Press or on the remote control to select
UPDATE FROM DAB, UPDATE FROM FM or
UPDATE FROM NETWORK (the internet). Then
press OK.
If you chose to ‘Update from network’ the SET
TIMEZONE screen will now appear, here you can
choose your time zone. If you chose ‘Update from
DAB or FM’ go to step 7.
5. Press or on the remote control to select
your desired time zone. Then press OK.
Auto update
Update from DAB
Update from FM
Update from network
*
No update
Set timezone
UTC +00:00 Dublin, lon *
UTC +00:30:
UTC +01:00 Madrid, Amste
UTC +01:30
UTC +02:00 Athens, Cairo
Connecting To The Internet For The First Time


