1
S3
1
S3
1
S4
2
S11
2
S10
2
S4
3
S4
3
S4
3
S11
4
S4
4
S4
4
S11
5
S0
5
S4
5
S0
6
S0
6
S12
6
S12
7
S0
7
(S12)
7
(S12)
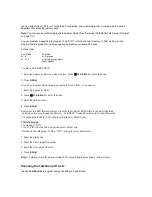
E1P16
Size
Block
Code
0
S3
1 S10
2 S10
3
S11
4
S0
5
S0
6 S12
7
(S12)
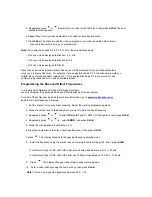
Selecting a Preset Fleet Map
1. Set the scanner for conventional scanning and
press
TRUNK
to select the trunking programming mode and the bank you want to change.
2 Repeatedly press
or
to select TYPE 1 SYSTEM (
E1)
, then press
E/PGM
.
3. Repeatedly press
or
to select
FLEEt,
then press
E/PGM
.
4. Repeatedly press
or
to select the name of the desired map (example
E1P7
).
The preprogrammed fleet map appears.
5. Press
E/PGM
.
The scanner return to fleet map list item.
Note:
When the scanner searches for transmissions, you see Type I fleet and subfleet IDs
such as
100-12
,
100-9
,
000-12
, or
400-8
.
How do you know if the preset map you selected is correct?
Listen to find out if you are following complete conversations. If not, try another preset map.
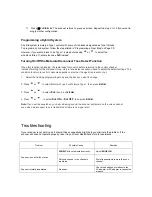
Programming a Fleet Map
1. Select the trunking programming mode and the bank you want to change.
2. Repeatedly press
or
to select Type 1 System (
E1)
, then press
E/PGM
.
3. Repeatedly press
or
to select
FLEEt
, then press
E/PGM
.
A preprogrammed fleet map appears.
4. Repeatedly press
or
until
USr
appears. Then press
E/PGM
.


