

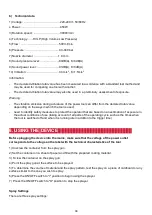


1. Vertical flat jet for horizontal surfaces (Figure A)
2. Horizontal flat jet for vertical surfaces (Figure B)
3. Circular jet for corners, edges and hard-to-reach areas (Figure C)
Figure A
Figure B
Figure C
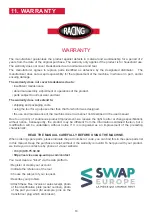
Adjusting the Spray Setting
Move the spray adjuster (4) to point the settings you want.
Adjusting the Amount of Material
To adjust the volume of material, turn the Fluid Adjusting Screw(10) on the trigger of the spray gun:
- For a lower amount, turn to the left
- For a greater amount, turn to the right
7. SPRAYING TECHNIQUE
- For best results, make sure that the surface is completely clean and level before spraying. Carefully pre-
treat the surface if necessary.
Cover at surfaces that you do not want to spray, including screws and screw threads.
- To determine the amount of material and the spray pattern, test the spray on a piece of cardboard or any
surface similar to the one you wish to spray. Always start spraying outside the target area. Avoid
Interruptions within the target area.
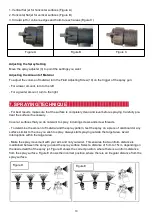
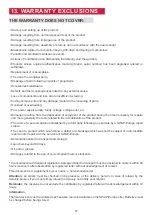
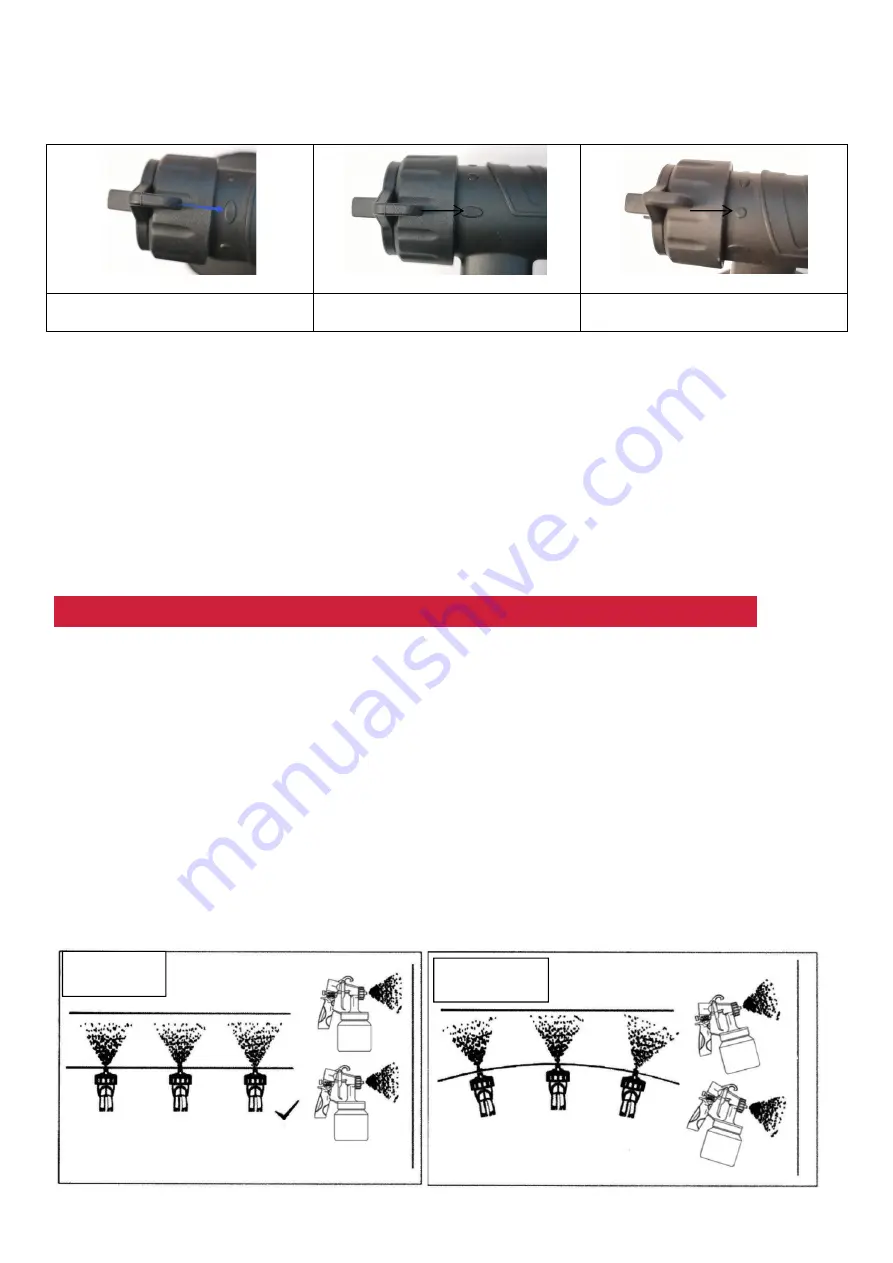
- Make the spray movement with your aim and not your wrist. This ensures that a uniform distance is
maintained between the spray gun and the spray surface Select a distance of 5cm to 15cm, depending on
the desired width of the spray jet. Figure D shows the correct position, where there is a uniform distance
from the spray surface. Figure E shows the incorrect position, where there is an irregular distance from the
spray surface.
Figure D
Figure E
10


