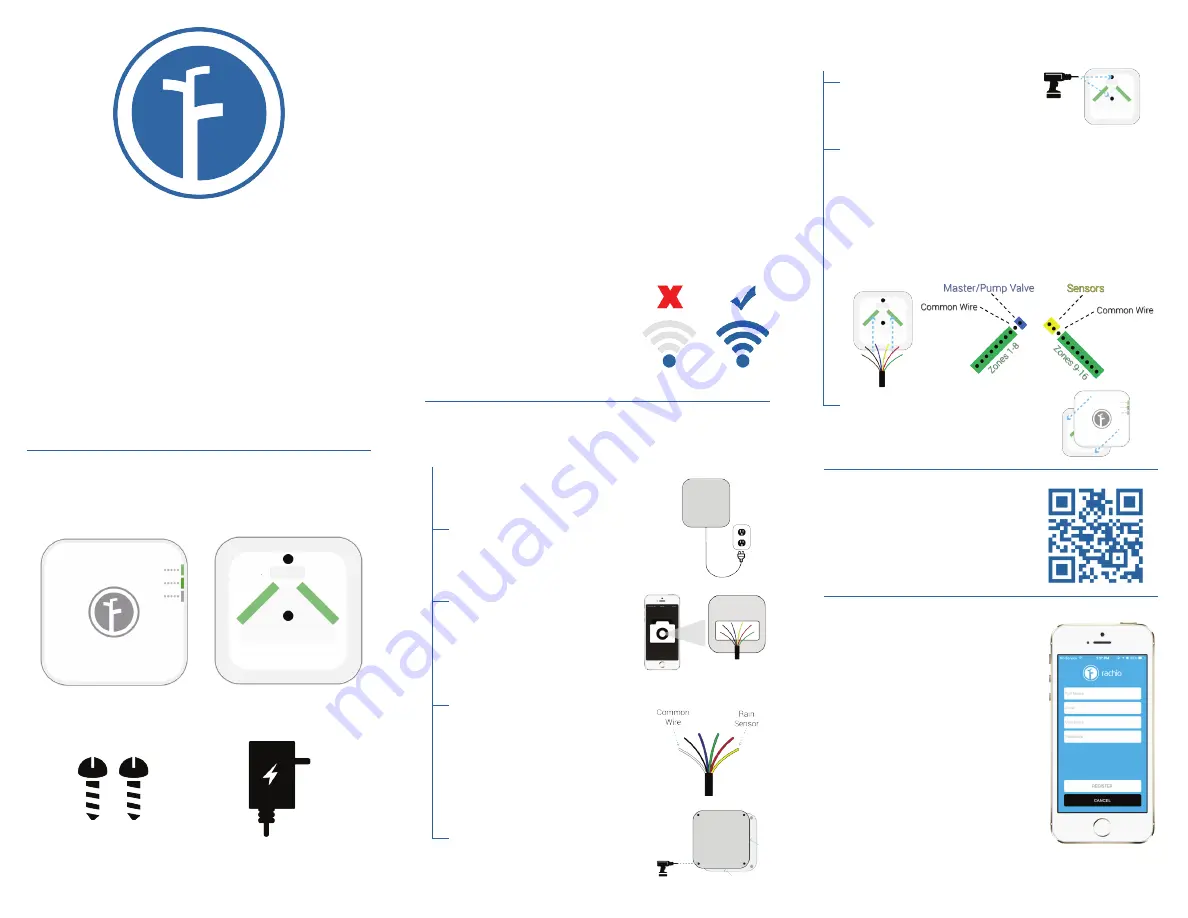
1. Check WiFi at Controller Location
Walk out with your iPhone
or Android smart phone to
where your current sprinkler
controller is located and check
to make sure you have a good
connection to your network.
4. Download App
Download the App from the App
Store by scanning this QR code
or going to:
www.rach.io/appstore
5. Sign up and Register
through the App
Follow all instructions for the
Rachio App user sign up and
register process.
The App will lead you through
the rest of the process and
help you finish setting up your
Iro.
For downloadable instructions to
the App, please visit the Rachio
website, www.rach.io.
2. Remove Old Irrigation Timer
(steps A-D)
A:
Unplug your old timer.
B:
Take a picture of your
wiring setup using your
iPhone or Android (for
reference).
C:
Label the important
wires on the old timer
(important wires include the
common wire, master valve/
pump valve, rain sensor, and
any other non-zone wires).
D:
Remove the old timer
from the wall.
3. Mount the Iro (steps A-C)
A:
Install the Iro Wallmount
to the wall using 2 screws
(screws included).
B:
Reconnect the wires to the Wallmount
terminal. The zone wires should be in the green
slots (order in green doesn’t matter), and the
common wire/wires go in the white slots. If
you have any sensors (rain, etc.), they go in the
yellow slots, and if you have a master/pump
valve that goes in the blue slot.
C:
Install the Front Panel to
the Wallmount (simply push
it into place).
Contents Included
Front Panel
Wallmount
Screws
Instructions
These instructions are meant to work in conjunction
with the setup instructions on the App. After step 5
the Rachio App will lead you through the rest of the
setup process.
The Iro is rated for indoor use only. It is only rated
for outdoor use when enclosed in compatible
weatherproof enclosures.
24V Power Adaptor
Co
ngratulations on purchasing the Iro
and joining the Rachio community.
If at anytime you need assistance
please feel free to contact us through
our support channels which you can
find on the back of this manual.


