background image

39

VA N TAG E   C L 1

Step 18.

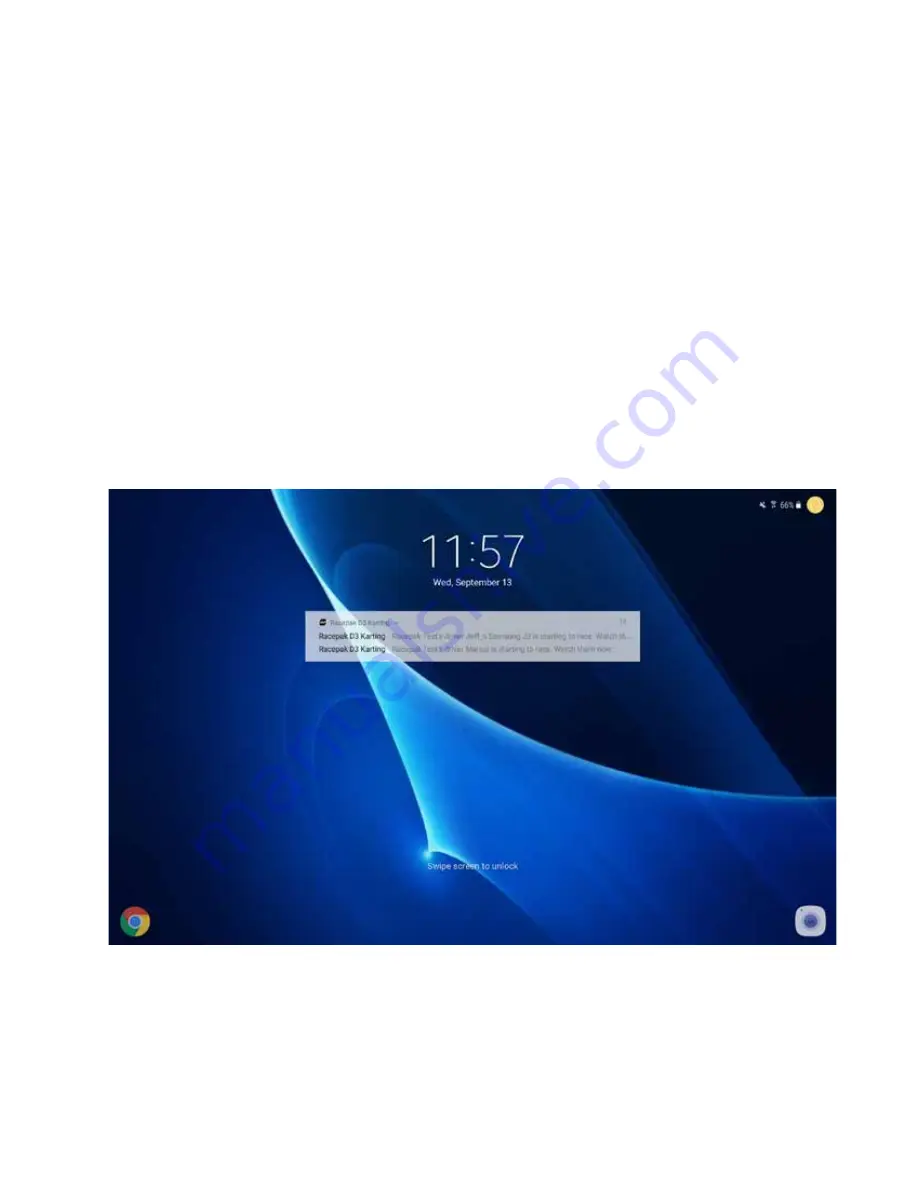
 On Track Alerts

For customers utilizing Racepak’s optional cloud account services, alerts are automatically sent to all remote devices, which 
are logged into a valid user account, any time the CL1 linked to that account, starts streaming data to the cloud account. To 
turn off alerts

Android:


1. Apps / Settings (from the home screen of the device)
2. Notifications
3. Locate the Racepak D3 Karting app and slide the 
button to the left.

iOS:

1. Settings (from the home screen of the device)
2. Notifications
3. Locate the Racepak D3 Karting App and tap.
4. Slide the Allow Notifications button to the left.

Содержание Vantage CL1

Страница 1: ...VA NTAGE C L1 Installation and use of the CL1 Karting Data Kit...

Страница 2: ...arging cable adapter 12 Temperature and RPM harness 13 Tach signal wire 14 Charging the CL1 data box 15 Universal phone mount 16 Pairing the D3 app 19 Updating firmware 23 CL1 data box status LED patt...

Страница 3: ...Charging Cable Adapter 28118 2002 GPS Antenna 81119 2001 4 Rechargeable AA Batteries 89118 2001 Universal Mobile Phone Mounting Bracket 89180 2001 Rubber Isolation Mounting Feet 89112 2001 The CL1 Kar...

Страница 4: ...hone with protective case not included with standard kit 8 5mm bit for installation of Rubber Isolation Mounting Feet 17 64 6 9mm bit for installation of Universal Mobile Phone Mounting Bracket on ste...

Страница 5: ...ce run ning the CL1 app for cloud data uploading purpose Teams are also presented to remote viewers in order to select the correct team for data review 2 Device Serial Number 12 digit letter combinati...

Страница 6: ...is necessary in order to upload data to the cloud Note For suggested mobile phone tablets and protective cases please see www racepak com Racepak s exclusive D3 Karting app turns a cellular Bluetooth...

Страница 7: ...housing 3 Using a small Phillips screwdriver completely loosen each of the four screws found on each top corner of the CL1 data box 6 Once removed install each battery ensuring the battery and are or...

Страница 8: ...1 7 Replace the base 8 Reinstall the four screws taking care to not overtighten 9 Charge the batteries following the Charging the CL1 Data Box Batteries section of this manual Step 2 Battery Installat...

Страница 9: ...tion of the CL1 data box is determined by the length of the GPS antenna cable 5 Racepak suggests mounting the GPS antenna on the top of the front panel 3 The GPS antenna will be mounted horizontal and...

Страница 10: ...cessed hex mount tab on the bottom of the CL1 housing 8 Using a number 8 5mm drill and the base of the CL1 data box as a tem plate drill three mounting holes 11 Thread the rubber mount stud through th...

Страница 11: ...1 VA NTAGE C L1 1 Locate the GPS antenna and route from mounting location to the CL1 data box 2 Connect the GPS antenna cable to the GPS connector on the CL1 data box Step 4 Connecting the GPS Antenna...

Страница 12: ...ging port cable to an accessible location via tie wraps as this will simplify charging of the CL1 Data Box batteries Step 5 Connecting the Charging Cable Adapter 1 Locate the Charging Cable Adapter 2...

Страница 13: ...ion of Temperature RPM Harness 1 Locate the Temperature RPM Harness and the Tach Signal Wire 3 Snugly finger tighten the cable connector to the CL1 2 Connect the five pin connector to Channel 1 of the...

Страница 14: ...t turn 90 degrees and route back through a second time 2 Observe the top of the molded con nector that includes the Racepak logo 5 Route the tach signal wire to the spark plug wire 8 Clip the mount on...

Страница 15: ...box Step 8 Charging the CL1 Data Box batteries 4 Power down the CL1 data box 5 Plug the USB connector into any commonly available USB charger NOTE 110v wall adapter is not includ ed with this kit Sho...

Страница 16: ...the right as viewed from the driver s position as this displays the D3 app correctly for the driver Step 9 Installation of Universal Mobile Phone Mount 4 Bolt 1 If the steering wheel does not have pr...

Страница 17: ...ge contains four M4 nylock nuts along with two different length mount ing screws Select the appropriate length screw based on the thickness of the shell of your particular protec tive case 8 Note the...

Страница 18: ...lock nut in the mount 13 Finally orient the phone with the widest tab at the top slip into the four receptacles Press down until you feel the tabs bottom out Turn the phone clockwise 45 degrees to sec...

Страница 19: ...karting app with the CL1 Data Box Android 1 Locate Settings in your mobile de vice then Bluetooth For iOS devices Settings are typically found on the home screen For Android Settings are typically fo...

Страница 20: ...ace Dash Pit Dash and Lap Times will now change from GRAY to GREEN This indicates the mobile device and CL1 are now paired 8 Close out all open pages on the mobile device 11 The status LED on the CL1...

Страница 21: ...1 Locate Settings in your mobile de vice then Bluetooth For iOS devices Settings are typically found on the home screen For Android Settings are typically found in Apps on the home page 4 Open the D3...

Страница 22: ...tep 10 Pairing of the D3 karting app with the CL1 data Box iOS 7 The status LED on the CL1 will now alternate between green and blue indicating the CL1 data box and mobile device are paired and ready...

Страница 23: ...s available the mobile device connects to the server retrieves the latest firmware and loads to the CL1 The user is alerted to this action by a message on the mobile device display Once updated the di...

Страница 24: ...g sequences Step 12 CL1 data box status LED patterns Light Blue Solid Initializing Purple solid Reset pairing Blue Solid Ready to connect Red solid Powering off Green flashing Blue once every second C...

Страница 25: ...your online account It is now time to turn our attention to the use of the D3 app Open the D3 app on the kart mounted mobile device The icons are group by color based on their function Green On track...

Страница 26: ...ata analysis process Team receiving the data During the CL1 registration process a team or teams is set up which provides a specific location to save both local data on the kart mounted phone and to t...

Страница 27: ...tilized for naming optional analog and rpm sensor channels as defined in the Sensors input area of the D3 app Engine RPM Engine Temperature Min Idle Danger and Max settings define the color schemes on...

Страница 28: ...satellites are acquired with number and strength noticed in the GPS Satellites box Cloud Indicates connection between the kart mounted mobile device and user s cloud account RED No connection GREEN Mo...

Страница 29: ...ap Predictive Lap Time The values displayed represent both the current lap of the outing and the differ ence between the fastest lap of the outing and the current lap updated constantly for the driver...

Страница 30: ...automatically be displayed to the driver overriding the current page in view on the dash or accessed from the home page of the D3 app Time Lap time s from the current outing RPM Max and RPM Aver Maxi...

Страница 31: ...nput from the included Temperature RPM harness 4 Kart exceeding 11 mph 5 ms and active Engine RPM signal OR use of Red Manual Record button on D3 app home page 5 D3 app installed on mobile device util...

Страница 32: ...The Live Data icon will change from GRAY to BLUE indicating both correct account infor mation and internet connection 3 If the Live Data icon remains GRAY verify all account information is correct an...

Страница 33: ...l Circuit features Manual Data Streaming For pit dyno or other situations requiring streaming of data to the users optional cloud account a Manual Record fea ture is available on the home page of the...

Страница 34: ...a channels tap any Channel Selec tion box to the right of the data channel 4 To add Min Max values select Min or Max or both beside the desired White Outline data channel box Full Page Track Map 1 Tap...

Страница 35: ...A NTAGE C L1 Step 17 Data Analysis Features Continued Return to D3 Home Page 1 Tap the three bar icon in the upper left corner of the Live Data page Zoom 1 Touch hold and pinch graph area with two fin...

Страница 36: ...ap the desired Solid White box for the lap s 3 To remove laps tap the desired White Outline box for the lap s Current Outing Laps vs Previous Outing Laps 1 Select Reference then the desired Track Driv...

Страница 37: ...ar icon next to the Channel Selection box then tap the desired color Full Page Data Single Graph 1 Tap the Right arrow icon located beneath the track map 2 To return to the previous page tap the Track...

Страница 38: ...is Page 1 Tap the four arrow icon in the lower right corner of the Circuit page 3D Circuit Map View Controls 1 Elevation view Using a single finger touch hold and slide UP on the up arrow located on t...

Страница 39: ...y time the CL1 linked to that account starts streaming data to the cloud account To turn off alerts Android 1 Apps Settings from the home screen of the device 2 Notifications 3 Locate the Racepak D3 K...

Отзывы: