15
How to fit wire reel for MIG mode
TO INSTALL WIRE:
1.
Wire reel holder - remove retainer screw cap and fit wire reel and refit securing screw cap. The reel holder features an
internal adjustable braking system so that reel of wire stops quickly when the torch trigger released.
2.
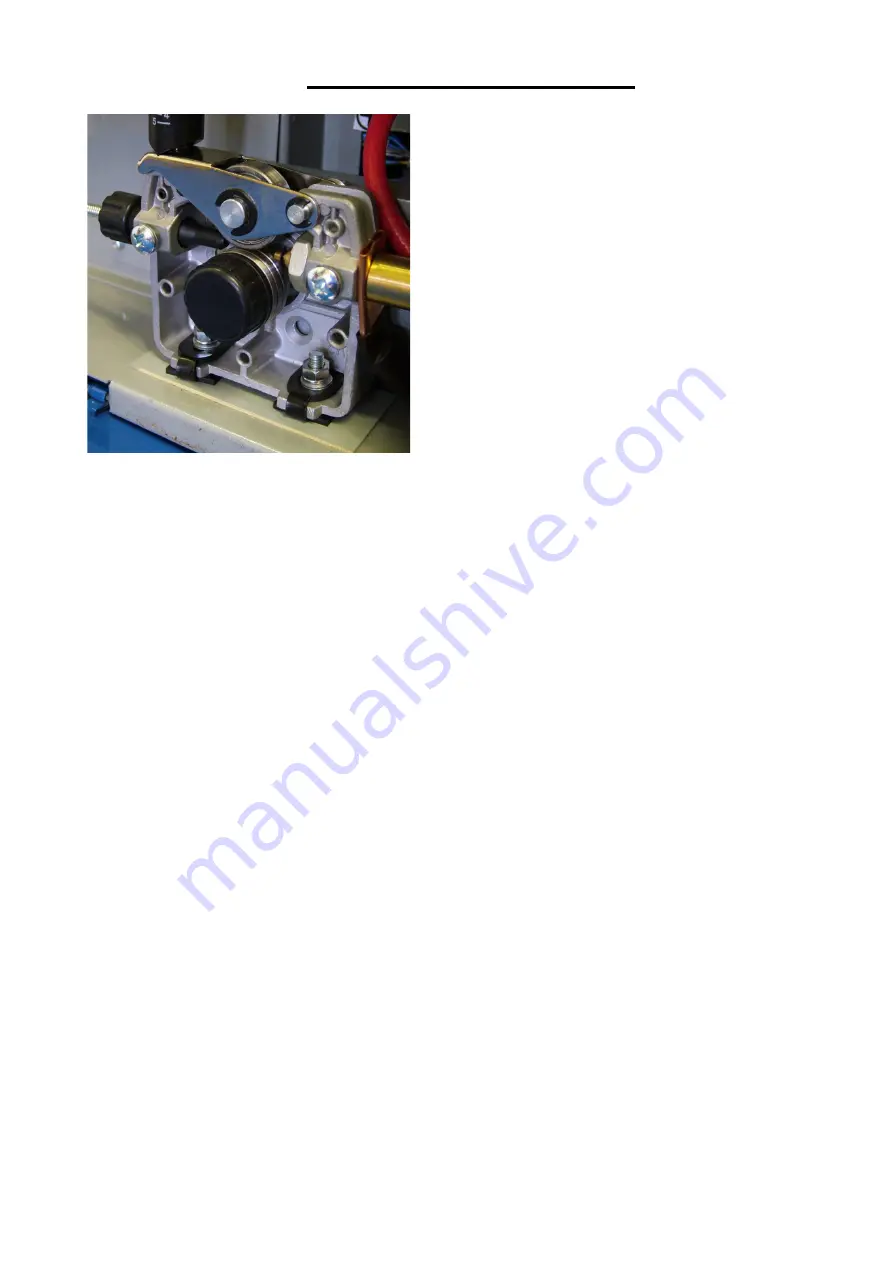
Loosen top tensioner arm, rotating counterclockwise
3.
Flip tensioner down, releasing top drive rolls.
4.
Raise top drive rolls.
5.
Inspect the drive roll to make sure that the groove size matches the wire diameter. Reversal of the lower roller may be
necessary. To reverse the roller, remove the thumb screw securing the drive roll. Pull the drive roll off and flip the drive roll
over. Reassemble and tighten roller. If larger roller is needed, contact R-Tech. Be careful to replace the woodruff key between
outer roller and shaft.
6.
Thread straightened welding wire over grooves in lower drive roll fully through until it begins to start threading into the gun
section. Lower upper drive rolls onto lower drive roll, keeping wire in the groove.
7.
Raise tensioner back into place. Tighten slightly so wire will feed. Notice markings on tensioner for future reference.
8.
Hold torch straight out as possible. Press gun trigger to feed wire until the wire exits the end of the torch.
9.
Do not over tighten the wire feed pressure rollers as this can cause premature motor and roller failure.
TIP: Correct way to adjust tensioner is to slacken off pressure so that the wire does not feed, slowly adjust pressure until wire
feeds smoothly, you should be able to stop wire feeding by holding wire and it should slip on rollers. If you have too little
pressure the wire will slip when welding causing unwanted burn back into tips, if you have too much pressure wire can snag
in rollers when wire hits work and cause wire tangle by rollers.


