1.
A ceiling fan is an environmentally
smart choice to cool as well as to help
warm your home or office. Adjust your
HVAC thermostat during fan use to save
additional energy and money on your air
conditioning and heating utility bills. You
should see a significant reduction in both
your heating and cooling costs by regular
use of your fan.
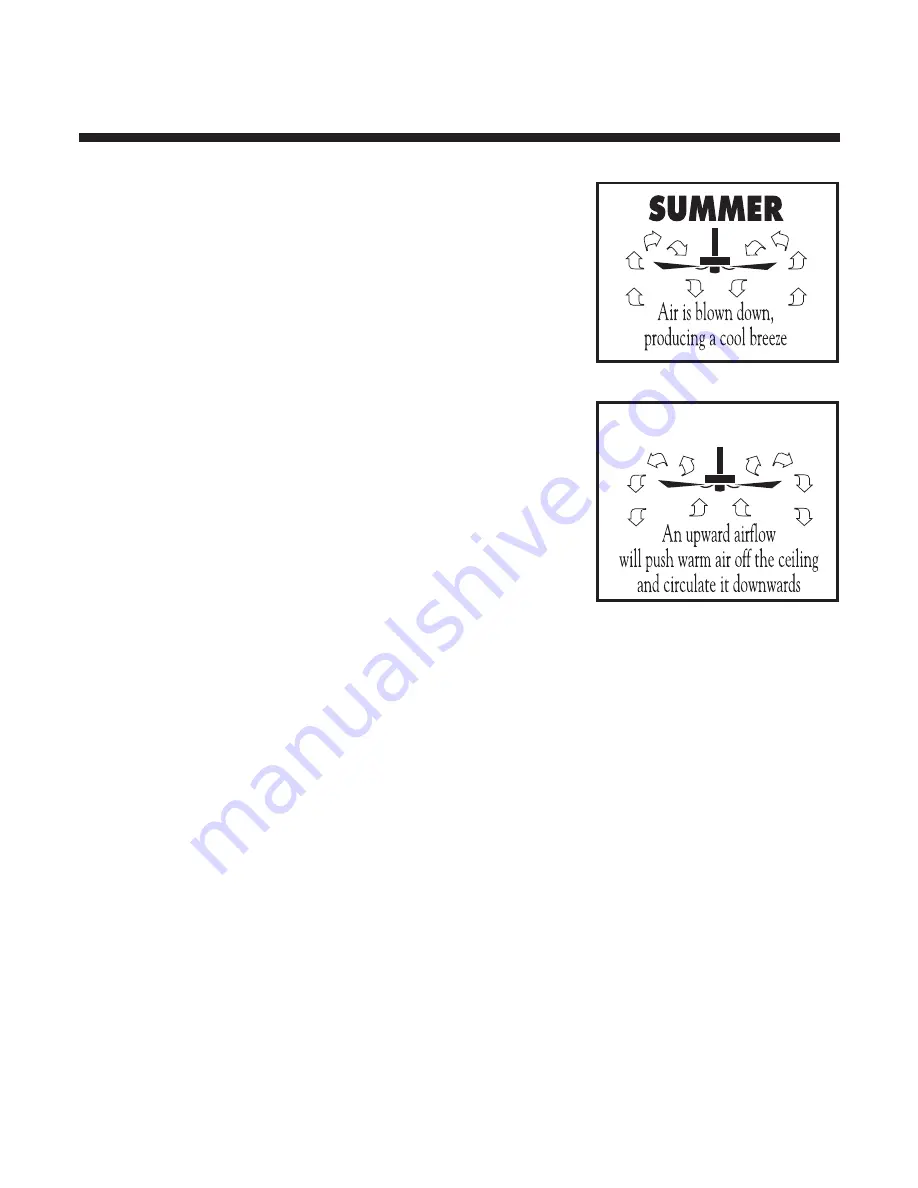
Do not hesitate to use your fan during
summer and winter months. In summer,
(Fig. 12) using the reverse switch, adjust
the fan's direction so cool air is blown
down, producing a cooling breeze. In
winter, (Fig. 13) reverse the fan so that an
upward airflow will push warm air off the
ceiling and circulate it downwards into
the living area. In winter months, use the
fan at a lower speed than summer.
2.
Periodically check tightness of all
screws securing the blades to the blade
arm attachment points. A clicking or a
rattling noise is a sure indication of
loosening screws. Since screws will
invariably work loose over time, at least
once a year, tighten all the screws
attaching blades to blade arms.
Do not
bend blade arms when cleaning or
servicing the fan.
3.
If a light kit is attached to the fan,
likewise check that all screws attaching
glass to metal fitters are finger tight. Do
not use a screwdriver or pliers to tighten
glass screws.
4.
Clean you fan periodically using only
a cloth dampened with a mild detergent
solution for all hardware - never use
solvents. The finish plating is lacquered
to prevent tarnishing. Use a lint-free cloth
with clean water to clean blades.
5.
You will never need to oil or lubricate
your fan. Its permanently sealed bearings
will provide trouble free, silent operation
for many years.
6.
If repairs or servicing are ever
required, to avoid possible electric shock,
turn off the electricity
at the main fuse
or circuit panel before you begin.
7. FAN OPERATION AND CARE
Fig. 13
Fig. 12
WINTER


