


6
7
User Manual
BLAZE
7
BLAZE
7
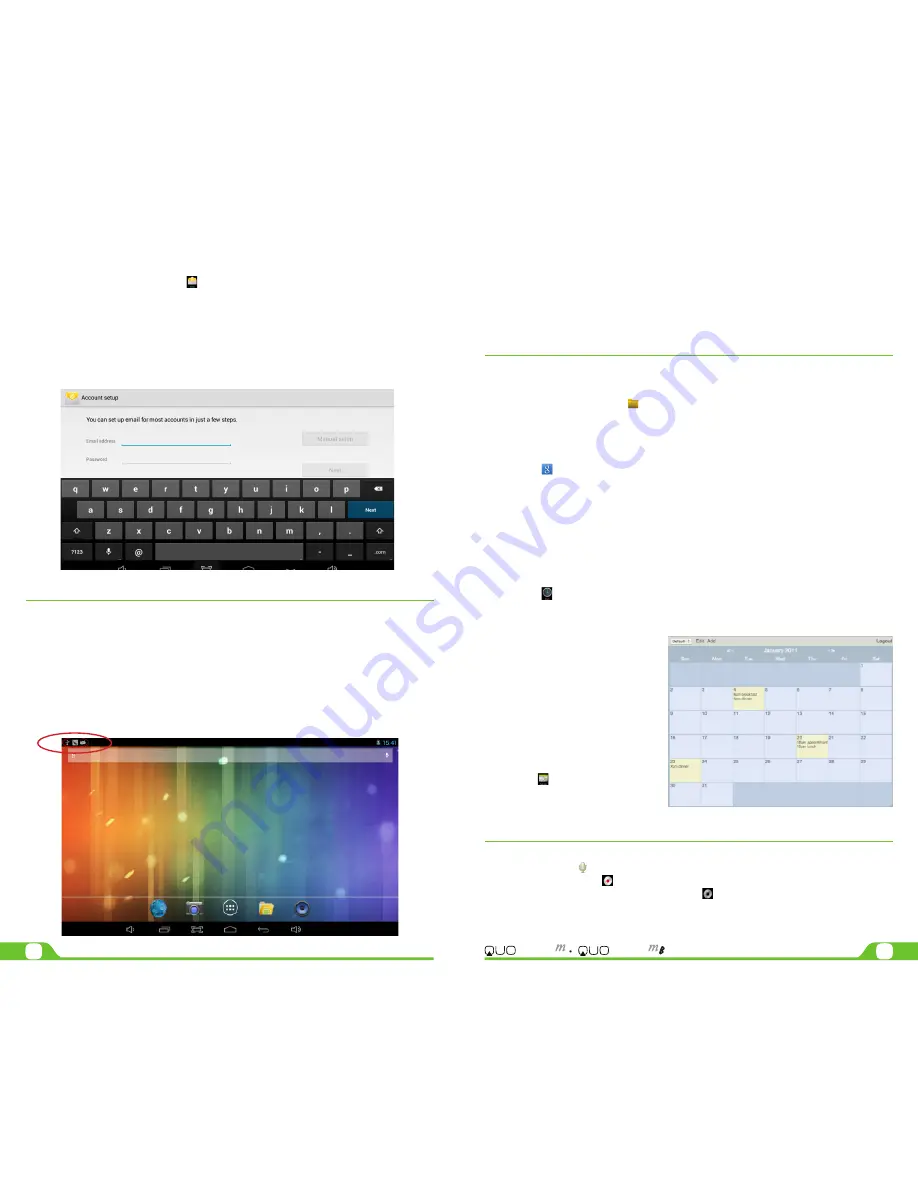
3.3. Email
Stay in touch with friends, family and your business associates via email wherever you are.
Follow this quick and easy setup process.
• Select the Email application icon from the apps menu.
• You will be prompted to enter your full email address and password.
• Once you are done, tap the Next button and the system will automatically search for
the incoming and outgoing server settings. If unable to configure automatically, you
have the option to manually set these parameters.
• The Account settings menu will be displayed, allowing you to set certain emails
parameters. When done, select Next to finish the setup.
• If setup is successful, you will have instant access to all your emails using your
wireless connection.
• If you also want to set up a Gmail account, look for the icon in the applications menu.
CHAPTER 4
Data transfer modes
You can transfer data to and from your tablet PC using the micro-USB connection or the micro-SD card slot.
4.1. Connection to a PC
• Insert the micro-USB end of the cable into the port located on the side of the tablet and
the standard USB end into the corresponding port of your computer.
• Once the device is detected, the Turn on USB storage button will pop up on the lower
right section of your screen, in order to enable the connection to the PC. Tap on this
button to continue. The Android icon will turn orange.
• On your computer, the tablet will be displayed as a hard drive.
• Now, you are able to copy, delete or share files between your computer and the tablet.
Important note:
to safely disconnect your tablet from the computer, you must touch the Turn off USB storage
button on the tablet screen.
4.2. Micro-SD card
• Insert the micro-SD card into the slot located on the side of the tablet.
• Open the File manager application on your tablet. The SD-card tab will become
illuminated, and you will be able to visualize the folders and files stored in the external
memory attached to the device.
CHAPTER 5
Productivity applications
5.1. File manager
In addition to creating, deleting or sharing files, the file manager allows you to keep all your data properly
organized and conveniently stored in your memory.
• Select the File manager icon on your main screen.
• After opening the file browser interface, users will be able to copy, paste or delete files
stored in the local memory, SD card, or USB external storage device.
5.2. Search
Select the icon to open Google search in order to find content matching the key words
you entered.
5.3. Manage downloads
The files, apps or other items that the user downloads are saved in the tablet´s internal storage.
• In order to see those items, select the icon from the All Apps screen.
• From the download directory of your tablet, select the item you want to view, reopen
or delete.
5.4. Clock
Select the icon on the applications menu to open the clock interface. It allows the user to enable or
disable the alarm, set up the time, select the alert tone (Ringtone option), and other related functions of this
feature.
5.5. Calendar
Keep track of your meetings, appointments,
places you want to visit, or schedules that you
need to follow.
• It is required to have a network
connection active the first time
you use this application, in order
to be able to configure it using
an existing Google Account, or
by creating a new account.
• Once you have an email account
set up, you need to select the
icon on the application
screen to open this feature.
• Click on the day, week, month or
agenda tab to view, add or delete an event.
CHAPTER 6
Entertainment applications
6.1. Sound recorder
• Select the icon to enter the sound recorder interface
• Next, tap on the icon to start recording.
• When you are finished recording, tap on the icon to stop.
• A dialog box will popup. Click on Done if you want to save your recording, or Discard if you prefer to
permanently delete that file.
• Click on the icon to listen to the recording you just saved or go to Applications view, tap the File manager
Содержание BLAZE 7m
Страница 1: ...User Manual mobility com BLAZE7 BLAZE7...


