Snap! Server 4000 Quick Start Guide
Page 5
Using the Snap! Server from your
Macintosh Computer
Once installed on your network, the Snap! Server appears as an AppleShare server with a shared
folder. You can use it to organize and store files in the same way that you use the folders on your
local hard disk. It should appear in the Network Browser and Chooser within minutes.
The default server name is SNAPnnnnnn, where nnnnnn is the serial number from the
label on your unit (for example, SNAP300020). .
By default, there are no security restrictions for accessing the files and folders within the
Snap! Server. Anyone who can connect to the Snap! Server from your network or from the
Internet can access any of its files. See page 6 for information on how to enable security
and customize other Snap! Server features.
NOTE: The Snap! Server uses DHCP to obtain an IP address automatically. If your network
uses TCP/IP but does not assign IP addresses automatically, use the Snap! IP program,
described on page 6, to assign one.
For detailed information about managing a Snap! Server, refer to your Adminstrator Guide. See the
chart on page 2 for tips on how to use the Adminstrator Guide.
Connecting to the Snap! Server
To use the Snap! Server:
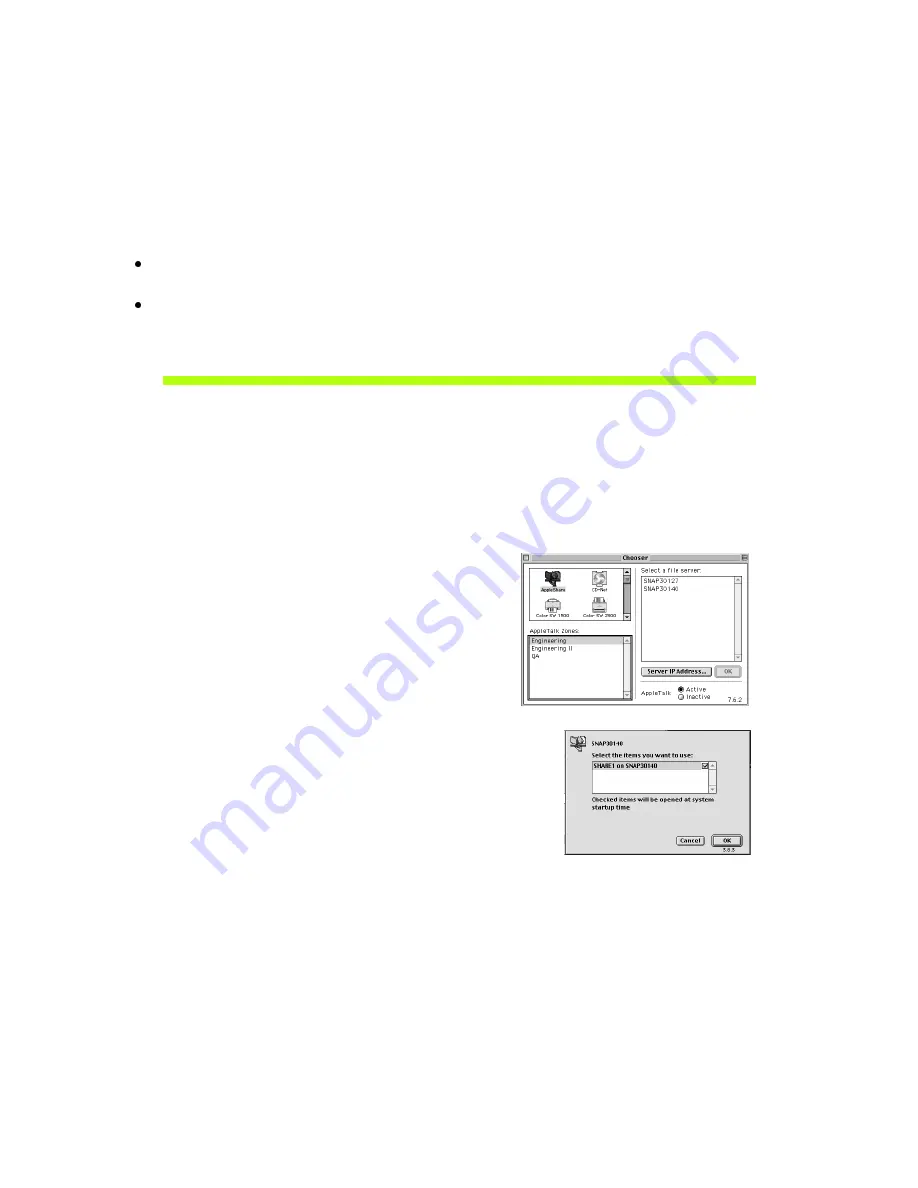
1. Select the Network Browser or Chooser from the
Apple menu. In the Chooser, click the AppleShare
icon.
2. If you use zones with AppleTalk, select the default
zone in the AppleTalk Zones list.
3. Scroll through the list of servers in the Select a File
Server list and select your Snap! Server. Click OK.
4. When asked for a user name or password, click the
Guest radio button. Click OK.
5. In the Server dialog box, select SHARE1 on
SNAPnnnnnn. Click OK to mount the Snap! Server
on your desktop.


