


Quantum Scalar i6000: Drive Replacement
6-67999-01 Rev A
October 2013
4
Remove and Replace the Drive
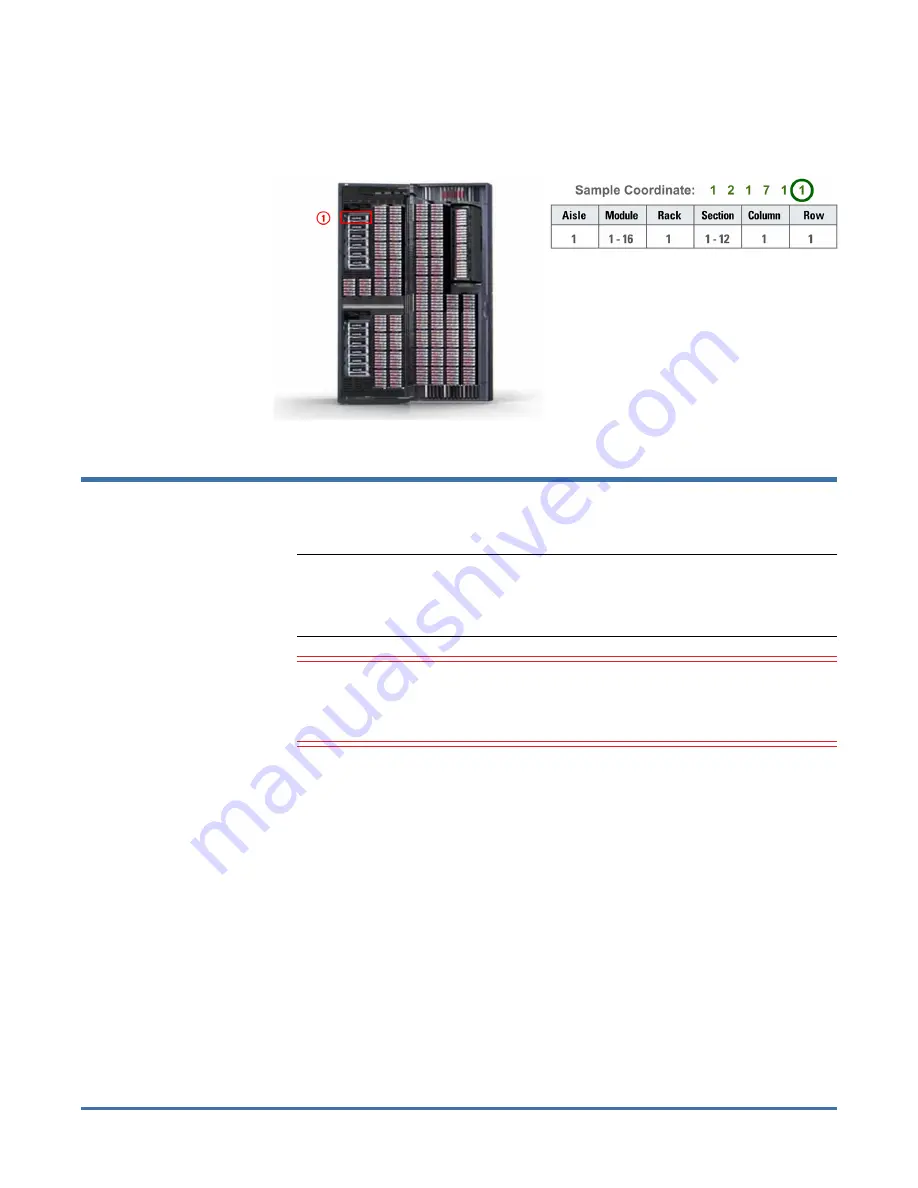
The sixth number denotes the row and will always be 1. Drives have a
connection point at the lower portion of the drive sled that connects to the
library. Therefore, the sled is logically in row 1.
Remove and Replace the Drive
Note:
This procedure is used to replace a drive with the same drive model.
Drive upgrades must be performed by Quantum service personnel. If
the failed drive is an EDLM drive, it must be replaced by Quantum
service personnel.
Caution:
Before starting this procedure, verify that you have received the
same make and model drive as the drive you are replacing. The
outside of the box will indicate the drive make and model that was
shipped.
Required tool: Phillips screwdriver - use this if the thumbscrews are too tight
1
Stop any processes on the host that are communicating with the drive that
is being replaced.
2
Log on as the administrator from the library’s touch screen (LMC).
3
Locate the drive identified as needing replacement on your call with
Quantum Service:
a
Select
View > Physical Library
.
b
Select
Tools > Drives
. The
Drives
screen displays.


