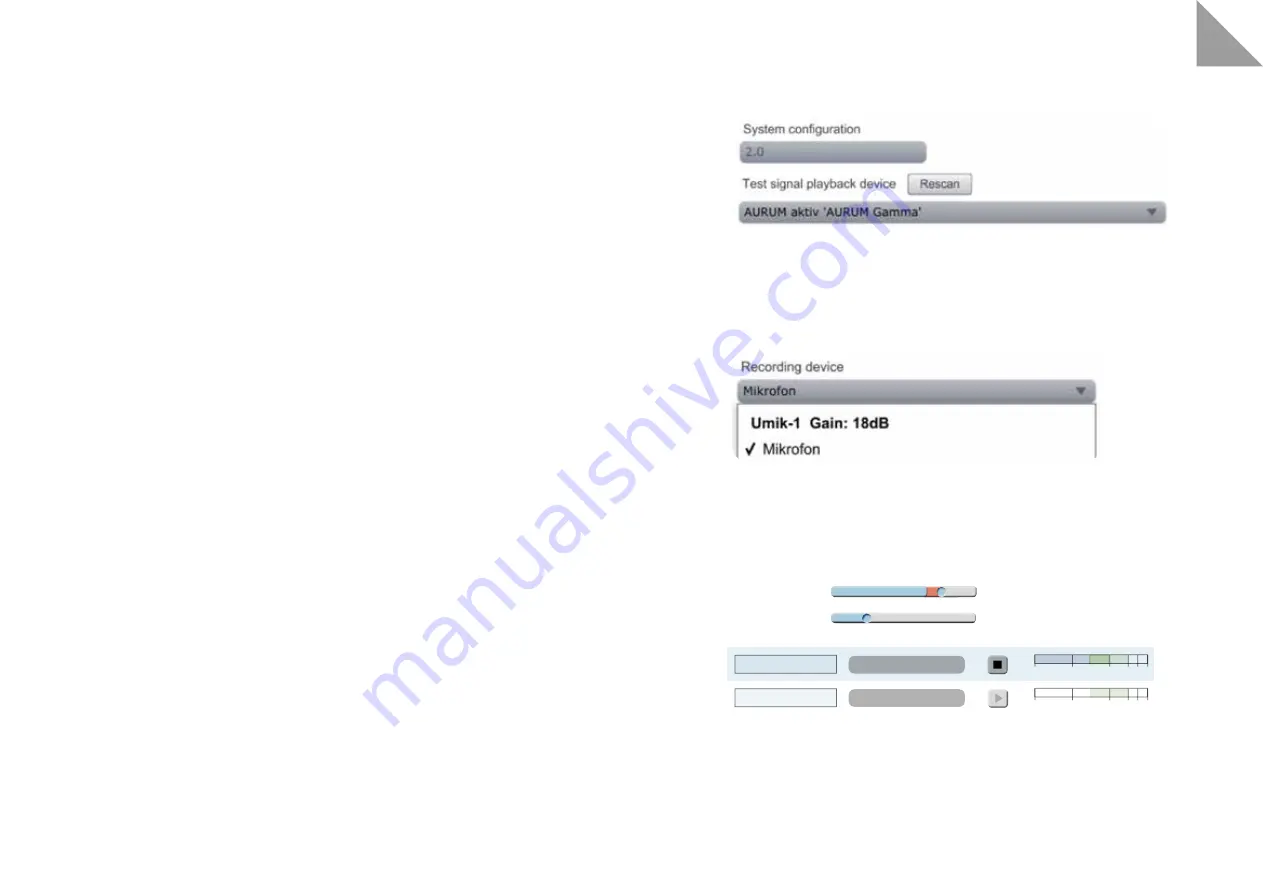
Input gain
Output volume
Channel name
Output channel
Test
Level
20.0 dB
Left
Right
Left
Right
-36
-24
-12 -6 -3 0
-36
-24
-12 -6 -3 0
0 +20
10
EN
11
DIRAC LIVE® CALIBRATION
Warning: quadral GmbH & Co. KG does not accept any responsibility for possible damage caused by
operation or adjustment. Please read the instructions carefully.
DIRAC Live® is a software that enables you to counteract the negative room influence on the sound of your
loudspeakers.
It does not eliminate fundamental problems in room acoustics! Only the effects on the sound are reduced. For
a perfect sound experience, we therefore recommend that you design the room accordingly and carefully select
the position of the speakers.
You can set different target curves in the software and save up to four results.
We recommend you to firstly follow the specified target curve and use it. For further personal settings, you
should not set too much level in the bass range, as this can significantly limit the overall dynamics of the
loudspeaker. For example, frequency holes should not necessarily be completely filled - a slight depression is
usually hardly noticeable acoustically.
In the high-frequency range, a significant increase in level can even lead to damage! If you are unsure both your
specialist dealer or the quadral Service Team will be happy to assisting you.
The software for Windows® and Mac® is available for downloading at
www.quadral.com/download
. Make
sure that the speakers and your computer are connected to the same network. DIRAC Live® requires an
Internet connection for calibration.
Before you start measuring the speakers, the speakers must be set up correctly and the final listening position
must be set.
You can save multiple sound profiles. The profiles can be saved in the App under settings->DIRAC can be
selected.
A detailed DIRAC Live® manual is available at
www.quadral.com/downloads
.
DIRAC LIVE® QUICK GUIDE
1
Install the DIRAC Live® Live software.
2.
Download the microphone calibration file from the
www.minidsp.com
website. To do this, select “UMIK-
1” from the products list on the website. A little further down on the product page you will find the tab
“Unique Calibration Download”, where you enter the serial number of the microphone in the fields. The
serial number can be found on the microphone box and on the microphone itself.
3.
Connect the microphone to your computer using the USB cable supplied.
The microphone does not require any additional drivers.
4. System setting
Start the DIRAC Live® software on your computer. Your AURUM active speakers should appear directly on
the start page under “Test signal playback device”. If this is not the case, make sure your computer and
your speakers are connected to the same network. Both connections WiFi and wired with LAN cable are
possible. Click on “Proceed” at the right bottom.
5. Microphone setting
Under “Recording device”, select the “Umik-1” microphone. Now load the microphone calibration file into
the program via “Load file”. Now click on “Proceed” again in the lower right corner. The “Recording Channel”
must remain “1”.
6. Level setting
On the “
Output & Level
” page the levels have to be adjusted. Drag the “Output volume” slider to the left
to decrease the volume. Now click on one of the two “Test” fields. Now drag the slider to the right until the
volume reaches about the volume of a loud conversation. Now drag the “Input gain” slider to the right until
the blue bar in the “Level” field is approximately the centre of the green Area reached. If the input gain is
too low, the software will inform you during the measurement. Now continue with the “Proceed” button.
Содержание AURUM ALPHA
Страница 1: ...USER INSTRUCTIONS BEDIENUNGSANLEITUNG NOTICE D UTILISATION...
Страница 24: ...46 47 FR...


