


Need help? Contact us at: www.myquadient.com or call 1.800.636.7678
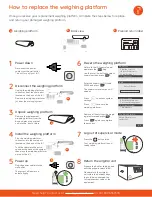
How to replace your iX-1
iX-1 mailing
system base
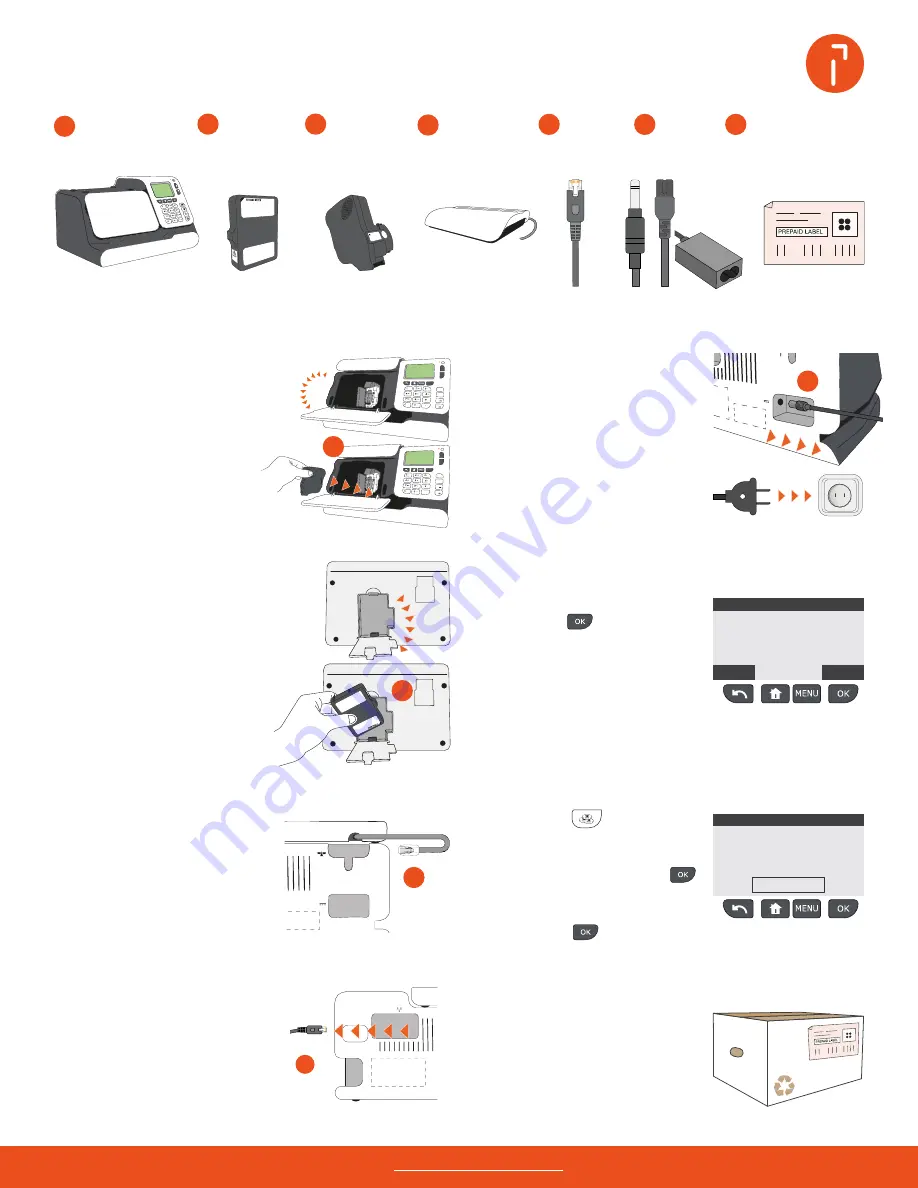
a
LAN
cable
e
Ink
cartridge
c
Postage
meter
b
Power
cable
f
Weighing
platform
d
Prepaid return
label
g
Return the original unit
Connect the internet cable
Plug one end of the LAN cable
into the internet cable port
located on the back of the iX-1.
Plug the other end into a LAN
wall jack or Wifi router.
Prepare the box for shipping and
affix the prepaid return label.
Please return the original unit
within ten business days to avoid
being charged the full replace
-
ment value of the equipment.
12
16
Install the meter
Connect the power cable
Turn the iX-1 on its back and
open the meter cover located
on the bottom of the system.
Plug the power cable connector
into the power adapter.
Plug the power adapter
connector into the back of the
iX-1.
Insert the meter
(b)
by
positioning it vertically, with
the contacts down facing to
the rear and the labels facing
towards you. Close the cover.
9
13
Add postage funds
Connect the weighing platform
Plug the weighing platform
connector into the scale port
located on the back of the iX-1.
Tuck the cable into the
extra space at the back of
the system, then place the
weighing platform on top of
the iX-1.
Press
the
key to add
funds.
$_._.0
11
15
Confirm ink cartridge installation
Install the ink cartridge
Open the front cover, then
open the ink cartridge slot by
pulling the blue lever towards
you and turning it to the right.
Return to the iX-1 control panel
and press .
Follow the screen prompts to
confirm the replacement.
10
14
Insert the ink cartridge
(c)
,
then turn the blue lever back
to the left until the cartridge is
secured, then close the cover.
Plug the other end of the
power cable into the wall outlet.
The system will power up
automatically.
f
b
c
e
d
Use the down arrow button to
select add funds, then press .
Using the keypad, enter the
amount of postage to add,
then press
.
Visit our how to hub at
kb.quadient.us/iX-1_videos
to watch how to set up a Wi-Fi connection.


