background image


www.avsl.com

                                                                                            154.105UK User Manual 

•The display indicates the number of the control channel in the lower line and the current output value as 

a DMX value. 


7. It is also possible to call a scene previously memorized or a movement pattern or color effect and insert 

it into the chase. For this, call the scene or the effect with the SCENE or MOVEMENT button and the 
corresponding number button. 

8. Press the REC button to memorize the scene. 

•To confirm the memory procedure, all LEDs of the controller flash three times.


•The indication “Step001" changes to “Step002“and

 you can adjust and memorize the next scene. 

9. Repeat the steps 6 to 8 to adjust and memorize the next scene. 

•Up to 100 scenes can be programmed for a chase.


10. After the desired chase has been memorized, switch off the programming mode. For this, keep the 

ENTER button 

pressed until the display indication switches back to “Manual“.


Playing a Chase: 
A chase must be programmed before you can call it. Chases can be played manually, time-controlled or 

sound-controlled. As a basic setting, the manual mode is activated. The LEDs MANUAL, MUSIC and AUTO 

indicate the current setting. 
1. There should be no device or illumination scene selected. If one of the control LEDs of the number 

buttons 1-16 is lit, press the corresponding button for deselection. 
2. Press the CHASE button. 

•The control LED lights

 up. 

3. Use the number buttons 1-16 to select the desired chase. 

•The

 control LED flashes. 

•I

f necessary, use the PAGE button to switch between the two channel groups 1-16 (LED A lights up) and 

17-32 (LED B lights up). 

•Up to 5 chases can be selected simultaneously. The chases are played one after the other. The LED of 

the chase currently playing flashes, the others stay lit. 

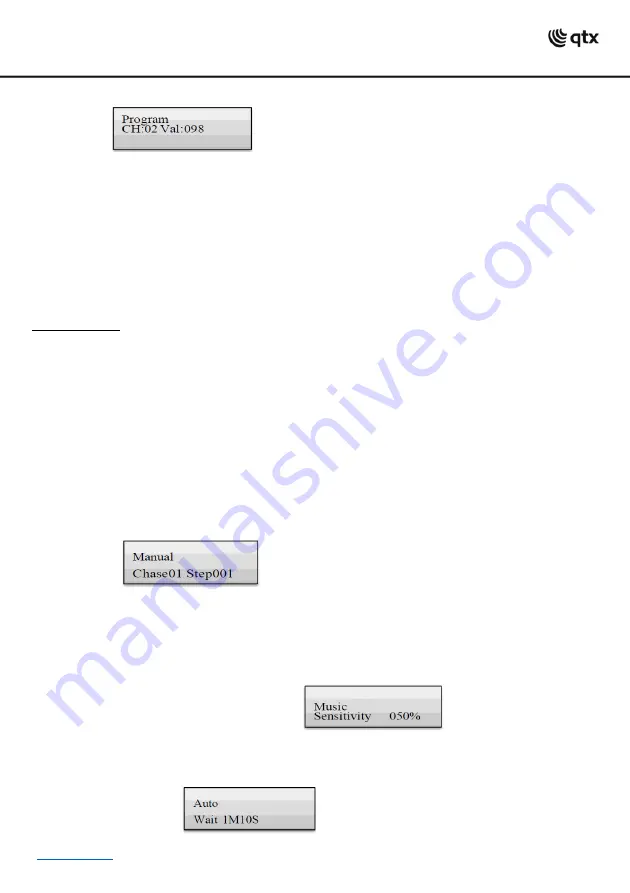
•The display indicates the number of the chase (e.g. “Chase01”) in the lower line and the current step 

(e.g. “Step001).


4. Select the chase running mode with the button RUN MODE. The mode is indicated by the LEDs next to 

the button. 

MANUAL: The chase can be manually advanced step by step with the pan wheel. 

•MUSIC: The individual steps of the chase

 run to the rhythm of the music picked up via the internal 

microphone. 

The sensitivity of the sound control is adjustable. For this, keep the RUN MODE button pressed and turn 
the tilt wheel to adjust a value between 0-100%.  

The higher the value, the higher the sensitivity. 


AUTO: The individual steps of the chase run at the adjusted speed and fade time. Use the pan wheel to 

adjust the running speed, i.e. how long a scene is shown, between 10 minutes and 0.1 seconds 

(indication “Wait“). Use the tilt wheel to adjust the fade time, i.e.

 the time between the steps, between 0 

and 30 (indication “Fade“).


Содержание 154.105UK

Страница 1: ...port provides back up of up to 16 banks of DMX settings scenes and chases on an attached USB storage device The hardwearing metal chassis can be used standalone or 3U rackmount if preferred and the d...

Страница 2: ...with LED With the button active Blue LED the number buttons allow activation and deactivation of chases 8 Data wheel PAN For controlling the pan movement of moving heads or scanners and for programmin...

Страница 3: ...ossible to deselect all the devices again 3 Adjust the desired DMX values 0 255 for the DMX channels using the sliding controls and if necessary the pan and tilt wheels As soon as a fader is moved the...

Страница 4: ...LEDs of the buttons illuminate If a number button is pressed once again the corresponding device is deselected 4 Adjust the desired DMX values 0 255 for the DMX channels using the sliding controls and...

Страница 5: ...rol LED lights up 3 Keep the DEL button pressed and select the scene to be deleted with the number buttons 1 16 The control LEDs of the memory banks containing data light If necessary use the PAGE but...

Страница 6: ...s of the number buttons 1 16 is lit press the corresponding button for deselection 2 Press the CHASE button The control LED lights up 3 Use the number buttons 1 16 to select the desired chase The cont...

Страница 7: ...s up and 17 32 LED B lights up and repeat steps 1 and 2 until the desired values are assigned to all channels Deleting a Chase 1 Call the programming mode For this keep the REC button pressed until th...

Страница 8: ...nual Assignment of DMX Channels It is possible to individually assign the DMX channels of the connected light effect units to the control elements of the controller softpatch However some DMX channels...

Страница 9: ...peat steps 5 and 6 to invert further control channels 8 Repeat steps 3 5 and 6 to adjust further units 9 After your settings exit the system settings For this keep the MENU button pressed for 2 second...

Страница 10: ...ilable 09 Blackout mode Blackout function Reset factory Reset the controller to factory settings 1 Keep the MENU button pressed for 2 seconds to call the system settings 2 Call the menu item 02 Reset...

Страница 11: ...sed they must support RDM Data backup Data backup All settings of a light show i e DMX settings illumination scenes and chases can be stored on a USB memory device and recalled later 16 memory banks a...

Страница 12: ...ol channels react to the button i e in the blackout state the control channels have the value zero Only dimmer Only the dimmer control channel reacts on the button BLACK OUT i e in the blackout state...

Отзывы: