AN-X-AMXCAPT Page
7
IMPORTANT!
Use this temporary IP address only for initial setup of AN-X. AN-X will
not function for its intended purpose at the temporary IP address.
If you are using multiple AN-X modules, configure one at a time, especially if there is no
DHCP server on the network, since they will all revert to the same temporary IP address
when they fail to find a DHCP server.
IMPORTANT!
If you are connecting AN-X to an existing Ethernet network, consult the
network administrator to obtain information about how you should
configure AN-X and to obtain a static IP address for AN-X.
IMPORTANT!
The AN-X must be on the local Ethernet when you set its IP address.
You configure the Ethernet properties using the Windows utility AnxInit supplied with
AN-X.
Use the
Configuration/AN-X IP Settings
command to start the AN-X IP configuration
wizard, which takes you step by step through the IP configuration process.
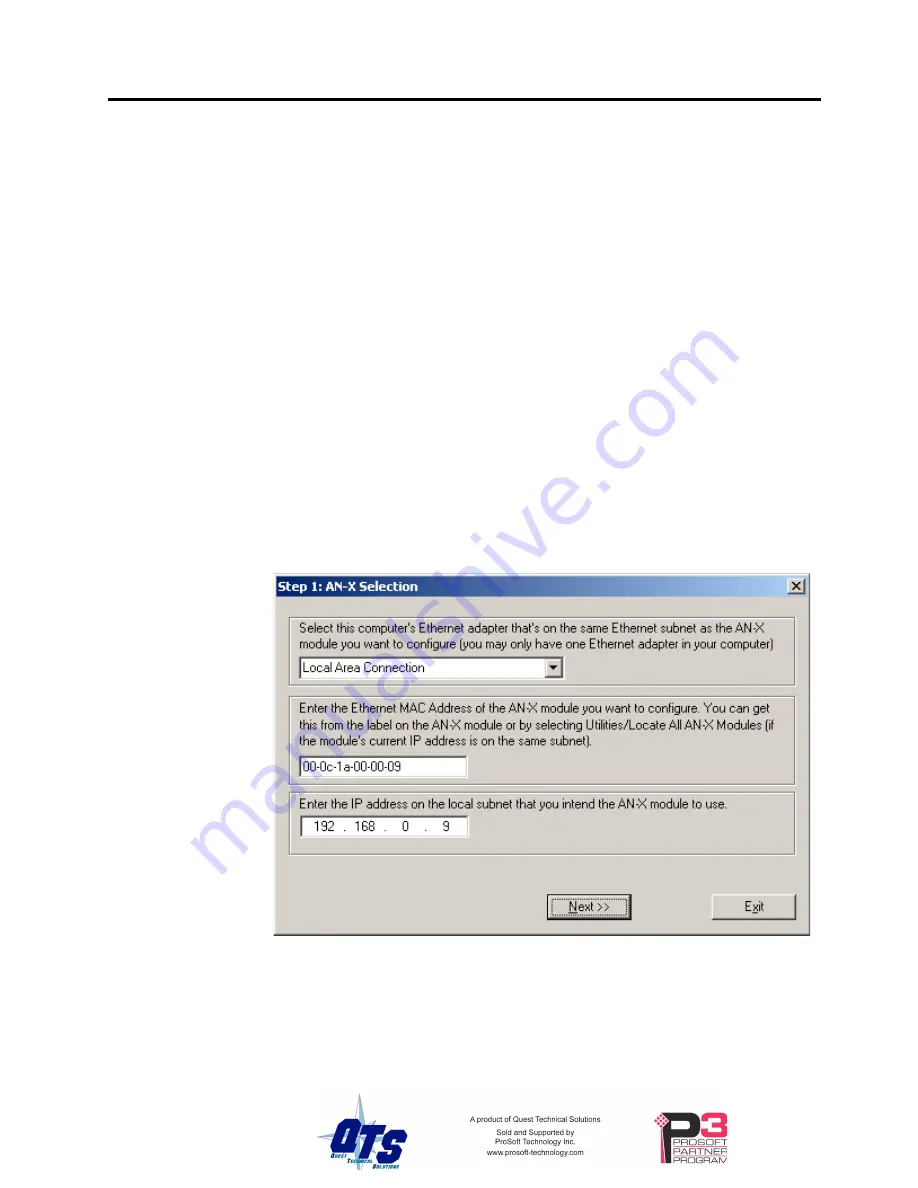
Step 1
In step 1, you identify the AN-X you are configuring.
1. Select the Ethernet adapter that’s connected to the AN-X. In most cases there will be
just one Ethernet adapter in the computer. The AN-X must be on the same subnet as the
computer.
2. Enter the MAC address of the AN-X you are configuring. This is printed on the AN-X
label. It consists of six pairs of hexadecimal digits, separated by hyphens. In the
example above, it’s 00-0c-1a-00-00-09.


