75
74
2.4 VIDEO DISPLAY
QT-Series DVRs can use a television or a 19” or larger monitor as a main video display. Certain
models also provide the option of using a high definition display, such as an HDTV. A video
display is not needed for day to day use of your DVR if you are only monitoring it remotely
via a mobile device or using a computer, but one is needed for initial setup. It should also be
noted that, at present, it is not possible to change settings on the DVR itself using the QT
View mobile remote viewing apps and certain settings cannot be changed using the remote
monitoring software on the computer.
CONNECTING A VIDEO DISPLAY
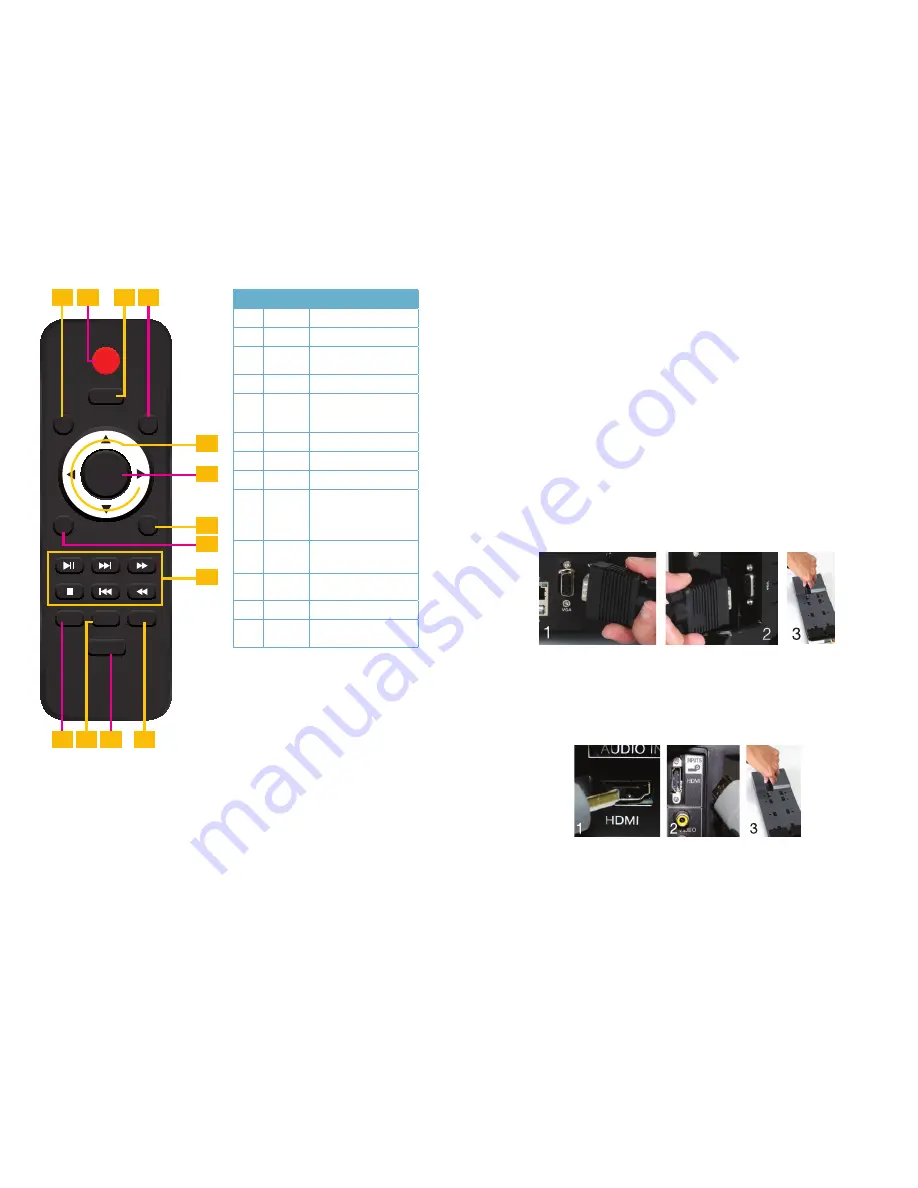
Instructions on connecting a desired video display are included in the Quick Start Poster that
came with your system but are included here for your convenience.
VGA Monitor
Using a standard VGA monitor - the type used with most computers - with your DVR is the
preferred method and the DVR is configured with this in mind. Due to resolution restrictions,
you must use a monitor that has at least a 19” diagonal display. This information is typically
found on the back of the monitor if you are uncertain.
STEP 1.
Plug a VGA cable into the port marked “VGA” on the back of the DVR.
STEP 2.
Plug the other end of the VGA cable into the similar port on the back of the monitor.
STEP 3.
Plug the monitor’s power cable into the surge protector.
High Definition Television
Some QT-Series DVRs include an HDMI video out port allowing you to use a high definition
television or other display that has an HDMI video input.
STEP 1.
Plug an HDMI cable into the “HDMI” port on the back of the DVR.
STEP 2.
Plug the other end into the “HDMI” port on the television.
STEP 3.
Plug the television’s power cable into a surge protector.
PICTURE 2-6
PICTURE 2-5
PICTURE 2-7
REC
Exit
MENU
PIP
ZOOM
Search
INFO
ENTER
Next
SEQ
Multi
1
10
12
11
13
2
4
6
8
5
7
9
3
#
Button
Function
1
Menu
Open Main menu
2
REC
Begin recording
3
Search
Opens up video search
window
4
Exit
Exits menu or interface
5
Direc-
tional
Controls
Move cursor
Control PTZ direction in
PTZ mode
6
Enter
Confirms choice
7
PiP
Picture-in-Picture mode
8
Zoom
Activates digital zoom
9
Play-
back
Controls
Play/Pause, Stop,
Fast Forward, Rewind,
Single Frame Forward/
Backward
10
Multi-
Screen
Choose multi-screen
display mode
11
Next
Switch to next live view
group
12
Info
Opens DVR Info menu
13
SEQ
Switch to sequential
channel display


