==========
WARNING:
Remember... the next step can change all of the audio signal volumes and fre-
quency content. Incorrect frequencies can damage speakers! Turn down the volume on all
amplifiers.
==========
Step 5:
Write the file back to the DCM by selecting
Connect | Write Configuration to DCM
Step 6:
Save this "post-modification" file by making two backup diskettes (one copy for you, and
leave one copy at the theater).
Step 7:
Verify proper audio response in all channels.
E. Main Control Screen
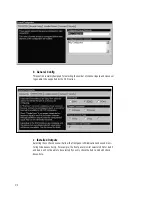
When you activate the
DCM Commander
software, a main control screen will appear. This contains
menu selections (
File
,
Communications
,
Configuration
,
Crossover
, and
Help
), and Status indica-
tors (
File:
,
Status:
, and
Security:
).
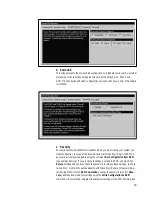
The
File:
indication shows the configuration file name for the
complete set
of parameter settings
which are being shown. There is only one file active in the Commander software at a time. You need
to keep track of whether the settings you are looking at on the screen are the same settings which are
acting on the audio within the DCM hardware unit.
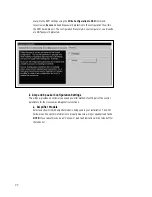
The
Status:
indicator will list either
Offline
or
Connected
.
Offline
means that you have never se-
lected the
Communications | Connect
command which causes the DCM Software to exchange star-
tup information with the DCM hardware unit. After selecting
Communications | Connect,
the
Status
indicator will display
Connected.
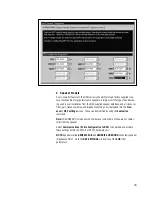
The
Security:
indicator will show N/A (not applicable) if the file that is visible in the software has
been set to the
Unsecure
mode under the
Configuration | General Configuration | Security
menu. If you set this to
Secure
mode, and download a configuration file to the DCM, this will be indi-
cated here.
IMPORTANT:
If you
Connect
as a
Normal User
, and you try a
Get Configuration from DCM
re-
quest on a Secure unit, the software will display a "DCM Not Responding..." error message. This is
normal. To get the settings from a
Secure
unit, you must
Connect
as a
Super User.
Your
Super
User
password must match the password that you stored in the configuration file which resides within
the DCM hardware unit or the
Connect
function will not work.
1. File
This menu selection allows you to start your DCM calibration by selecting an existing configura-
tion file from your hard drive (or diskette). Just like all Windows programs, it offers the
New
,
Open...
,
Save
,
Save As...
, and
Exit
commands.
Select the
New
menu option if you have never made a DCM setup before.
IMPORTANT:
Always save your final settings to a diskette and keep a copy of both these DCM
settings and the DCM Commander software at the theater!
19
Содержание DCM series
Страница 1: ...DCM Series Digital Cinema Monitor Crossover System U S E R M A N U A L...
Страница 3: ......
Страница 4: ......
Страница 14: ...7...
Страница 15: ...8...
Страница 16: ...9...
Страница 17: ...10...
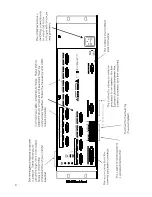
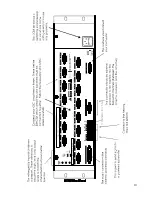
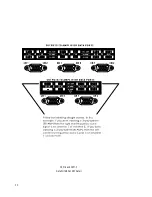
Страница 18: ...DCM 2 and DCM 3 DataPort ABC and EF Detail 11...
Страница 33: ...d Impedence Limits This allows a technician an overview of the impedence settings when troubleshooting 26...
Страница 55: ......
Страница 56: ...1675 MacArthur Boulevard Costa Mesa CA 92626 1468...

