7
GETTING TECHNICAL SUPPORT
Please follow the troubleshooting tips in the XCubeSAN series Hardware Owner’s Manual or the SANOS User’s Manual to diagnose and resolve
common problems during initial setup and configuration. If you are still encountering trouble, please contact QSAN technical support for help using
one of the options below.
- Via the Web :
https://www.qsan.com/technical_support
- Via Telephone : +886-2-7720-6355 (Service hours : 09:30 - 18:00, Monday - Friday, UTC+8)
- Via Skype Chat, Skype ID : qsan.support (Service hours : 09:30 - 02:00, Monday - Friday, UTC+8, Summer time : 09:30 - 01:00)
- Via Email :
©2020 QSAN Technology Inc. All rights reserved. No part of this document may be reproduced or repurposed without the express written consent of QSAN. XCubeSAN, SANOS, XFinder, and the
QSAN logo are trademarks of QSAN. All other trademarks are the property of their respective owners. Features, specifications, model numbers, and product appearance is subject to change without
March 2020
Initial Setup
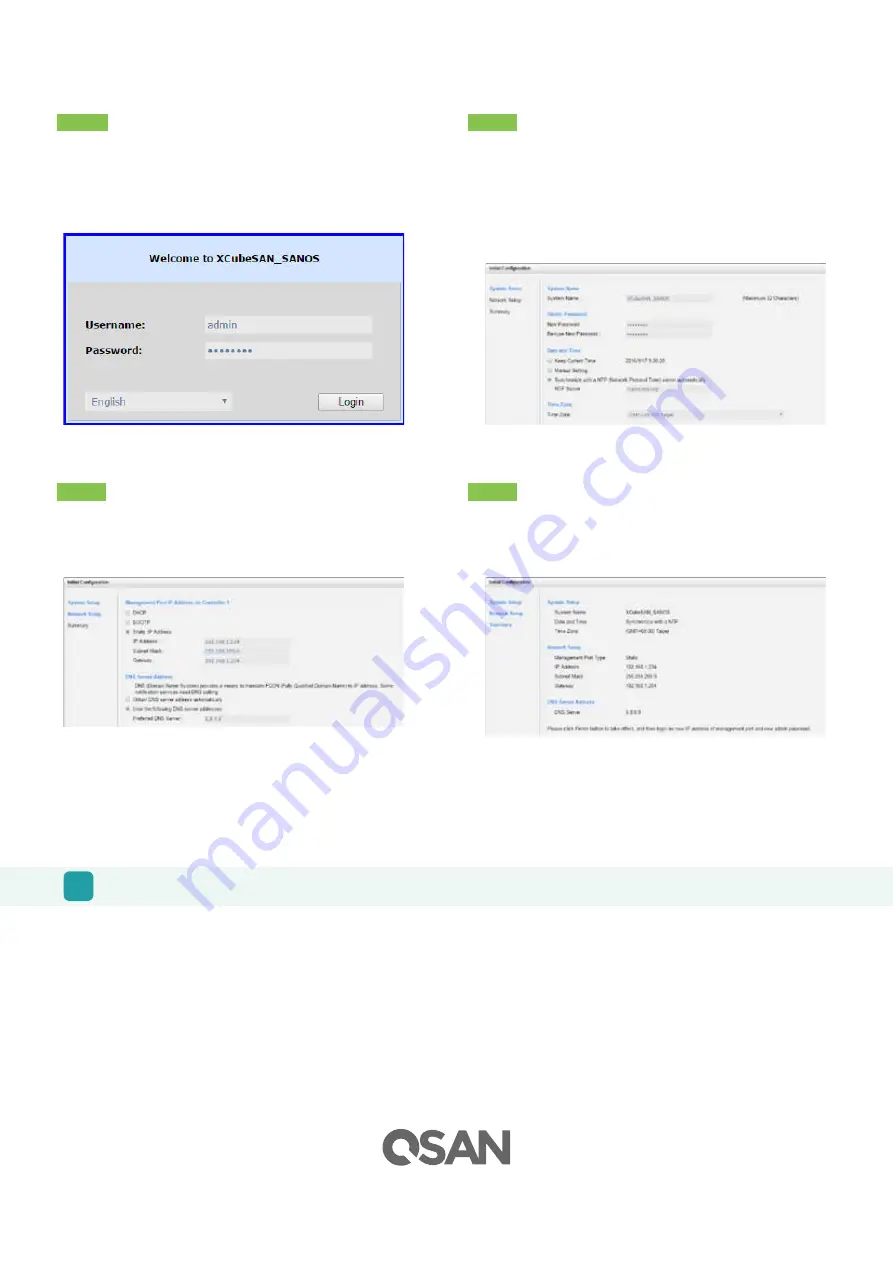
The Initial configuration wizard will guide the first time user to initialize and setup the system quickly.
Host Configuration and Storage Management
After initial setup, the next step is to configure the specific storage settings for your requirement. For more information about managing the
storage, please refer to the XCubeSAN SANOS User's Manual which can be downloaded from the
QSAN website :
https://www.qsan.com/download_center
Step 1
To access the SANOS web interface, you have to enter a username and
password. The initial defaults for the administrator login are:
- Username: admin
- Password: 1234
Step 2
- Enter a System Name.
- Change Admin Password.
- Set the local Date and Time. Date and time can be set by manually
or synchronized with a NTP (Network Time Protocol) server.
- Select a Time Zone depending on your location.
- Click the Next button to proceed.
Step 3
- Confirm or change the management port IP address and DNS server.
- Click the Next button to proceed.
Step 4
Verify all items, and then click the Finish button to complete the initial
configuration. You have to login with the new IP address of the
management port and new admin password next time.


