18
© Copyright 2017 QSAN Technology, Inc. All Right Reserved.
3.3.
Install the Optional Adapter Card
CAUTION:
This section is for QSAN authorised partners (including distributors,
resellers and systems integrators) ONLY. Warrently may void if the
warrently label is broken. If you would like to purchase optional adapter
cards and have it installed, please contact local QSAN authorised
partners, or QSAN support for detailed information.
XCubeNAS supports a PCIe Gen 3x8 add-on adapter cards that demand high bandwidth and
capacity expansion. To install the adapter card, please follow the steps as illustrated below:
1.
Prepare a Phillips #1 screwdriver.
2.
Shutdown your XCubeNAS and disconnect power adapter, network cable(s) or any other
device/cable that is attached to your system to prevent any possible damages. Place
your XCubeNAS on a flat and stable surface to prevent scratches.
3.
Please refer to
chapter 3.1
to remove the service door, SFF tray, and all the drive trays.
4.
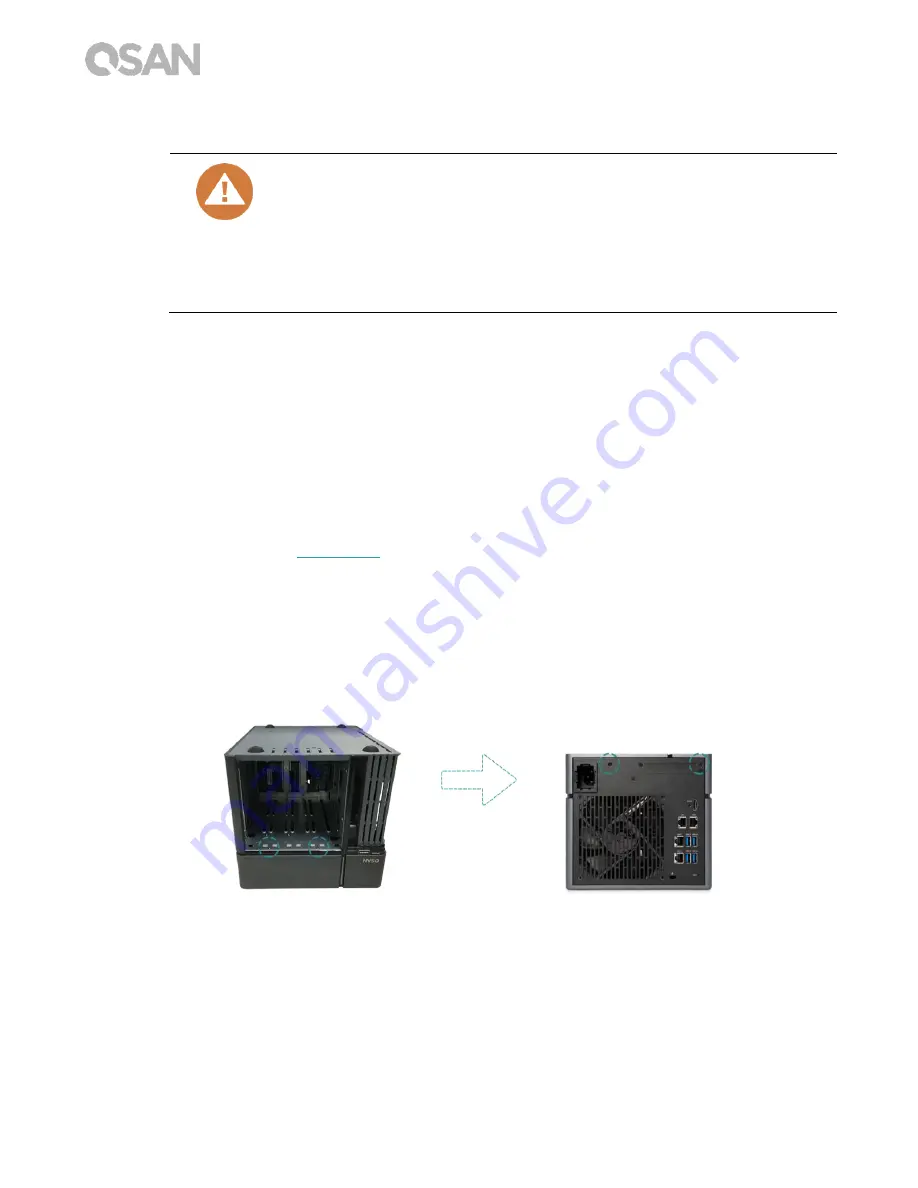
Removing screws and the top cover.
①
Turn your XCubeNAS upside down and remove two screws below the top cover,
shown in the figure below.
②
Remove the screws on the back of the XCubeNAS.
Содержание XCubeNAS XN5004T
Страница 29: ...23 b Multiple LAN connections c Direct attachment ...
Страница 39: ...33 2 Click the Reset Device button to proceed ...


