TAS-168/268 Combo NAS
Series
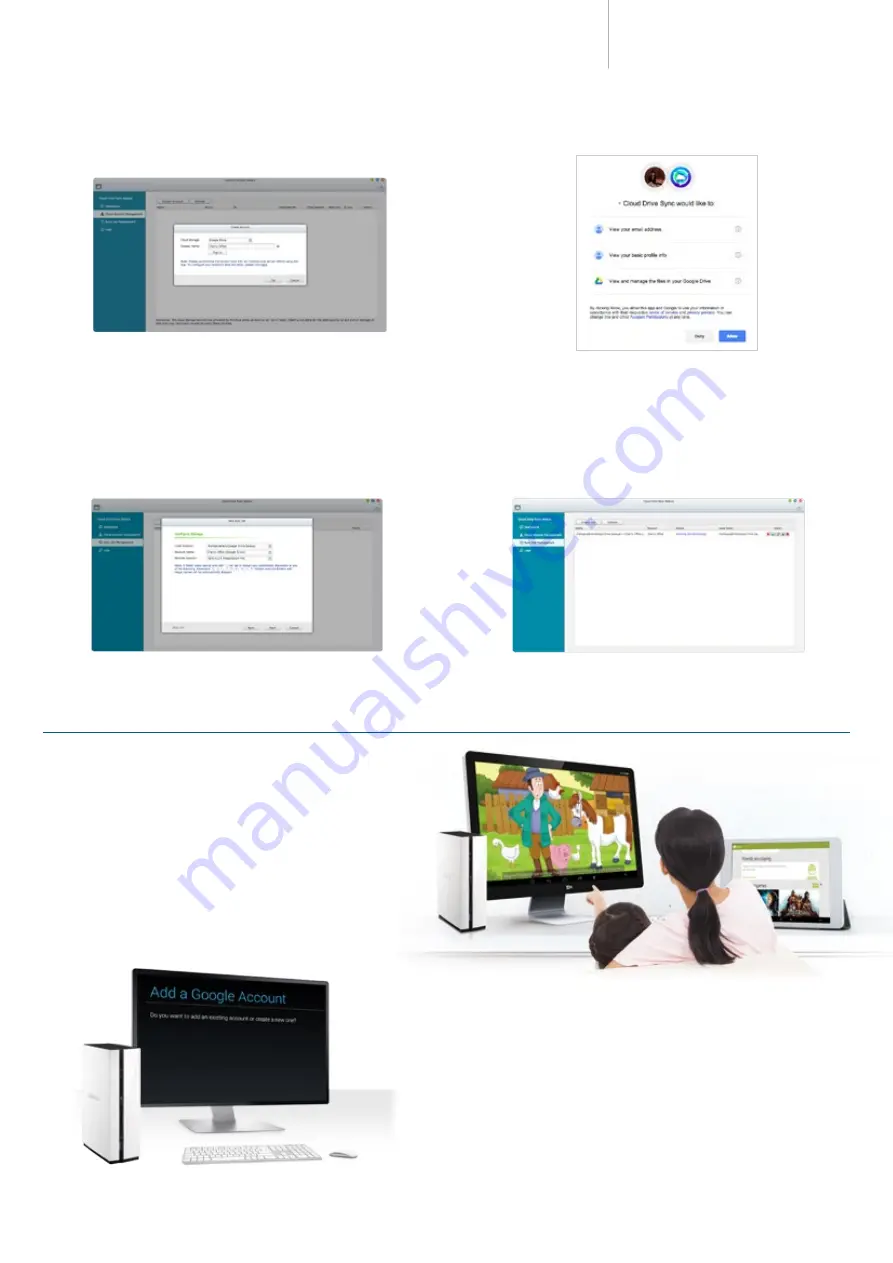
3. Select cloud storage (e.g. Google Drive™ or Dropbox™), enter "Display
name" and click "Sign in" to connect with the cloud storage. The "Display
name" is only for identifying cloud settings and not the account name for
Google Drive™/Dropbox™.
4. You will be directed to the respective authorization page for permission to
access your account. Sign in with your account name and password.
5. Go to "Sync Job Management" to add a new synchronization task. Select
local directory, account name and remote directory, set up schedule or
start immediately to synchronize files between TAS-168/268 and the
designated cloud folder.
6. After a new job is added, you can view and manage your jobs in "Sync
Job Management" . The following operations are available: start/stop
synchronization, edit, view logs of and delete the sync job.
Edutainment platform for the family – the Android™ system
Local display– the Android™ operating system
Hundreds of millions of people around the world use Android™. TAS-168/268’s
Android™ interface makes it easy for people who have never used NAS to get
started. You can plug a keyboard, mouse and HDMI display to the TAS-168/268
and use various functions through the familiar Android™ user interface, and a
variety of apps with local display, including Qfile, Qmanager, Qphoto, Qvideo,
Qmusic, Qget, MyNAS, Kodi™, etc.
Easy steps to quickly set up Android™
After entering the Android™ system for the first time, the system will start the
configuration procedure. It will guide you to configure the system language,
log into your Google™ account, set up the Google™ service, payment
information and customize other system settings. A keyboard, mouse, and
HDMI display are required for the setup process. You can start using Android™
afterwards.
3
4


