


8
2.2 Installation
Follow the steps below to install EvoStor system:
1. Unpack EvoStor package.
2. Install hard disk. (Skip this step if a hard disk is included in the package).
Note: Set the jumper of the hard disk in Master mode before installation.
3. Connect the power cable.
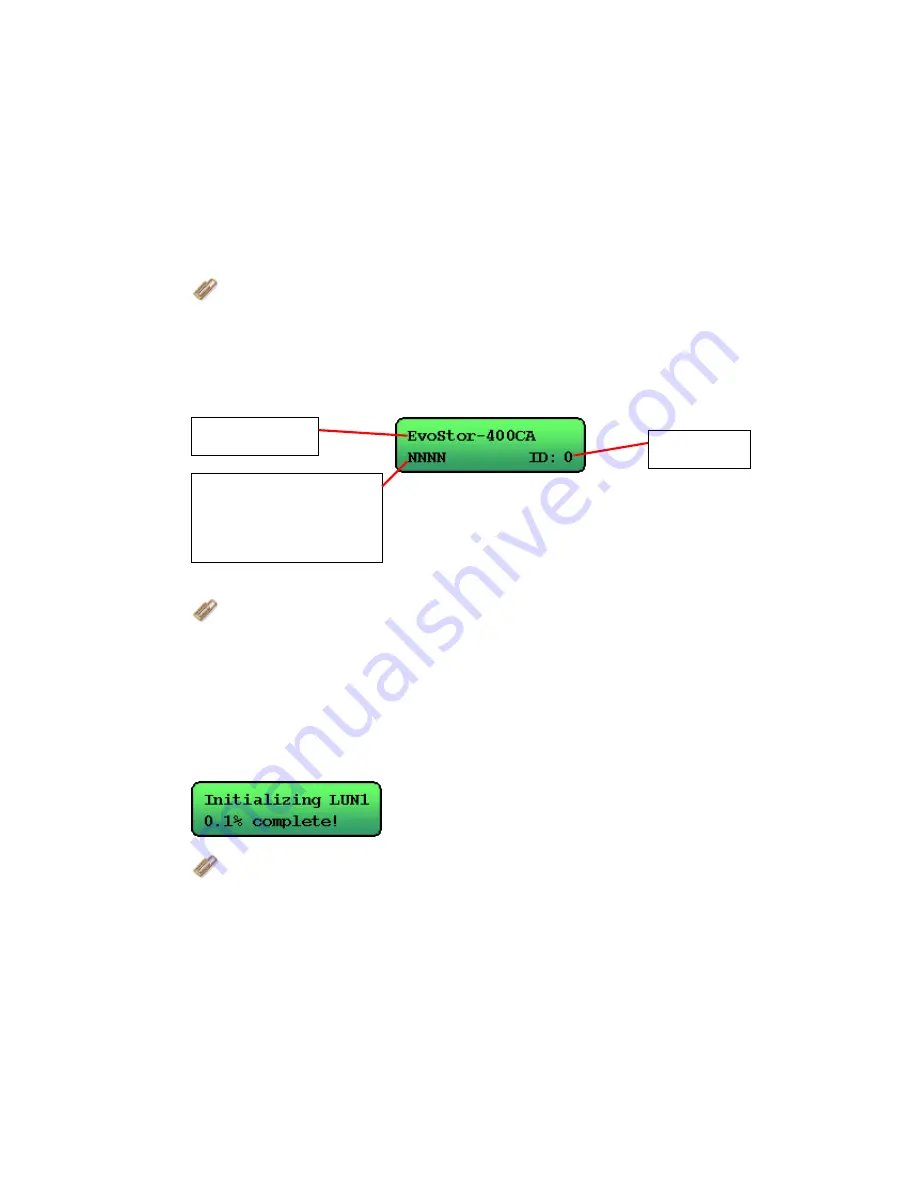
4. Turn on EvoStor. Upon successful switching on of the system, the following
message will be displayed on the LCD panel.
Note: Please refer to Appendix C for further information on symbols of
disk channel status.
5. Set the SCSI ID for EvoStor via the LCD panel if the ID duplicates with other
SCSI devices.
6. Create disk volume via the LCD panel. If you configure EvoStor as RAID 1,
0+1, 3, or 5, the percentage of initialization will be shown. Complete
initialization before proceeding to step 7.
Note: Please select LUN0 as the ID for this logic volume, as some O.S.
are not able to recognize logic volume ID other than LUN0. For
information about creating more than one logic volume, please contact the
O.S. distributor. For more details on Steps 5 and 6, please refer to
Chapter 3.1.2.
System Name
Disk Channel Status
(Displays the channel
status of the four
disks)
SCSI ID
Содержание EvoStor-400CA
Страница 1: ...EvoStor 400CA SCSI to ATA RAID Subsystem User Manual ...
Страница 23: ...23 Click Option and the window below will be shown Advanced Options ...
Страница 26: ...26 Step 2 Select the RAID level and stripe size to create for EvoStor ...
Страница 39: ...39 iv Click Finish to complete writing signature for Disk 1 Do not select to upgrade the disk Do NOT select ...
Страница 40: ...40 v Click Finish to complete ...
Страница 41: ...41 vi Creating disk volume Right click the newly detected disk and select Create Volume ...


