


15
•
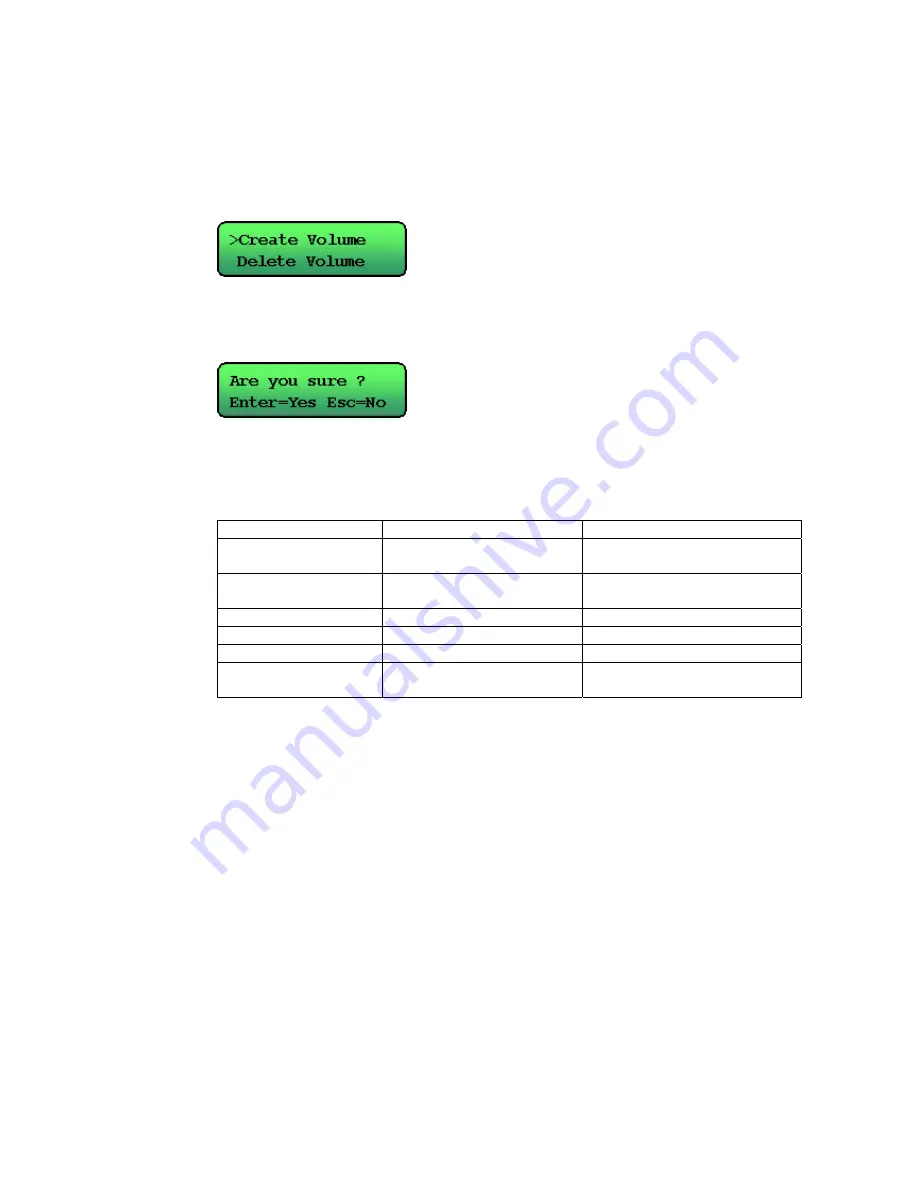
Create Volume
Step 1
Press the Function switch and use the Up and Down buttons to select
Create Volume. Then press Enter.
Step 2
Use the Up and Down, and Enter buttons to enter password. When
finished, the following message will be displayed:
Press Enter to confirm the setting or ESC to cancel.
Step 3
You can further configure the volume with the following advanced options:
Advanced Setting
Description Sub-menu
Volume ID
The ID number of logic
volume
LUN 0 ~ LUN 7 (Logic Unit
Number)
RAID Level
RAID level
NRAID, RAID 0, 1, 0+1, 3
and 5
Spare Disks
Spare disks of EvoStor
Select spare disk
Data Disks
Data disks of EvoStor
Select data disks
Stripe Size
The size of striped block
4, 8, 16, 32, 64, and 128K
Create LUN Now
Create logic volume
instantly
Yes or No
Use the Up and Down buttons to select the configuration item and press
Enter to proceed to the sub-menu.
Step 4
Use the Up and Down buttons to select the value and press Enter to
confirm.
Step 5
When finished, restart the computer. Press any button to return to the
menu.
Содержание EvoStor-400CA
Страница 1: ...EvoStor 400CA SCSI to ATA RAID Subsystem User Manual ...
Страница 23: ...23 Click Option and the window below will be shown Advanced Options ...
Страница 26: ...26 Step 2 Select the RAID level and stripe size to create for EvoStor ...
Страница 39: ...39 iv Click Finish to complete writing signature for Disk 1 Do not select to upgrade the disk Do NOT select ...
Страница 40: ...40 v Click Finish to complete ...
Страница 41: ...41 vi Creating disk volume Right click the newly detected disk and select Create Volume ...


