


- 52 -
4 Bulbs/ switch/instrument
Preparation data -------------------------------4.1 Instrument----------------4.6
Fault diagnosis --------------------------------4.2 Main switch --------------4.7
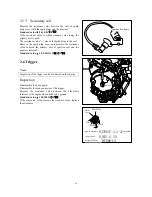
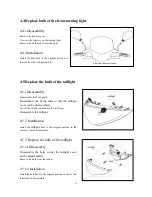
Replace the head light bulb -----------------4.3 Horn-----------------------4.8
Replace bulb of the front turning light-----4.4 Handle switch ------------4.9
Replace the bulb of the taillight ------------4.5
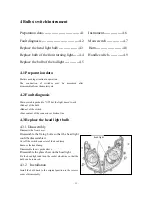
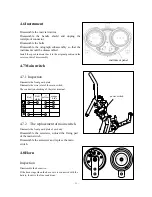
4.1 Preparation data
Matters needing attention in operation
The conduction of switches may be measured after
disassembled from the motorcycle.
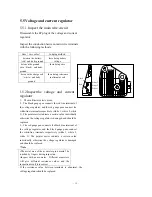
4.2 Fault diagnosis
Main switch is pushed to "ON" but the light doesn't work.
•Bad act of the bulb
•Bad act of the switch
•Poor contact of the connector or broken line
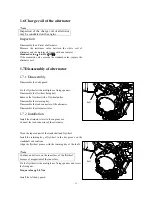
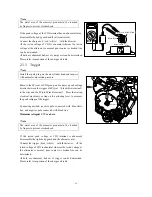
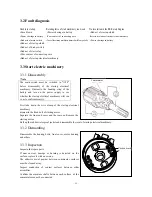
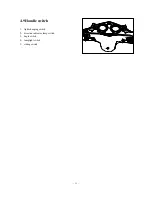
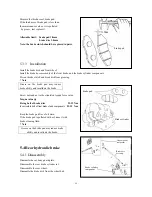
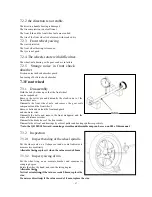
4.3 Replace the head light bulb
4.3.1 Disassembly
Dismantle the front cover.
Disassemble the fixing bolts so that the head light
could be disassembled.
Cut off the switch connecter of the head lamp.
Remove the head lamp.
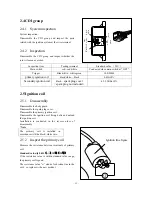
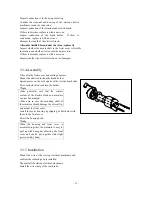
Disassemble the air guide sleeve.
Disassemble the glass sheet on the head light.
Fix the head light and turn the socket clockwise so that the
bulb can be removed.
4.3.2 Installation
Install the bulb back to the original position in the reverse
order of disassembly.
head light
Содержание QJ150T-10
Страница 15: ... 14 QJ150 10 ...
Страница 73: ... 72 Rear wheel rear suspension ...
Страница 78: ... 77 Lubrication system figure engine oil strainer oil pump bent axle camshaft piston ...
Страница 87: ... 86 ...
Страница 97: ... 96 ...
Страница 104: ... 103 ...
Страница 113: ... 112 Output axle Middle axle Input axle ...
Страница 116: ... 115 The assembly of bearings and oil seal should use special tools to prevent damage ...
Страница 121: ... 120 Cooling System Diagram thermostat water inlet mouth water outlet pipe water inl et mouth Pump ...
Страница 125: ... 124 Muffler ...
Страница 131: ... 130 ...