User Manual
24
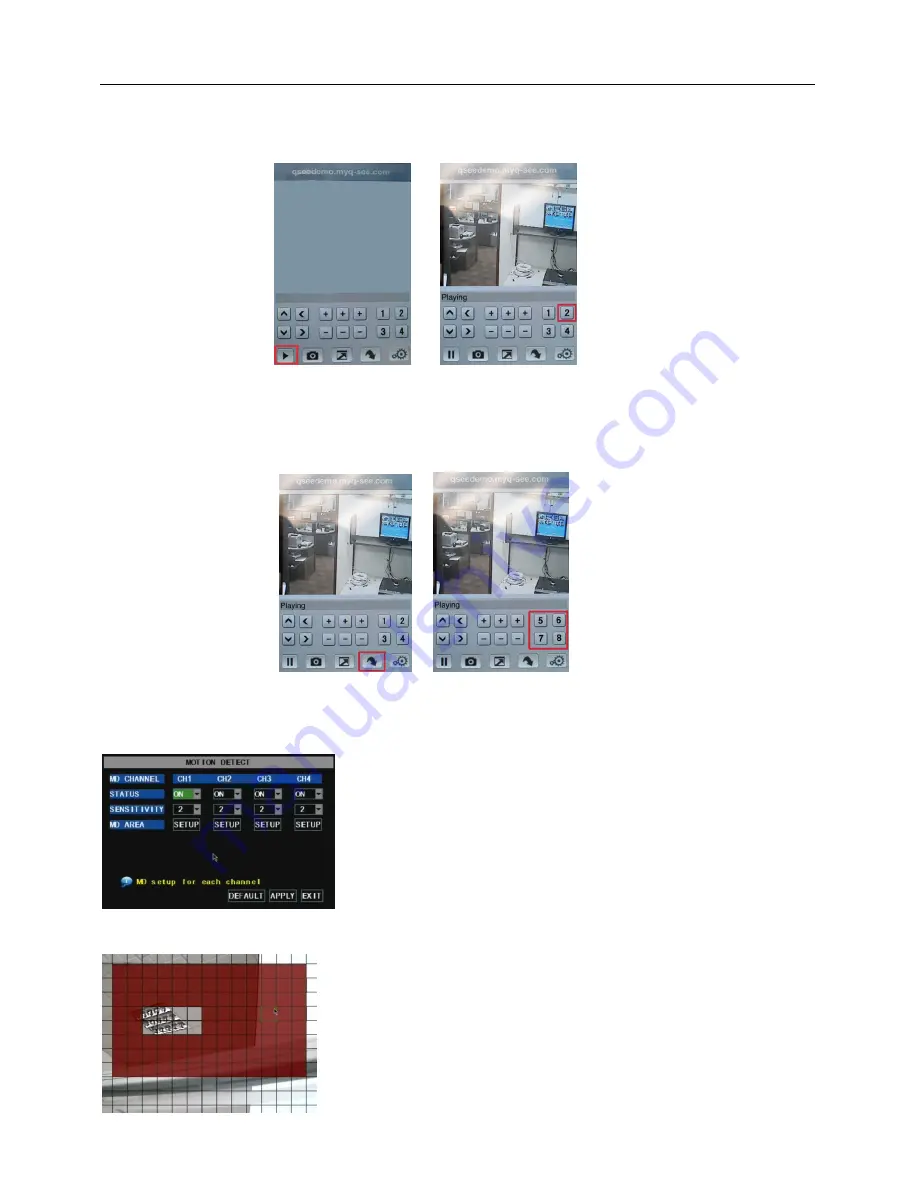
Click Play button on the bottom left corner (red box in first picture below) to connect to DVR. After
connecting, CH1 will display as shown in the second picture below. You can change to CH2 by push # 2 (red
box in second picture below).
If you have an 8 camera system you would click on the down arrow in the bottom row (red box in first picture
below) to view the buttons to access the next 4 cameras (as shown in the red box in the second picture below).
If you have a 16 camera system continue to click on the down arrow to access the rest of the cameras.
If you like this application, please leave good feedback in appstore.
5.2.6.5 Motion Detect
Click [Main
Device
Motion] to enter into the [Motion Detection]
menu to setup motion detection recording.
The [Motion detection] Menu has three sections, including
Channel Status, Sensitivity and Motion area.
Channel STATUS
: This option allow you enable motion detection
on any channel.
SENSITIVITY:
This option allows you to set sensitivity level of
motion detection from 1 to 4 with 4 being the most sensitive.
Picture 5-38
MD AREA:
This option allows you select the area you want to be
sensitive to motion. The channel is separated into a 13*10 area. When
any object moves into the motion detection area, and the area where
the object is located is displayed in red recording will be triggered. In
the semi-transparent area the motion detection is off.
Picture 5-39


