


10
11
SYSTEM INITIALIZATION
1.
After connecting the power adapter, turn on the power button
2.
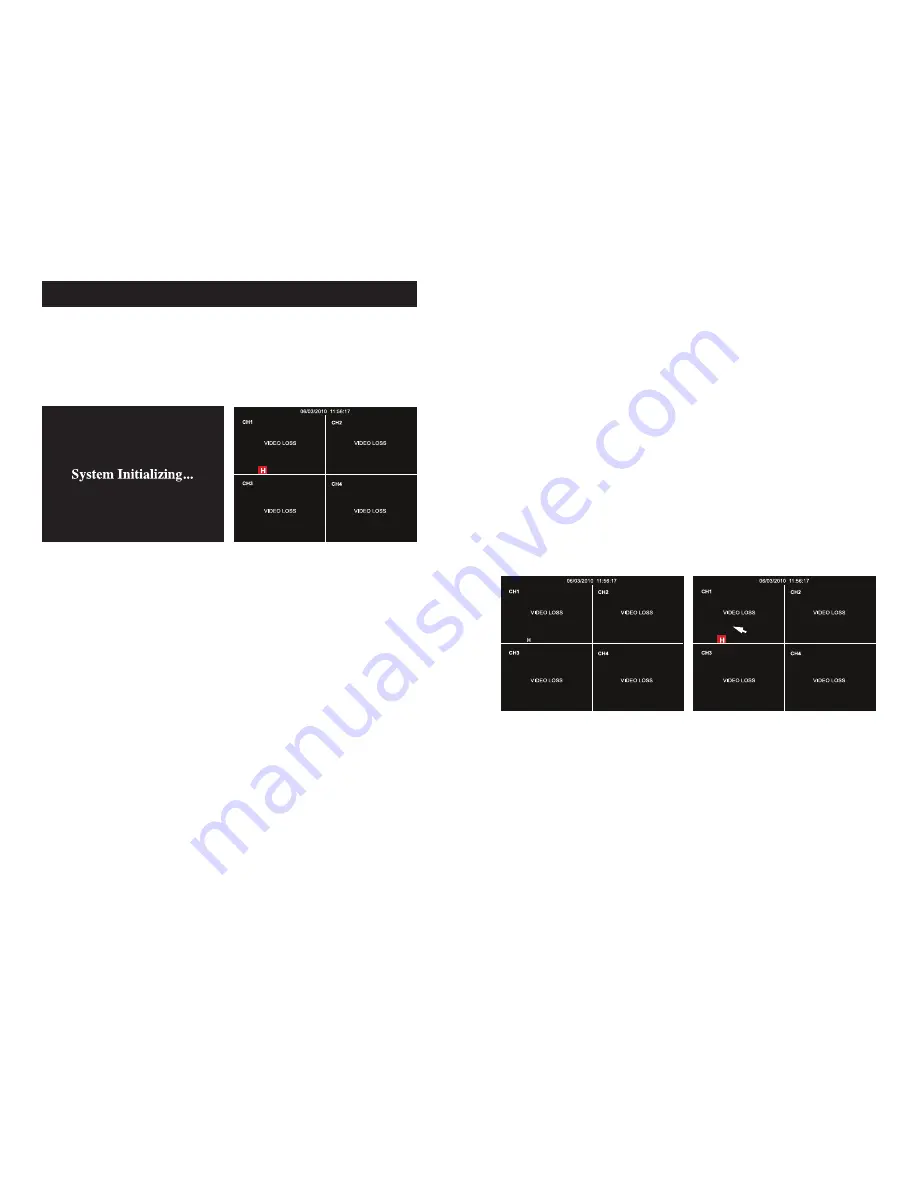
The system will boot-up and launch a “System Initializing” message, as shown in
IMAGE 1
.
IMAGE 1
IMAGE 2
MAIN INTERFACE SCREEN
Once the system initialization process is complete, the system will enter the main interface
screen (as shown in
IMAGE 2
).
STARTING THE DVR
TROUBLESHOOTING
Video Loss:
If the system does not detect a video input, you will receive a “Video Loss” message for each
camera as depicted in
IMAGE 3
. Once the cameras have been connected, the Main Interface
screen will display a live feed from each camera in its respective box as shown in
IMAGE 2
.
Alarm Sounds:
If the first box on the Main Interface screen displays an “H” and an alarm sounds, the DVR
does not detect a HDD. To turn the alarm off, navigate to [Device Management, Alarm setting].
Choose the “off” option next to “HDD loss, HDD space not enough and alarm output”. Return
to the section on installing the DVR and ensure the HDD is installed correctly.
CHANGE TO FULL SCREEN VIEW
To change to a full screen view on one of the cameras, from the Main Interface screen, posi-
tion the mouse over an image and double-click, as shown in
IMAGE 4
.
Double-click again to return to the multi-camera view (
IMAGE 3
).
IMAGE 3
IMAGE 4


