background image

Q-See Q25DVR4ES User's Manual

Q-See Q25DVR4ES User's Manual

Chapter 6: Recording -6.3 Recording Time on Hard Drive


Estimated record time based on a 120GB Hard Drive (Quad Mode) Unit: Hour


Quality

Frame Rate

30

15

7

1

HIGH

NORMAL

LOW

20

15

12

58

78
97

117
155

194

251

332

416

1748
2330

2913

System


System

Quality

Frame Rate

1

HIGH

NORMAL

LOW

20

15

12

12

117

194

1748

2330

2913

NTSC

25
70
93

146

243

291
388

485

6

Estimated record time based on a 120GB Hard Drive (Quad Mode) in hours:

120 (G Byte) x 1024 (M Byte) x 1024 (K Byte)          

Divided by:

        15 (K Byte/frame) x 7 (frame/sec.) x 60 (sec.) x 60 (min.)

        Estimated time would be 332 Hours

Page 10

Page 17

 [QUAD] button and hold for three (3) seconds to make each video 

channel enlarge to full screen. 

The full screen will be displayed for three (3) seconds, including Quad view.

The Loop Function will continue until any button is pushed. 

For example, [Stop] will stop the Loop function and may stop the recording 

depending on Record Schedule Settings.


2. Quad Mode:

 The DVR will compress and record all 4 video channels 

into one file, therefore user cannot enlarge a single channel to full screen in 

play back mode. 

  User can not use the video Loop Function in this mode.

Chapter 5: DVR Setup - 5.5 Recording Frame Rate


Chapter 5: DVR Setup - 5.6 Recording Quality


There are three levels of recording quality, High, Normal, and Low.

Higher quality uses more hard drive space.

Record frame rate, record quality and available hard drive space will affect 

the total recording time of the DVR system.


Chapter 7: Playback


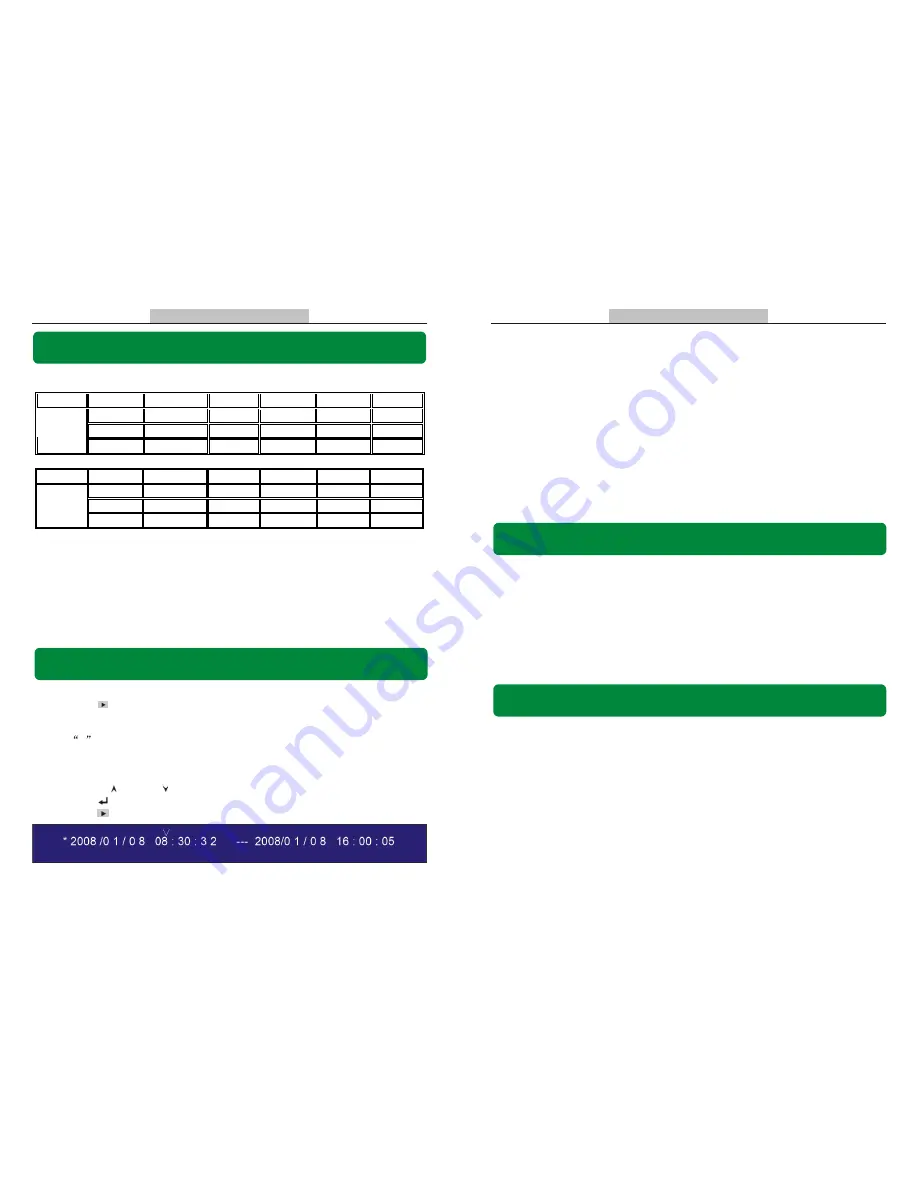
    Press [    Play] to play the last recording. 
    

Note: 

The DVR will play the last recording which has not been previously played 

until all recordings have been played.
    

*

Marks un-played video recording.

    During playback, press the [Menu] button to initiate the Time Search feature then 
the system will list all recorded video clips from the hard drive.
     Newest video will at the top of the list, press [FF] to change the select mode and 
then press [    Up] and [    Down] to select start time or date to change.
    Press [    Select] to edit time value.
    Press [    Play] again to continue playing the video.

     Recording frame rate will affect the movement of objects in recorded video. More frames 

per second gives smoother movement and uses more hard disk space. 

     System default value is 30fps (frames per second) for NTSC (PAL is 25fps), which means

 the system will record 30 frames per second shared by all cameras. User can set frame rate 

for NTSC to 30,15,10,7,5,4,3,2,1 frames per second (PAL is 25,12,8,6,4,3,2,1)

PAL

Содержание DVR

Страница 1: ...oducts 8015 E Crystal Dr Anaheim CA 92807 Website http www q see com Customer Service Phone 877 998 3440 x 538 Email cs dpsi usa com Tech Support Phone 877 998 3440 x 539 Email ts dpsi usa com Fax 714 998 3509 Q See Q25DVR4ES User s Manual Page 1 Rev 101207 ...

Страница 2: ......

Страница 3: ...ation Card and fax or mail it to us after the card is filled in You can also register the product by going to the website and clicking on the Register link www q see com Customer Information Card User s Name Mr Mrs Company Name Postal Address Postal code Phone Number E mail Model Number of Product Serial Number of Product Purchase Date Distributor 1 DVR Features 3 2 Layout 3 2 1Front Panel 3 2 2Re...

Страница 4: ...ion with Sensitivity and Area Settings Time Schedule Recording Motion Triggered Recording One ATA 100 Hard Disk Interface USB 2 0 Back up to computer With Remote Control Removable Hard Drive Tray Chapter 2 Layout 2 1 Front Panel 1 FUNCTION KEYS 2 REMOVABLE HARD DRIVETRAY 3 SELECTION DIRECTIONKEYS 4 HDD LOCK Page 3 Q See Q25DVR4ES User s Manual 1 1 2 2 3 3 4 4 Chapter 10 Appendix 10 2 DVRAccessorie...

Страница 5: ...C POWER SUPPLY 5 USB 2 0 PORT 1 1 2 2 3 3 4 4 5 5 Page 4 13 MENU Enter or exit setup menu 15 SEL Edit Modify item 06 Rewind 08 Forward 10 Pause 01 CH1 Select or enlarge CH1 03 CH3 Select or enlarge CH3 04 CH4 Select or enlarge CH4 05 QUAD Quad View 02 CH2 Select or enlarge CH2 07 Play recording list 09 Record 11 Stop recording 14 UP Move up prompt 16 DOWN Move down prompt Camera Specifications ...

Страница 6: ... 120 1024 1024 K byte 7 15 60 60 332 Hours Method Time Date Event Search Full Screen YES Dimension L x W x H 12 25in 5 25in 3 25in Video Output Channel 1 channel Composite BNC NTSC 120 frames second 4 x 30 frames second Display Frame Rate PAL 100 frames second 4 x 25 frames second NTSC Max 30 fps Quad Quad Mode Recording Frame Rate Quad PAL Max 25 fps Quad Quad Mode NTSC Each Channel 30fps Number ...

Страница 7: ...om the camera to the 4 Video Inputs on the DVR 2 Connect the 4 power feeds for the cameras to the power connectors on the cable near the video ports of the DVR connect the other end to the power supply and plug the power supply into a surge protector 3 Using the included RCA to BNC cable connect the yellow RCA connector from the cable to the RCA video in port on the TV connect the silver BNC conne...

Страница 8: ...splay the view from the cameras as well as the following Upper left Percentage of hard drive space used Middle Channel name CH 1 through CH 4 Bottom right Date and Time Bottom left Mode Status Hard Drive Info and Schedule Setting of the DVR Refer to 6 1 Start Recording 1 DVR Event List 2 Capture one frame picture 3 Save DVR s Recorded Video to PC 4 Configuration 5 Load Video File Saved in PC 6 Pla...

Страница 9: ...o select item Press Select to modify settings and Menu to exit Chapter 8 USB DVR Access 8 2 Program buttons Page 8 Page 19 Menu Directory CAMERA SELECT RECORD SELECT RESOLUTION RECORD FRAME VIDEO QUALITY SCHEDULE SET MISCELLANEOUS MENU HARD DISK SET MOTION SET FACTORY RESET MAIN MENU AUTO RECORD PASSWORD ENABLE PASSWORD CHANGE COLOR SET TIME SET ...

Страница 10: ...Un played video recording Page 9 Page 18 Chapter 5 DVR Setup 5 4 Record Mode There are two modes of resolution for video recording 1 Each Mode The DVR compresses and records each video channel separately so the user can enlarge a single channel to full screen display and still be recording on all channels You can also record on specific channels for example user can turn off the record function of...

Страница 11: ...ot use the video Loop Function in this mode Chapter 5 DVR Setup 5 5 Recording Frame Rate Chapter 5 DVR Setup 5 6 Recording Quality There are three levels of recording quality High Normal and Low Higher quality uses more hard drive space Record frame rate record quality and available hard drive space will affect the total recording time of the DVR system Chapter 7 Playback Press Play to play the la...

Страница 12: ...ser can setup video recording method by Time Motion Triggered and Continuous Recording No Recording T Continuous System Default A Motion Triggered Up Down To move the prompt Select To select Method Numbers along bottom are hours of the day Chapter 5 DVR Setup 5 8 Sub Menu Auto Record Chapter 5 DVR Setup 5 9 Sub Menu Password Enable Chapter 6 Recording 6 2 Stop Recording When the function is set to...

Страница 13: ... Setup 5 15 NTSC PAL Output Selection Change the J10 jumper on the system board to select NTSC or PALvideo output as marked on the silkscreen of the system board NTSC PAL Select Page 12 Page 15 Chapter 5 DVR Setup 5 11 Sub Menu Color Set HUE 0 99 SATURATION 0 99 CONTRAST 0 99 BRIGHTNESS 0 99 Button function Up Down moves the prompt REW Increase Value FWD Reduce Value CH1 CH4 QUAD Select Channel Me...

Страница 14: ... Select to adjust sensitivity of motion detection on each channel High 1 9 OFF Low When it s OFF the channel cannot be triggered by movement CHANNEL AREA SET Press Select to enter the sensitive area of each camera The picture of the selected channel is divided into 144 12 12 blocks press REW to move left press FWD to move right press UP to move up press DOWN to move down press Select to set the bl...

Отзывы: