


3
Unpacking Instrument
Remove the instrument and accessories from the shipping container and inspect each item for any damage
that may have occurred during shipment. Verify that all items listed on the packing slip are included. If any
items are missing or damaged, please contact Pyxis Customer Service at
3.1
Standard Accessories
• Four (4) AA alkaline batteries
• Bluetooth/USB Adapter for Desktop
P/N: MA-NEB
• User Manual available online at
https://pyxis-lab.com/support/
3.2
Optional Accessories
The following optional accessories can be ordered from Pyxis Customer Service (
) or
Pyxis eStore at
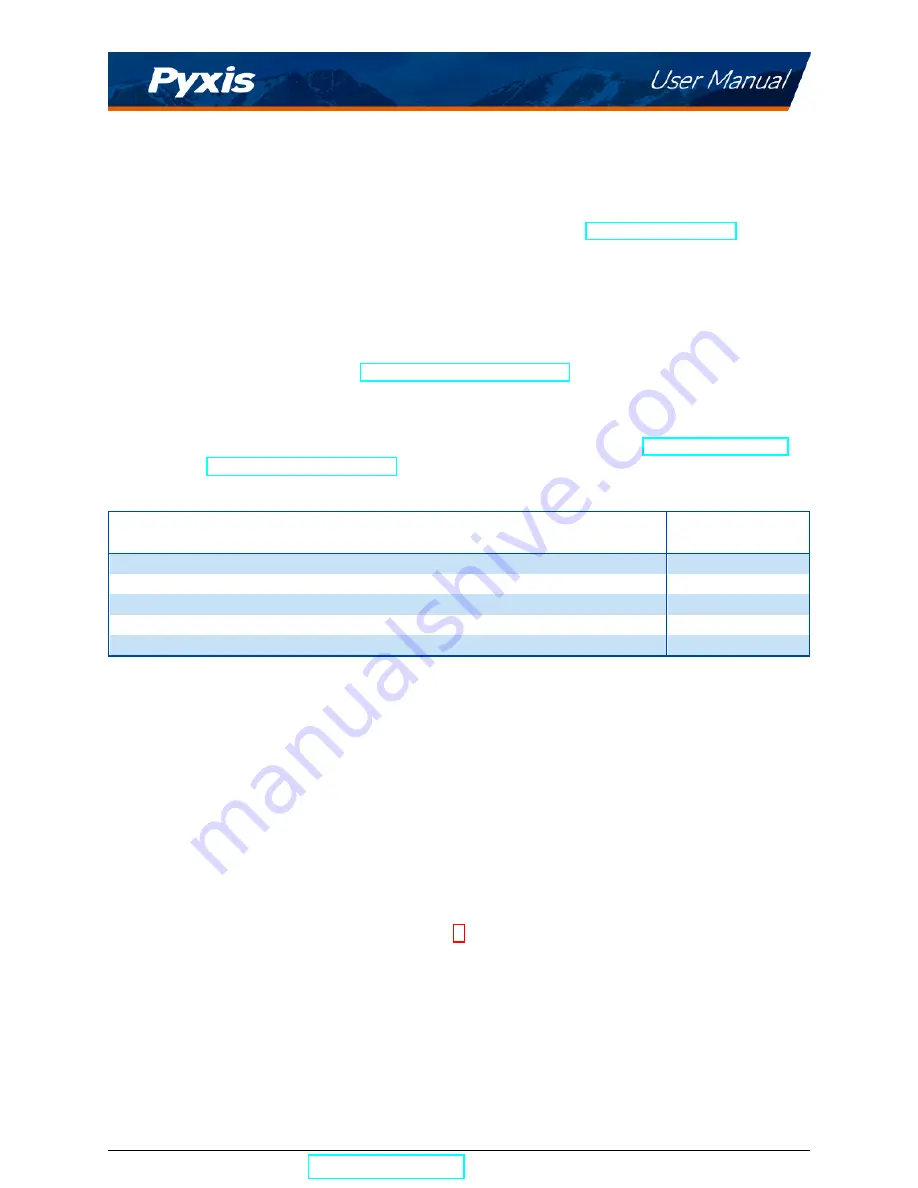
Table 2.
Optional Accessories
Accessory Name
Part Number
(P/N)
Pyxis Carrying Case for Handheld Devices
50725
Pyxis 10 ppm Fluorescent P 100 ppb PTSA Combined Standard — 500 mL
21055
Pyxis 10 ppm Fluorescent Polymer Calibration Standard — 500 mL
21054
Pyxis 20 ppm Fluorescent Polymer Calibration Standard — 500 mL
21053
Pyxis Handheld Cleaning Kit
SER-02
4
Installation
4.1
Battery Installation
The SP-350P is powered by four alkaline batteries. Typical battery life lasts for 3,200 measurements or 10
months. When the battery capacity is critically low, the SP-350P will display a ”LOW BATTERY” warning for
5 seconds and then automatically turn off.
*
NOTE
*
Do not use rechargeable nickel cadmium (NiCad) or lithium batteries.
Replace the batteries to resume operation of the SP-350P after the battery warning. The SP-350P will au-
tomatically turn on in the measurement mode after new batteries are installation.
The SP-350P battery compartment, shown in Figure 1, is on the back side of the instrument. Batteries are
held in place by a cover secured with two Phillips-head screws.
SP-350P User Manual
| +1 (866) 203-8397
4
Содержание SP-350P
Страница 1: ......
Страница 4: ...13 Contact Us 18 SP 350P User Manual service pyxis lab com 1 866 203 8397 1...


