


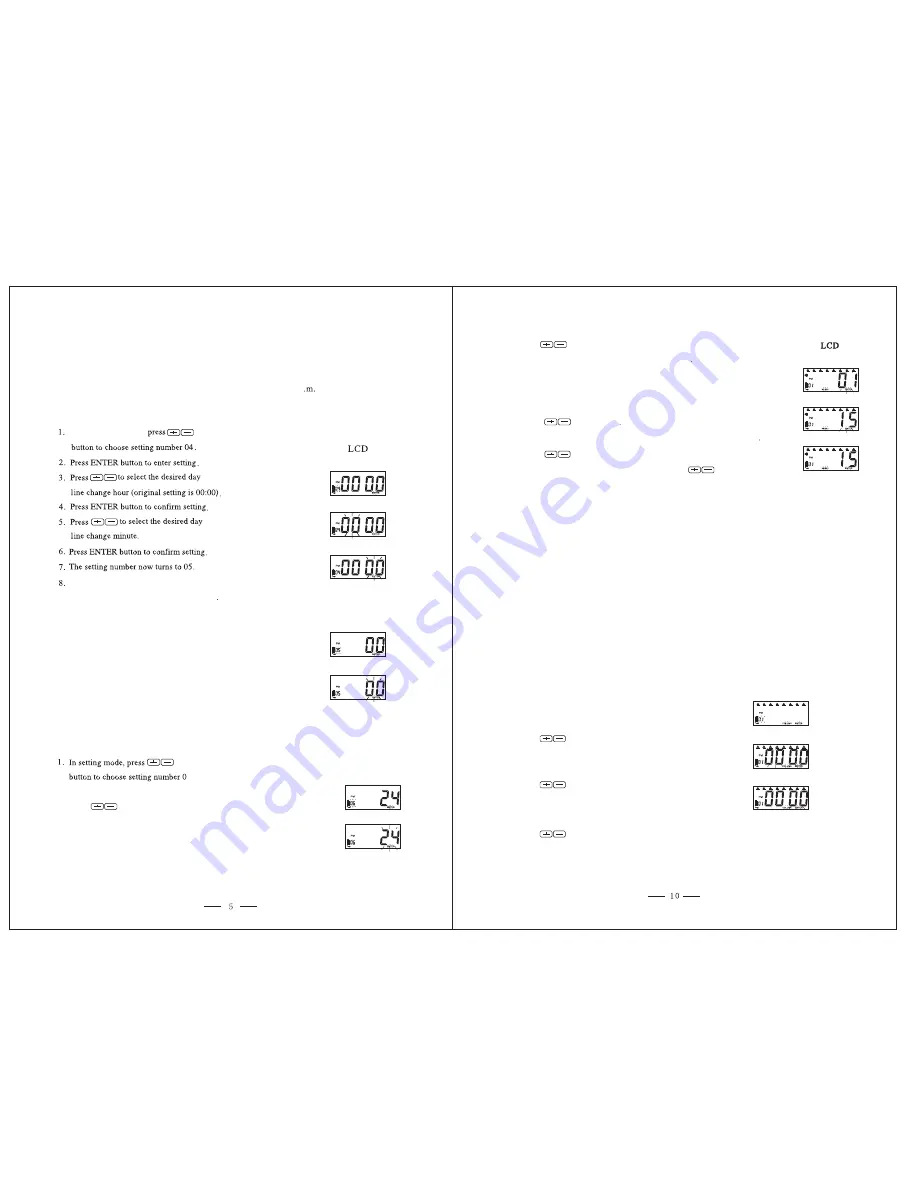
In the SETUP mode,
Continue to next feature set up or slide the SETUP button to the
right to complete and exit setting mode
4.5 SETTING CARD FORMAT - 05
This function is factory set at “00” to correspond to the time card
available for this unit.
Press ENTER, ENTER to go
to the next feature.
Only buy Pyramid Part Number 42426 time cards.
4.6 PRINT AND DISPLAY TIME FORMAT - 06
This function sets the unit to display and print the time in either AM/PM (12 hour time)
or Military time.
2. Press ENTER button to enter setting
3. Press to select 12 for AM/PM or 24 for Millitary
4. Press ENTER button to confirm setting
5. The setting number now turns to 07
6. Continue to next setting or slide the SETUP button to the right to
complete and exit setting mode
.
.
.
.
.
.
6
The maximum duration allowed is 30 seconds
8. Press to set music duration in seconds (default is 15 seconds)
9. Now display turns to day setting (indicator flashing under Sunday)
Press ENTER button and the entire week will be set and skip to step 14
Note: Use steps 10-13 for any days that you want to delete the setting
10. Press to select day
11. Press MUSIC button once to delete selected day for color print
12. Press to move to the next day and repeat step 11
Note: If you want to undelete the day, press button
to choose the day to undelete, and press
the MUSIC button to add the day back.
13. After completing deleted days setting, press
ENTER button to confirm setting
14. The setting number turns to 02. Repeat steps 2-13 (total of 12 settings allowed)
to continue next setting or slide SETUP
button to the right to complete and exit setting
.
.
5.3 SETTING AUTOMATIC COLUMN ADVANCEMENT
This function automatically advances the In/Out buttons to the next column on the time
card at a preset time. The employee will not have to manually select the column for
In/Out punches; however, a different column can be set manually by pressing the
top In/Out button to the desired column.
1. In setting mode, press COLUMN button
to enter column setting
2. Press ENTER button to enter hours setting
3. Press to select desired hours for
4. Press ENTER button to confirm setting
5. Press to select desired minute for
column
.
6. Press ENTER button to confirm setting
7. Press to select column 01-04 for print.
.
.
.
.
shift
shift.
auto
olumn
c
4.4 SETTING DAY LINE CHANGE TIME - 04
This function will allow you to set the time of the day that the unit will switch to the next
row or date line of the time card. For example, if your company has a second shift that
ends at 1 a.m., you may want to set the line or row to change at 3
to assure that
individual punching out for the second shift have the punch in/out time on the
same line
.
a
Содержание 2400AT
Страница 1: ...2400AT 4 I2211AT Rev B I2211AT Rev C...


