background image

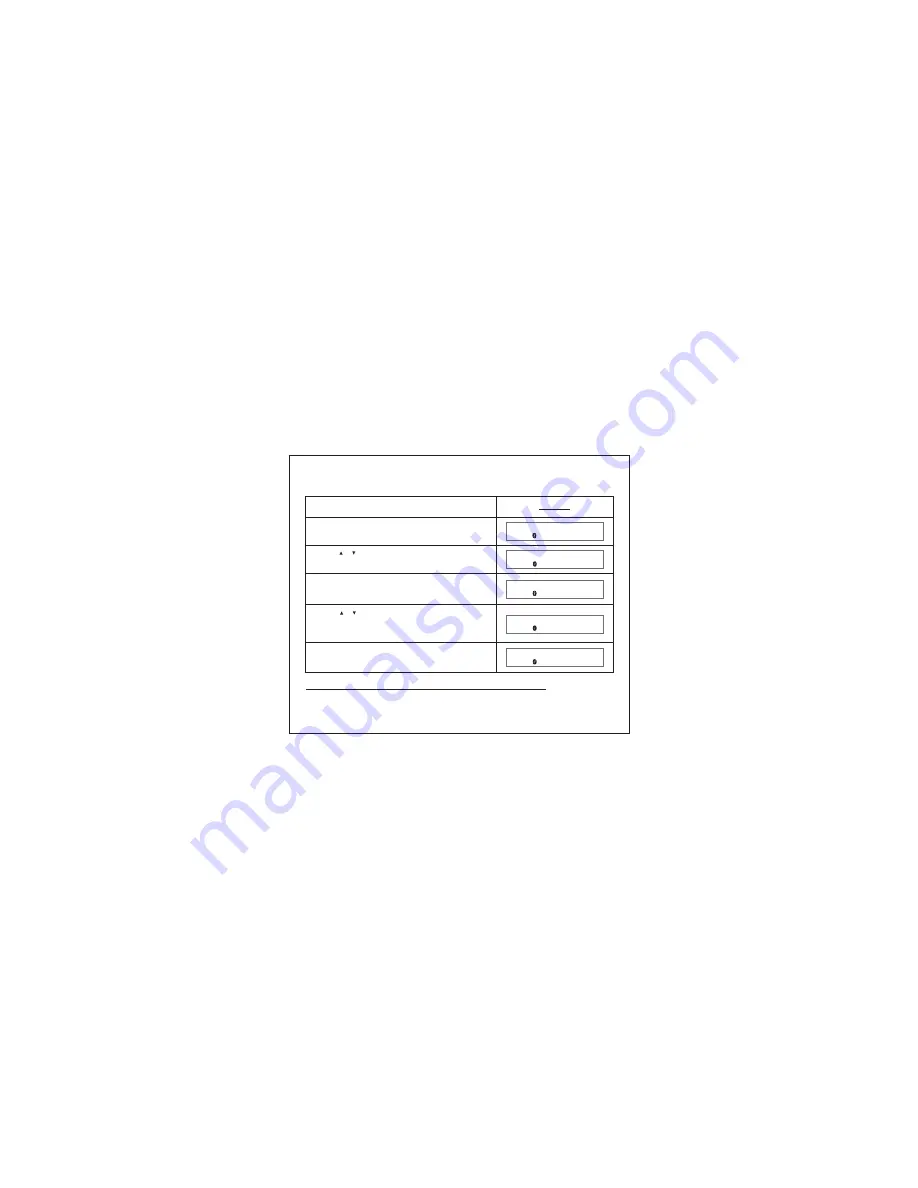
6.3.3 Delete a phone book entry

Deleting a single entry

Display

J o h n

D a v i d

Open the phone book and press

button

Press

button

D E L E T E

E N T R Y

N E W

E N T R Y

[OK]

[OK]

Press

button to select the desired name

from the phone book

[ ]

[ ]

/

[OK]

Press

button to select menu item

<DELETE ENTRY> and confirm by pressing

button

[ ]

[ ]

/

D E L E T E D

The entry is deleted with confirmed
message “DELETED”

Warning: “DELETE ALL” will delete all phone book entries.

35

Содержание Blue Tech PBT78XP

Страница 1: ...Bluetooth Dialing Car Kit PBT78XP User Manual Environmental friendly 90 00 mm 110 00 mm...

Страница 2: ...k you for buying PBT78XP Dialing Car Kit which features p 2 way voice recording large LCD display Caller ID Call waiting and many more advanced functions Enjoy happy and safe driving full duplex ortab...

Страница 3: ...ck light will turn on 1 3 How to establish Bluetooth Link with Car Kit 3 1 Pairing with mobile phone 3 2 Pairing with Bluetooth dongle Connect with mobile phone Disconnect with mobile Phone 4 How to m...

Страница 4: ...ough main menu 29 2 3 Delete a Call list entry 2 4 Delete all Call list entries 2 5 Copy the Call list entries to the phone book 3 Phone book operation 3 1 How to enter a phone book 3 2 Opening the ph...

Страница 5: ...ti language selection Caller ID Display 7 level Volume control Call duration timer Microphone muting Handsfree speaker phone operation Echo cancellation Noise reduction Dialing key pad to make the cal...

Страница 6: ...1 2 Profile 1 2 3 4 5 6 7 4 OK button 5 C button 7 Dialing keypad 6 Call button 1 LCD Display 3 Voice recording and Play back button 2 Menu button 6...

Страница 7: ...6 6 Line 12 dot matrix characters display for alpha numerical character Phone icon BT link connected icon Voice recording play back icon Voice recording icon Battery level indication 1 2 3 4 5 LCD Dis...

Страница 8: ...rt Voice recording during a conversation Playback recording log when the Car Kit is idle Pause play back during voice recording playing Restart play back during Pause Menu scrolling up direction Volum...

Страница 9: ...is idle Exit menu during menu is scrolling Voice recording item operation when Voice recording item is playing back OK Enter menu item when menu is scrolling Confirm operations i e delete item copy i...

Страница 10: ...for the first time please plug the provided car charger into the cigarette lighter to charge the batteries for 6 hours After the first time you can fully charge your low batteries in 4 hours Fig 1 Met...

Страница 11: ...11 Fit the Car Kit onto the metal stand to achieve the most favourable sound quality Fig 3 Fig 4 Backside of the Car Kit Fig 3 Fig 4 ON OFF ON OFF...

Страница 12: ...ition the external microphone Fig 5 Fig 6 Fig 7 Insert the external microphone jack into the microphone socket Fig 5 Fig 5 Fig 6 Suck it to the windshield Fig 6 Windshield Air suckers Socket Microphon...

Страница 13: ...power switch from off to on position 2 4 2 LCD and back light will turn on Remark please plug the provided car charger or AC DC adaptor optional to DC Socket of Car Kit to charge rechargeable battery...

Страница 14: ...ess Press button to access menu system Press button and button to select PAIRING OK Press button to confirm after a confirm tone is issued and display showns PAIRING Then follows mobile s operation me...

Страница 15: ...n the Car Kit is idle and is disconnect with mobile phone Press button to access menu system Press button to select item and press button to confirm PAIR BT UNIT OK W E L C O M E P H O N E B O O K P A...

Страница 16: ...obile phone The Car Kit can connect with a paired mobile phone by pressing button to search or following the below steps Press button to access menu system Press button to select CONNECT item and pres...

Страница 17: ...below steps When the Car Kit is idle and is connected with mobile phone Display D I S C O N N E C T P H O N E B O O K W E L C O M E C O N N E C T E D Press button to access menu system Press button an...

Страница 18: ...he mobile phone Using the key pad to dial the phone number Press button to make an outgoing call LCD display shows call timer Press button to end the call The Car Kit will go back to idle state Displa...

Страница 19: ...one button to accept the call Display C O N N E C T E D 1 2 3 4 5 6 0 0 0 5 0 1 When there is an incoming call the LCD display will show the caller ID or RINGING R I N G I N G T A L K I N G Press phon...

Страница 20: ...4 3 Muting microphone Display S E C R E C Y O N 0 0 0 0 0 1 Press to mute the microphone while in conversation button C Press again to unmute the microphone button C 20...

Страница 21: ...l coming the LCD display will show the caller ID S W I T C H C A L L S W I T C H C A L L After all calls are ended the Car Kit will go back to idle mode Press to accept the incoming call and hold the...

Страница 22: ...0 0 1 Press the button to dial 4 5 Dialing from Dial list Display 2 3 8 9 0 0 0 0 0 0 1 Press the button to dial Press then press to select the desired number from dial list button Press then press to...

Страница 23: ...button to select the desired name from phone book 23 5 Multi language selection Press button to select and confirm by pressing button ENGLISH SPANISH GERMAN FRENCH OK Press button to open the menu C...

Страница 24: ...y pressing button Display Press button to exit Dial list Press button to exit When the Car Kit is idle D I A L L I S T Press button to open the Dial list Press button to scroll through the list C O N...

Страница 25: ...al list through main menu Display D I A L L I S T C O N N E C T E D 1 8 6 0 Press button to open the menu Press button to select item DIAL LIST and confirm by pressing button OK Press button to scroll...

Страница 26: ...nfirm the deletion Display D E L E T E D 1 8 6 0 8 3 5 5 2 7 6 1 D E L E T E E N T R Y D E L E T E E N T R Y The entry is deleted with confirmed message DELETED Press button to open the Dial list Pres...

Страница 27: ...4 5 Press button to open the Dial list D E L E T E E N T R Y D E L E T E A L L D E L E T E D The entry is deleted with confirmed message DELETED Press button OK OK Press button to select the menu item...

Страница 28: ...L L I S T Press button to open the Call list C O N N E C T E D C O N N E C T E D 1 2 3 4 5 2 3 4 5 6 7 Press button to scroll through the list Press button to exit the Call list C Press button to exit...

Страница 29: ...list through main menu Display C A L L L I S T C O N N E C T E D 1 2 3 4 5 6 Press button to open the menu Press button to select item CALL LIST and confirm by pressing button OK Press button to scro...

Страница 30: ...D E L E T E E N T R Y D E L E T E E N T R Y The entry is deleted with confirmed message DELETED Press button to open the Call list Press button to select the desired number from the Call list Press b...

Страница 31: ...3 4 5 D E L E T E E N T R Y D E L E T E A L L D E L E T E D The entry is deleted with confirmed message DELETED Press button to open the Call list Press button OK Press button to select the menu item...

Страница 32: ...ss button to select the desired number from the Call list Press button OK Press button to select the menu item COPY TO DIR and confirm by pressing button OK A B C Enter the name and confirm by pressin...

Страница 33: ...2 1 9 1 8 8 9 9 P H O N E B O O K D a v i d D a v i d N E W E N T R Y Press button Press button and select NEW ENTRY Press button and enter the name Press button and enter the number Press button to...

Страница 34: ...d N E W E N T R Y B O O K Press button to scroll through the list Press button to switch between the name and the telephone number When the unit is idle and is connected with mobile phone Open the pho...

Страница 35: ...Press button D E L E T E E N T R Y N E W E N T R Y OK OK Press button to select the desired name from the phone book OK Press button to select menu item DELETE ENTRY and confirm by pressing button D E...

Страница 36: ...H I Display will show the recording mode selected Press button to open the menu OK Press button to select item RECORD MODE and pressing button OK Press button to select the desired recording mode and...

Страница 37: ...ng 6 Voice 37 Display 0 0 0 0 0 1 When the Car Kit is in use 0 0 0 0 0 1 0 0 0 2 0 1 Press button to start recording Press button again to stop voice recording When the call ends the record message wi...

Страница 38: ...or previous message M E S S A G E M E S S A G E C O N N E C T E D C O N N E C T E D When the Car Kit is idle and is connected with mobile phone 1 2 M E S S A G E 2 Press button to stop the playback C...

Страница 39: ...s to the default level Display S Y S T E M R E S E T R E S E T R E S E T O K When the Car Kit is idle and connected with mobile phone The Car Kit will ask you to confirm reset the system Press button...

Страница 40: ...tand Provided Provided 1 x External microphone Optional 1 x Adjustable windshield stand 2 x Double sided adhesive tape for metal stand Provided Provided 3 x Air suckers 1 x AC DC adaptor Optional Prov...

Страница 41: ...particular installation If this equipment does cause harmful interference to radio or television reception which can be determined by turning the equipment off and on the user is encouraged to try to...

Страница 42: ...d void the user s authority to operate this equipment IMPORTANT NOTE FCC Radiation Exposure Statement This equipment complies with FCC radiation exposure limits set forth for an uncontrolled environme...

Страница 43: ......

Страница 44: ......

Отзывы: