background image

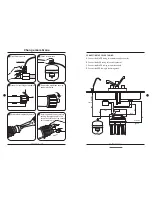
Install European ceramic faucet :

07

1.Remove the membrane housing cap.

2.Replace the membrane.

PRO

P

URE

DRINKING WATER SYSTEM

DRINKING WATER SYSTEM

To RO system

Deliver valve

To faucet

To water source pipe

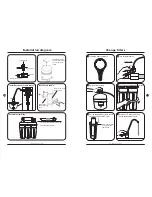
Install drain saddle :

Assemble membrane :

Hand tighten plastic
shut-off valve to tank.
Then connect color
tubing.

Drill a 1/4" hole into
the drain pipe.

Mount drain
saddle aligning
holes.

Installation diagram

1

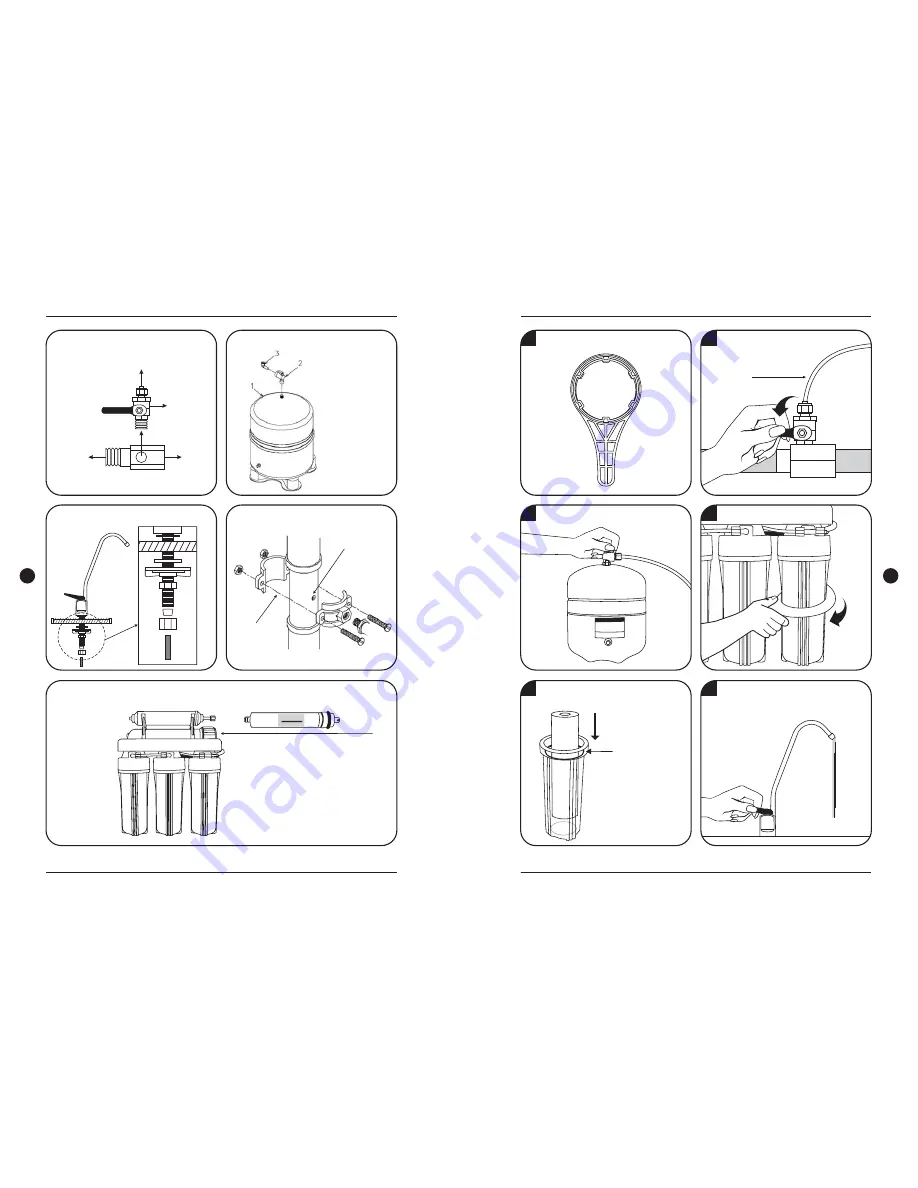
Prepare a housing wrench.

6

Put the replacement filters in the
housings and double O' ring.

7

Drain out 1 Gallon of water to
purify replacement filters.

DRINKING WATER SYSTEM

Change filters

Be sure tighten with
O-ring to prevent
from leaking.

5

Open housings clockwise with a wrench.

3

Switch off water tank.

2

Turn off water source.

To RO system

EC105 Economic Type

EC105 Economic Type

Содержание EC105

Страница 1: ...The parts of 06 07 09 10 12 14 15 EC105 Selected filters EC105 Tubing connection diagram Installation diagram 08 Change filters Change membrane Operation regulation FAQ Maintenance checking list Memo Thank you very much for selecting Pure Pro Water Corp In order to bring the best use of your system please read the user s manual carefully before installation and follow the regulations Memo EC105 EC...

Страница 2: ...ooper barium chromium mercury sodium cadmium fluoride nitrite nitrate and selenium that may be present in your water but also brings you healthy pure tasting water from your fingertips Maintenance checking list Date Filters 1st stage 2nd stage 3rd stage 4th stage 5th stage Other items EC105 Economic Type EC105 Economic Type Production 50 GPD 189 LPD 100 factory tested and sterilized ready for inst...

Страница 3: ...entrated beverages like orange juice will taste tangier You will probably be drinking a lot more water as well since many people drink soda Kool Aid concentrated juices and beer as an alternative to bad tasting tap water Also Pure Pro eliminates most of the lime build up on drip coffee makers preventing the need for frequent cleaning No longer will you find the white scum on the inside of pans aft...

Страница 4: ... fall to half of that at 76 F The maximum water temperature recommended is 85 F 3 The higher the amount of dissolved contaminants in the water the lower the quantity of water produced A high level of TOTAL DISSOLVED SOLIDS can be overcome with additional water pressure 4 Different membranes have different characteristics Some produce more water than others some have better contaminant rejection ca...

Страница 5: ...enium NSF approved This post carbon filter is designed to improve taste It removes any residual impurities and odors from the tank and provides a finer conditioning of pure water 5 Micron Sediment Filter 1 Micron Sediment Filter A With everything connected turn on the water check for leaks B Make sure the storage tank shut off valve is OFF Open the sink top faucet C Within a few minutes up to 15 t...

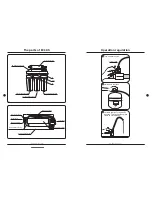
Страница 6: ...on 1 Turn on water source To RO system The parts of EC105 RO membrane housing Post carbon filter The 1st stage housing The 2nd stage housing The 3rd stage housing IN OUT IN To the tank Post carbon filter Housing bracket white RO membrane housing To drain out tube To the faucet Auto shut off valve EC105 Economic Type EC105 Economic Type Mini flow restrictor ...
Страница 7: ...ng to the storage tank A B C D DRINKING WATER SYSTEM PRO RE NG WATER SYSTEM 3 Loose the Joco fitting anticlockwise 4 Remove the membrane housing cap anticlockwise O 5 Remove the membrane by a pincer 6 Install the membrane by carefully pushing the spigot end into the socket at the far end of the housing until completely in 1 Turn off water source 2 Switch off water tank Change membrane To RO system...

Страница 8: ...connect color tubing Drill a 1 4 hole into the drain pipe Mount drain saddle aligning holes Installation diagram 1 Prepare a housing wrench 6 Put the replacement filters in the housings and double O ring 7 Drain out 1 Gallon of water to purify replacement filters DRINKING WATER SYSTEM Change filters Be sure tighten with O ring to prevent from leaking 5 Open housings clockwise with a wrench 3 Switc...

Отзывы: