CONNECTING TO NETWORK
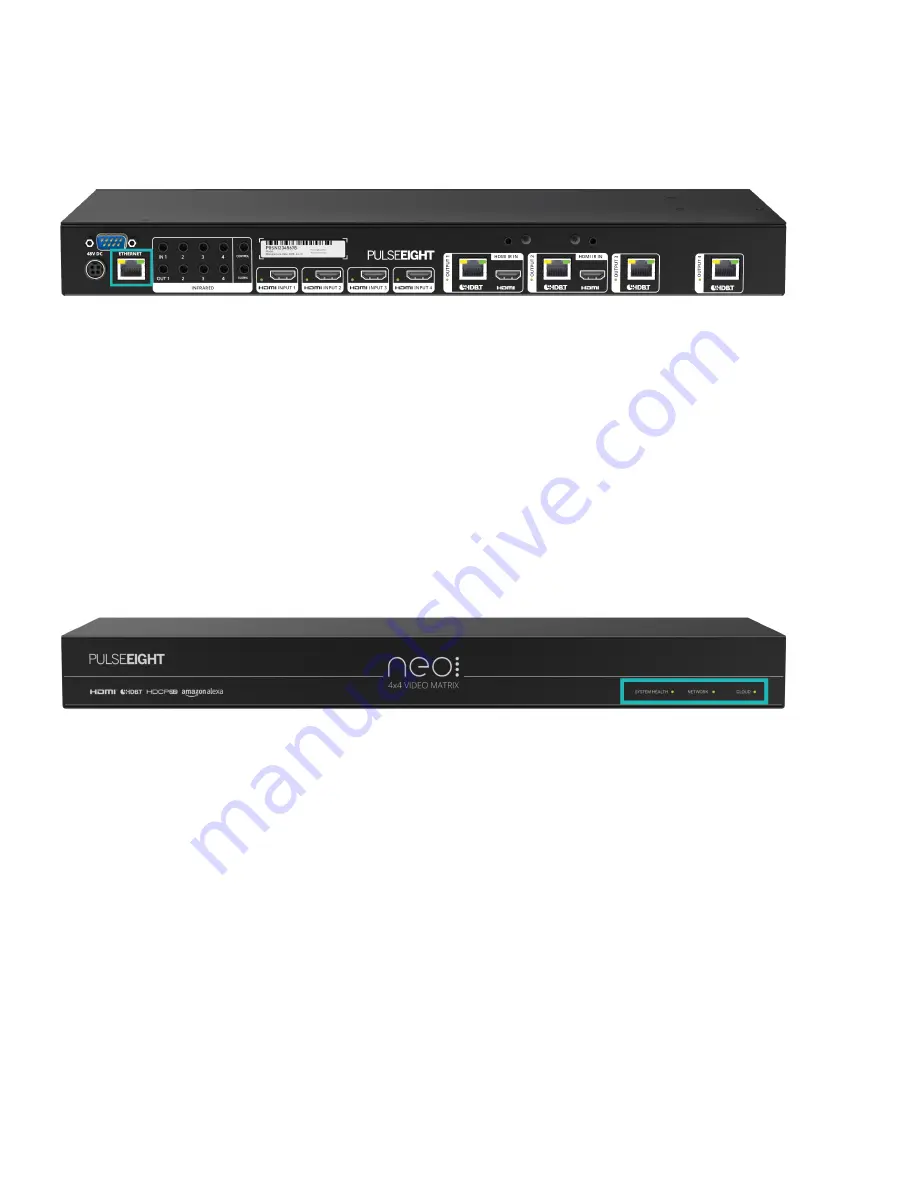
11. Connect a standard Ethernet cable (Category 5e/6/7) from the matrix's 'Ethernet' port to your router or network
switch. Crossover cables are not supported.
Note: Network connection is required for supporting full control/remote monitoring features and firmware updates.
TURNING ON THE MATRIX
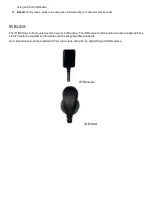
12. Insert the supplied power cord into the matrix.
13. Plug into the AC mains.
14. As it powers ON, the front panel LEDs (System Health, Network, Cloud) will illuminate momentarily before it begins
its initialization sequence.
Note: The initialization process takes between 20 seconds and up to 2 minutes. However, it is possible that a firmware
update may be available the first time the unit is powered ON - in this instance the matrix may take longer to initialize. If
both the System Health and Network LEDs flash (orange/green) quickly together then a firmware update is being
applied. Please wait and do not disconnect the power until this update has completed.
15. Once initialization has been completed, the System Health, Network and Cloud LEDs should all appear ON (green).
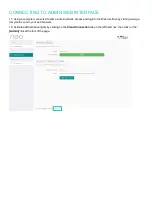
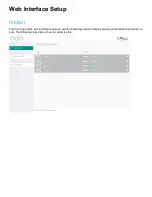
16. You are now ready to setup the matrix using the web interface. Please follow the steps in the 'Connecting to Admin
Web Interface' section.
Содержание neo 4*4 Video Matrix
Страница 1: ...neo 4 Professional Video Mat rix Product User Guide...
Страница 42: ...Concept Wiring Guideline...
Страница 49: ...To attach the driver to your project please follow the steps below 1 Select Pair Devices...
Страница 50: ...2 In the Pair Devices section of the Crestron Home configuration please select Drivers and then the device type...
Страница 51: ...3 For the Pulse Eight Neo Matrix please select AV Switcher when choosing the appropriate device type...
Страница 59: ...Additional FREQUENTLY ASKED QUESTIONS FAQ Please visit Pulse Eight Support page for a more updated FAQs...


