Page
8
of
12
Rev 1.1 10/17
●
Click on "Save" after adding or deleting cameras or modifying any camera settings.
o
Important: To change any configuration or parameters, you must click “Save”, otherwise the changes will
not be saved.
3.2 Configuration Page (also accessed via the gear symbol in the top right corner)
●
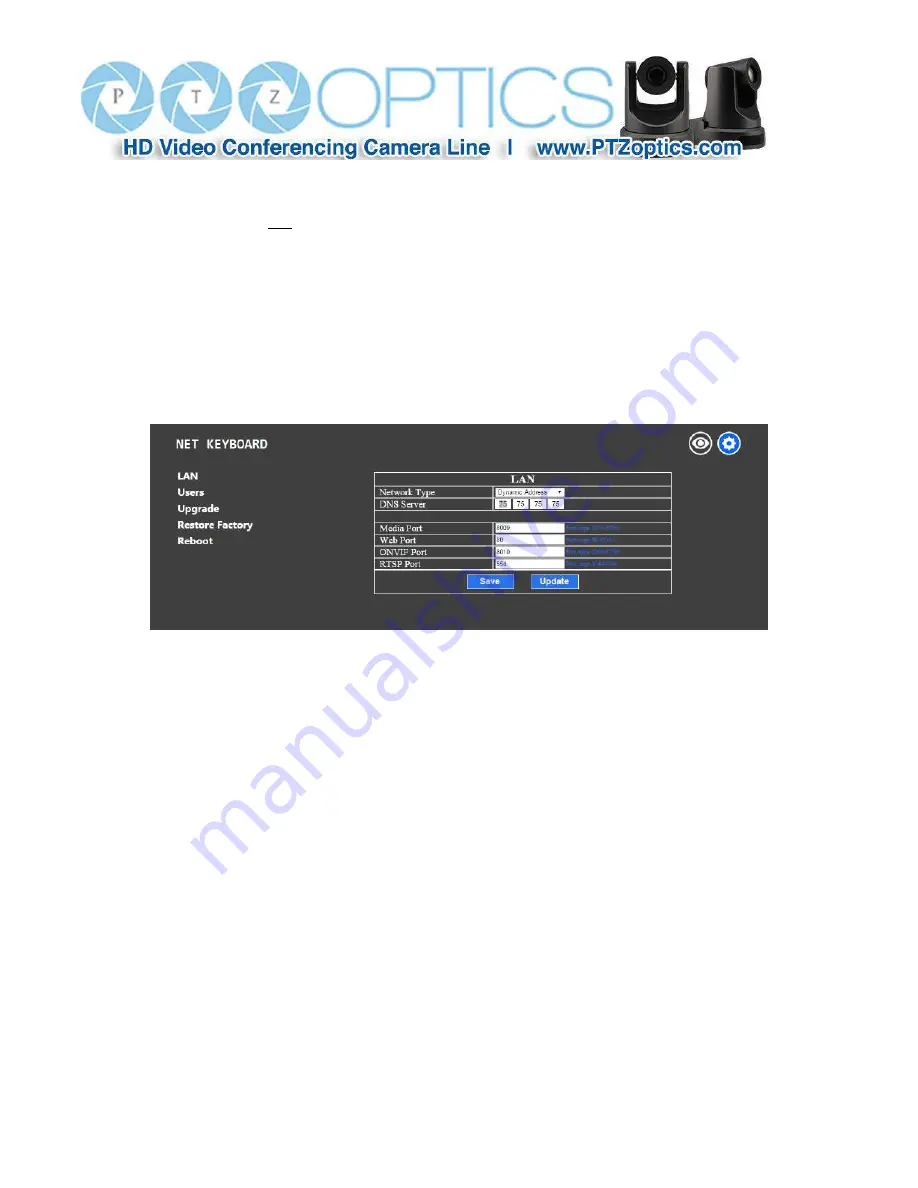
LAN Menu – Click on “LAN”
o
You can modify the IP address type and port parameters in LAN settings, as follows:
o
Dynamic addressing (or DHCP, is the default): The keyboard will automatically request an IP address from
the DHCP server on the connected LAN. The auto-assigned address will be displayed on the LCD after the
request is successful, the format is "HOST: 192.168.xxx.xxx". You can always check the assigned IP address
by viewing screen 03/03 of the keyboard’s SETUP menu as described previously. Note: Changing IP set-
tings will require a reboot of the keyboard.
o
Static Address: When the user needs to set up a network without a DHCP server or wants to manually as-
sign an IP address, even if there is a DHCP server, the network type should be set to “Static Address”. A
new field containing 4 boxes for the 4 octets of an IP address will become available for entering this info.
Similarly, you will manually enter the Subnet Mask and Default gateway for the network. If you are unsure
of what to enter, please see your IT staff for this information. Note: Changing IP settings will require a re-
boot of the keyboard.
o
Ports: You may assign specific network ports to handle various features of the camera. The port type (e.g.
TCP or UDP) is not shown but is implied by the nature of the feature (e.g. Web is TCP; Media is UDP). The


