2. Base & Tower
30
Original Prusa SL1 kit assembly
STEP 33
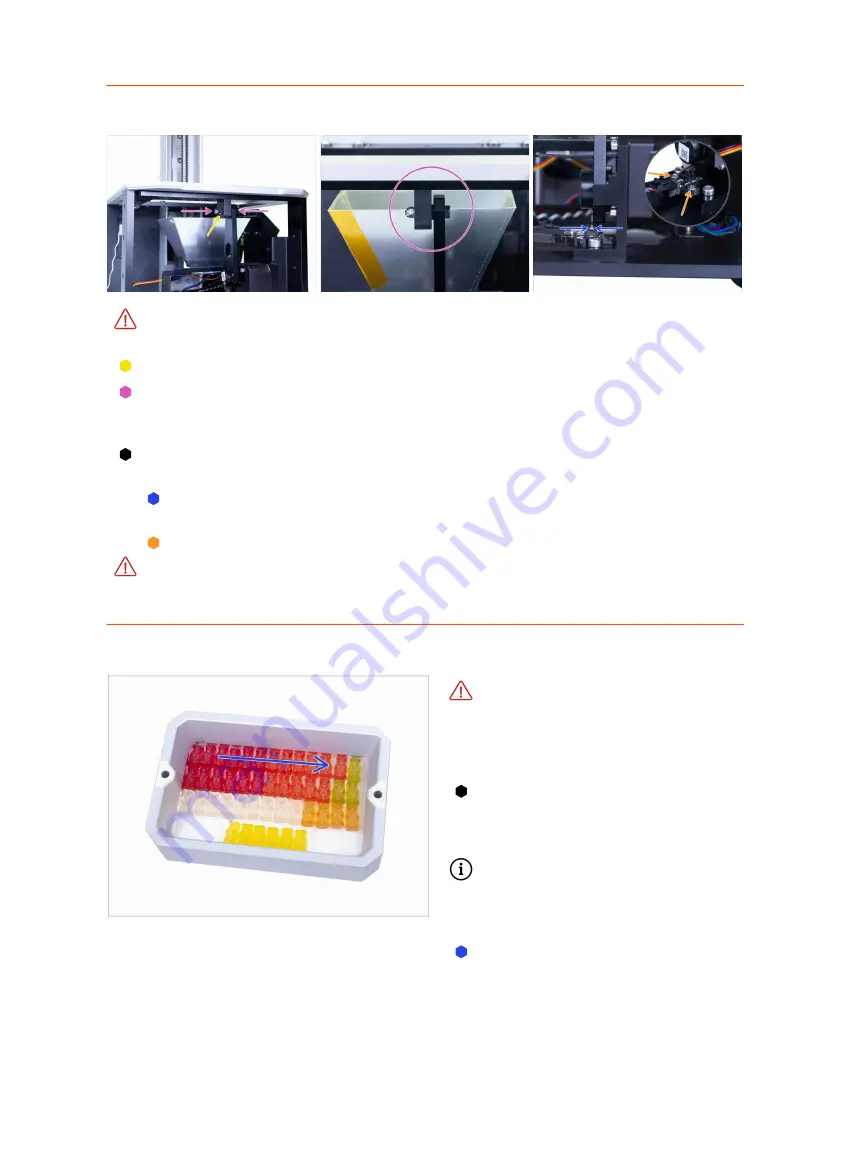
Optical sensor calibration
WARNING:
take your time during this step and ensure the sensor is calibrated
properly. This will help you avoid possible issues during the prints.
Place the M3w washer on the screw together with the M3nN nyloc nut.
Carefully tighten
the nut to ensure direct contact between both parts. It is
recommended to use the spanner to hold the nut and an Allen key from the other
side.
For the last step, push the connecting rod down, so the silver steel plate on the rod
reaches the optical sensor.
Align the optical sensor according to the steel notch of the connecting rod. It
has to be within the brackets, ideally in the middle.
Hold the sensor and tighten the screws.
Double-check the entire tilt mechanism to comply with the instructions above
and if necessary adjust any part!
STEP 34
Haribo time!
It is time to treat yourself! However,
open the bag with the Haribo
sweets
carefully and quietly
. High
level of
noise might attract nearby
predators!
Arrange the bears according to the
picture. First three chapters will be
the most demanding, the fourth will
take just a few minutes.
You can use the resin tank to
organise the bears, but keep in
mind the bottom is missing for now
;)
Eat the first row to replenish the
energy lost during this chapter.
Содержание Original Prusa SL1
Страница 5: ...Original Prusa SL1 kit assembly 5 1 Introduction ...
Страница 13: ...Original Prusa SL1 kit assembly 13 2 Base Tower ...
Страница 32: ...32 Original Prusa SL1 kit assembly 3 Covers Platform ...
Страница 51: ...Original Prusa SL1 kit assembly 51 4 Electronics Lid ...
Страница 75: ...Original Prusa SL1 kit assembly 75 5 Preflight check ...
Страница 84: ...84 Original Prusa SL1 kit assembly Manual changelog SL1 ...
Страница 87: ...87 Notes ...
Страница 88: ...88 ...
Страница 89: ...89 Notes ...
Страница 90: ...90 ...
Страница 91: ...91 Notes ...
Страница 92: ...92 ...


