1
Table of Contents
Manual changelog MINI+ semi-assembly
3
................................................................
Step 1 - Version history
4
.................................................................................................
Building your MINI+
5
...........................................................................................................
Step 1 - Preassembled vs kit version
6
...........................................................................
Step 2 - Different hardware revisions
6
.........................................................................
Step 3 - All the required tools are included
6
...............................................................
Step 4 - Use labels for reference
7
.................................................................................
Step 5 - We are here for you!
7
........................................................................................
Step 6 - XYZ-axes parts preparation
8
..........................................................................
Step 7 - XYZ-axes parts preparation
8
...........................................................................
Step 8 - Foam pads - preparation
9
...............................................................................
Step 9 - Foam pads installation
9
...................................................................................
Step 10 - Opening the box with the electronics
10
......................................................
Step 11 - Connecting the LCD cable
10
..........................................................................
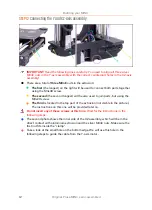
Step 12 - Connecting the Y and XZ-axis assembly
11
.................................................
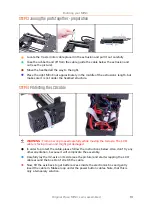
Step 13 - Joining the parts together - preparation
12
..................................................
Step 14 - Protecting the LCD cable
13
...........................................................................
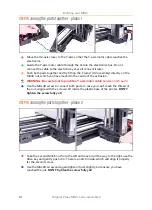
Step 15 - Joining the parts together - phase 1
13
..........................................................
Step 16 - Joining the parts together - phase 2
14
.........................................................
Step 17 - Joining the parts together - phase 3
14
.........................................................
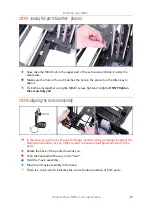
Step 18 - Aligning the XZ-axis assembly
15
..................................................................
Step 19 - Final tightening
15
............................................................................................
Step 20 - Haribo time!
16
.................................................................................................
Step 21 - LCD parts preparation
16
................................................................................
Step 22 - Mounting the LCD
17
.......................................................................................
Step 23 - Connecting the LCD
17
...................................................................................
Step 24 - Guiding the LCD cable
18
...............................................................................
Step 25 - Connecting the Y-axis motor
18
....................................................................
Step 26 - Connecting the heatbed cable
18
..................................................................
Step 27 - Filament sensor (optional)
19
.........................................................................
Step 28 - Filament sensor installation (optional)
19
....................................................
Step 29 - Connecting the filament sensor (optional)
20
............................................
Step 30 - Covering the electronics
20
...........................................................................
Step 31 - Haribo time!
21
..................................................................................................
Step 32 - Spool holder parts preparation
21
.................................................................
Step 33 - Spool holder parts preparation
22
................................................................
Step 34 - Assembling the spool holder base(s)
22
......................................................
Step 35 - Adding the spool holder rails
23
....................................................................
Step 36 - Adjusting the spool holder width
23
............................................................
Step 37 - Attaching anti-slip pads
24
............................................................................
Step 38 - Haribo time!
24
.................................................................................................
Step 39 - Finalising the assembly
25
.............................................................................
Step 40 - Connecting the PSU
25
..................................................................................
Step 41 - What is next?
26
...............................................................................................
Содержание MINI+
Страница 2: ...2 ...
Страница 3: ...Original Prusa MINI semi assembled 3 Manual changelog MINI semi assembly ...
Страница 5: ...Original Prusa MINI semi assembled 5 Building your MINI ...
Страница 27: ...27 Notes ...
Страница 28: ...28 ...
Страница 29: ...29 Notes ...
Страница 30: ...30 ...
Страница 31: ...31 Notes ...
Страница 32: ...32 ...


