22
17.
Scroll through the available I/O ranges to find a value for
which “No devices are conflicting.” Click <OK> to return
to the Resources screen.
Note:
The dip switch settings on the back of the card must
match the I/O Base Address you configured in Step #17
in order for the card to properly initialize. Refer to
Appendix A for information on how to set the dip switch
to correspond to a specific I/O Base Address.
18.
19.
Click <OK> when prompted to confirm that you have
manually adjusted one or more settings.
20.
Click <Next> to begin the software installation.
21.
Click <Yes> to continue if prompted that the RangeLAN2
driver does not contain a Microsoft Digital Signature.
22.
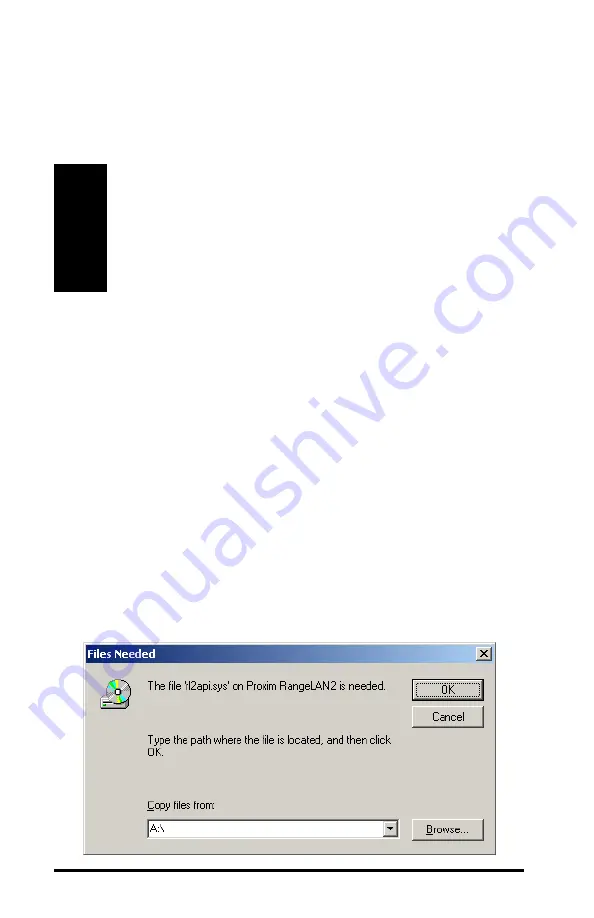
Click <OK> if prompted to insert the Proxim RangeLAN2
CD-ROM and direct Windows to search for the
RL2API.SYS file on the floppy disk drive (typically, this is
drive A:), as shown below.


