7
CAUTION:
Choose reset mode will modify all the parameter to the initial setting, please do it
carefully.
Auto Sleep
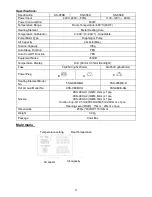
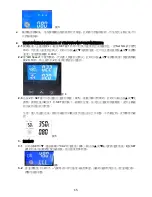
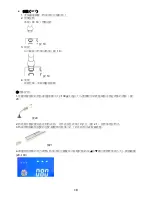
When hot air gun put on the holder, the temperature of hot air gun will start to decrease (Fig.14), and
the display will show “ SLP“ to indicate hot air gun is in sleep mode now. When the temperature is lower
than 100
℃
, the station will display as Fig.3. It will awake the rework station when hot air gun lift from
the holder.
Fig.14
Auto Cool-Off
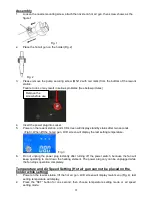
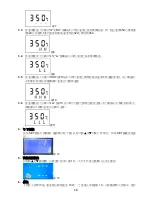
After the rework station is turned off, the auto cool-off process leaves the blower on until the heating
element cool down to 100
℃
(Fig 15.), then rework station will shut off automatically.
Fig.15
CAUTION:
Do not unplug the power plug when the auto cool off process is work on.
Do not touch the pin of plug to prevent electrical shock for human body.
Operation Instructions (SMD rework)
Remove SMD components
(such as QFP, SOP, PLCC and so on)
1. Adjust air speed and hot air gun temperature to desired level
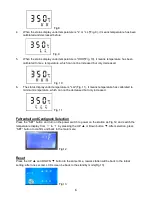
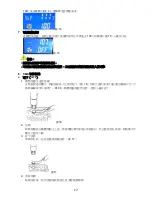
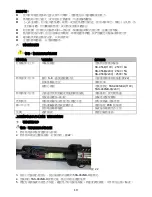
2. Slip the pick-up puller (optional part) under the component lead. (Fig. 16) If the component
width does not match the size of the pick-up, adjust the width of the pick-up by squeezing
the wire. Use tweezers to remove PLCC or small components such as chip resistors,
desolder, etc.
Fig. 16
3. Hold the hot air gun above the SMD components (do not touch the components directly),
allowing the hot air to melt the solder. Be careful not to touch the leads of the components
with nozzle.
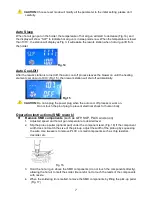
4. When the soldering tin is melted, remove the SMD components by lifting the pick-up puller
(Fig. 17)
Содержание SS-956
Страница 12: ...11 SS 956 SS 956 LCD 480 C 896 F SS 956 SS 956 SS 956 600W SMD CPU...
Страница 13: ...12 100 PCB 200 3 1 SS 956 x1 2 x1 3 x1 4 x 3pcs 5 15mm 20mm x 1 6 x1 7 x1 8 12 5mm 10mm 6 5mm 3mm 9 x1 UP DOWN...
Страница 15: ...14 LCD 1 1 3 1 2 2 LCD 3...
Страница 16: ...15 3 2 2 1 4 SET 1 Set Temp 0 480 2 2 AIR Speed 20 100 2 4 2 3 2 SET 5 1 SET 5 3 3 1 SET CAL 6 SET 1 6 3 2 7...
Страница 17: ...16 7 3 3 H HH 8 350 320 3 1 320 350 8 3 4 L LL 9 9 3 5 HHH 10 10 3 6 LLL 11 11 4 SET SET 12 5 13 1 13 6 100 14...
Страница 18: ...17 100 3 14 7 100 15 15 1 2 8 SMD QFP 1 16 PLCC 16 2 3 17 17 4...
Страница 19: ...18 QFP 1 2 18 18 3 19 19 4 1 100g 20 20 2 21 3 21 4 20 100...
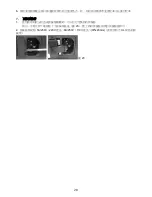
Страница 21: ...20 6 1 23 2 5A 250V 220V 8A 250V 110V 5x20mm UL 23...
Страница 22: ...21 SS 956 SS 956 LCD 480 C 896 F SS 956 SS 956 SS 956 600W SMD CPU...
Страница 23: ...22 100 PCB 200 3 1 SS 956 x1 2 x1 3 x1 4 x 3pcs 5 15mm 20mm x 1 6 x1 7 x1 8 12 5mm 10mm 6 5mm 3mm 9 x1 UP DOWN...
Страница 25: ...24 LCD 1 1 3 1 2 2 LCD 3...
Страница 26: ...25 3 2 2 1 4 SET 1 Set Temp 0 480 2 2 AIR Speed 20 100 2 4 2 3 2 SET 5 1 SET 5 3 3 1 SET CAL 6 SET 1 6 3 2 7 7...
Страница 28: ...27 15 1 2 8 SMD QFP 1 16 PLCC 16 2 3 17 17 4 QFP 1 2 18 18...
Страница 29: ...28 3 19 19 4 1 100g 20 20 2 21 3 21 4 20 100...


