1
PRS-UM-DP4-EN-Rev.03-05.06.2020
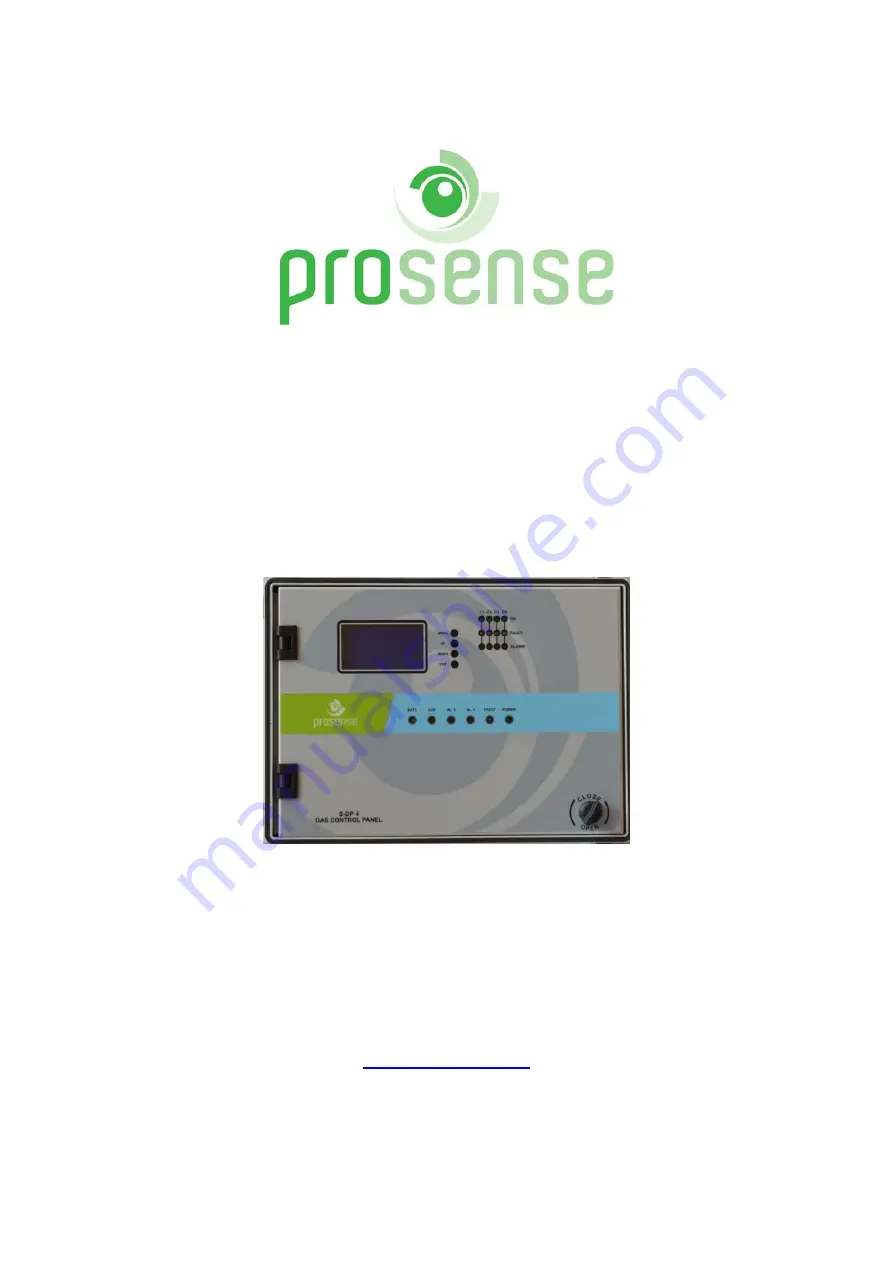
PROSENSE S-DP4 Gas Control Panel
User Manual
Prosense Teknoloji San. Ltd. Şti.
Cumhuriyet Mah. Mermer sok. No:16
34876 Kartal/İstanbul
Tel: (90) 216 306 77 88 Faks: (90)216 473 81 29
www.prosense.com.tr
Страница 1: ... EN Rev 03 05 06 2020 PROSENSE S DP4 Gas Control Panel User Manual Prosense Teknoloji San Ltd Şti Cumhuriyet Mah Mermer sok No 16 34876 Kartal İstanbul Tel 90 216 306 77 88 Faks 90 216 473 81 29 www prosense com tr ...
Страница 2: ...e it could fail to perform as designed and persons who rely on this product for their safety could suffer severe personal injury or death The warranties made by Prosense with respect to this product are voided if the product is not installed used and serviced in accordance with the instructions in this user guide Please protect yourself and other by following them WARNING Inductive or capacitive l...
Страница 3: ...ackup Battery Connection 13 Main Power Connection 13 Detectors Connections 14 Relay Outputs 14 AUX Relay Output 15 First Run 15 Automatic Test 15 Programming 16 Single Channel Mode 16 Setup Channel Parameters 17 Closing Unused Channels 19 Relay Assignment 19 Time and Language Settings 20 What to Do In Case of Alarm 21 Checking Alarm and Fault Functions 21 Controlling The Alarm Fault Functions 22 P...
Страница 4: ...according to the measuring range and one fault alarm for the detection loop Individual relays per function ensure remote controlled output There are 4 relays on the panel Two of them used as alarm relays and configured as ALARM 1 and ALARM 2 There is one FAULT relay and one AUX relay The AUX relay can be defined as ALARM 1 ALARM 2 or ALARM 3 ALARM 3 is not a level based alarm but it is an alarm dr...
Страница 5: ...Fault Alarm LEDs for each detector channel Backup battery 12V 7A h Optional Operating Temp 10 60C0 Humidity 15 95 non condensing Housing ABS IP66 546 X 276 X 186 mm Weight 5 75 kg Main power fuse 2A Backup battery fuse 2A Warm up time Up to 2 minutes Delay time Panel can recognize any special state in 2 minutes Special States Fault Fault Relay de energised Overrange Alarm Relay s energised EMC con...
Страница 6: ...ccidentally damaging S DP4 control panel should not be placed nearby high voltage cables or power cable coaxial cables or transmitters welding stations or frequency regulators The S DP4 panel box produced based on IP66 standard specifications Always use prepared screw holes to mount it and do not pierce panel from any other side Always use suitable cable glands to make cable entries There is a fro...
Страница 7: ...ic screws keeping panel door in place in front of panel Use a flat screwdriver to lose them and remove the panel door assembly Please take care and remove the connectors on the electronic card while removing the cover Fix the panel on to the wall via using 4 screw holes in each corner after removing the front cover M4 screws are suitable to fix the panel body to the wall Once wall mounting complet...
Страница 8: ...mmends having cable entries from the lower side Electronic board is located in the front cover of the panel The power supply is located at the back of panel box The power must be connected to this power supply If the installation requires the connection to a backup battery place the battery to lover right side of the panel inside Diagram 7 Panel body Backup battery connectors and fuse Wall mountin...
Страница 9: ...unction For Display Operation MENU Enter to panel configuration OK Select key UP Go to upper menu option during configuration Go to the single channel details in normal operation DOWN Go to lower menu option during configuration Page change on main screen EXIT Undo or exit from menu option Reset on main screen Table 3 Panel buttons and functions Diagram 8 Front panel signs LCD and LEDs S DP4 Panel...
Страница 10: ...t LED will be activated That channel should be closed deactivated via using menu steps The LCD screen brilliance is adjustable by blue potentiometer shown in Diagram 9 Special States Panel can recognize any special state in 2 minutes Special States are Fault Overrange Below messages wil be shown on LCD and related visible alerts will be activated Status Screen Output LED Output Relay Output Fault ...
Страница 11: ...hannel with Range symbol and measurement level fixed to 99LEL The overrange condition is highes measurement level that panel can understand and overrange level is higher than alarm levels The alarm LEDs and relays will be activated before panel reports overrange condition Diagram 10 Overrange status display Alarm Status The Panel will report Alarm status when gas level exceedes defined alarm level...
Страница 12: ... should be replaced when it is run off There are five sockets on the main board to install optional relay modules Each relay module has 8 relay on it and each relay controlled by one detector It is also possible to take an independent output from each relay each detector The relay module install location should be used as follows 1 Zone 1 Bölge Not in use 2 Zone 2 Bölge Fault 3 Zone 3 Bölge Alarm ...
Страница 13: ...panel is in alarm status for a long time Backup Battery Connection To continue operation in case of main power failure two backup batteries 12V 7Ah must be serially connected to the system Take extra care to connect the batteries with correct poles The cables or main board can be damaged in case of mixing pins or making short circuits Backup batteries must be connected as shown below Diagram 12 Ba...
Страница 14: ...tors In case less than 8 detectors used the system will raise fault status for unused channels and overall panel status remain in fault status In this case user should close deactivate unused channels via using configuration menu steps Relay Outputs S DP4 panel has four relay outputs which are ALARM1 ALARM2 FAULT and AUX Relay connection ports are located right under the relays Alarm relays are op...
Страница 15: ...elected AUX relay will be active by the digital input on the panel In case of any alarm signal received from external device it will be shown in 5th line on LCD as digital alarm First Run Panel manufacturer Prosense and model S DP4 will be seen on LCD screen following the power up All LEDs on the panel and sounder device will be activated for 3 seconds The user can recognize any malfunctioning LED...
Страница 16: ...ctivate configuration menu press and hold the MENU button for a second You can navigate between the menu items via using the UP and DOWN keys Press MENU key again to enter submenu You can EXIT from submenu or menu by pressing the EXIT button 1 Channel setting 2 Time Language settings 3 Relay assignment 4 Alarm logs Single Channel Mode To see each detector status in detail press UP button on the ma...
Страница 17: ...atically exit from the single channel menu to main menu after 2 minutes if there is no user action Setup Channel Parameters To adjust channel parameter follow below steps 1 Press Menu button for 2 seconds The screen will display menu options 2 Select Channel setting via pressing the MENU button Screen will list channels 3 Move desired Channel from the list via using UP and DOWN buttons and press M...
Страница 18: ... button a cursor will be located under Alarm1 level You can adjust alarm level via using UP and DOWN buttons 7 Then press EXIT button to release the cursor 8 Then you can move Alarm2 via using UP or DOWN buttons 9 Press MENU button again to activate cursor and adjust level using UP and DOWN buttons 10 Once all completed press exit button to return the previous screen Alarm1 level cannot be higher ...
Страница 19: ...ess MENU button to change status It will be deactivated and shown like below Relay Assignment The alarm relays work only in latched mode Therefore the relay will not be released and stay in active mode till manual intervention Even after environment is cleaned following an alarm condition the relay will stay active in latching mode User should release them via pressing the EXIT button for 2 second...
Страница 20: ...rnal device Time and Language Settings Press MENU button and select Time Lang Set step to change time and date If communication module installed on the menu will show only Language options A new menu will be displayed including time and language options Press MENU button to adjust time Screen will show current time and date information on the control panel Use UP DOWN and MENU buttons to change va...
Страница 21: ...applying a calibration gas on the detector Please refer to the mandatory safety procedures gas alarm set forth by your safety manager in case of any alarm Here are few recommendations Keep calm and follow these instructions 1 Put out all naked flames including cigarettes pipes etc 2 Turn off all gas appliances 3 Turn off the gas supply at the tap and or on the gas bottle in the case of LPG 4 Do no...
Страница 22: ...tor There is no detector connected to channel Close deactivate related channel via using menu steps Detector is faulty Check detector connected to channel 4 ALARM1 and or ALARM2 and or AUX LED is ON There is a gas leak Close the manual valve on the gas input pipe Locate and repair the leak 5 ALARM1 and or ALARM2 and or AUX LED is ON and there is no gas leak The control panel has false alarms Reset...
Страница 23: ...23 PRS UM DP4 EN Rev 03 05 06 2020 Declaration ...
Страница 24: ...any fault is not found with the equipment Prosense Technology shall not be liable for any loss or damage whatsoever or howsoever occasioned which may be a direct or indirect result of the use or operation of the Contract Goods by the Buyer or any Party This warranty covers instrument and parts sold to the Buyer only by authorized distributors dealers and representatives as appointed by Prosense Te...