


VTrak M-Class Product Manual
34
5.
Press Ctrl-A to save these settings and move to the RAID configuration
screen.
To make Management Port settings manually:
1.
Press the arrow keys to highlight
DHCP
.
2.
Press the spacebar to toggle to
Disabled
.
3.
Press the arrow keys to highlight
IP Address
.
4.
Press the backspace key to erase the current IP Address.
5.
Type the new IP Address.
6.
Follow the same procedure to specify the Subnet Mask, Gateway IP
Address, and DNS Server IP Address.
If you do not have a DNS server, skip the DNS Server IP address.
7.
Press Ctrl-A to save these settings.
Exit the CLU
1.
Highlight
Skip the Step and Finish
and press Enter.
2.
Highlight
Return to CLI
and press Enter.
This completes the Management port setup. Go to “VTrak Setup with WebPAM
PROe” on page 41.
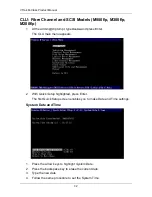
CLU: iSCSI Models (M500i, M300i, M200i)
1.
At the admin@cli prompt, type
menu
, and press Enter.
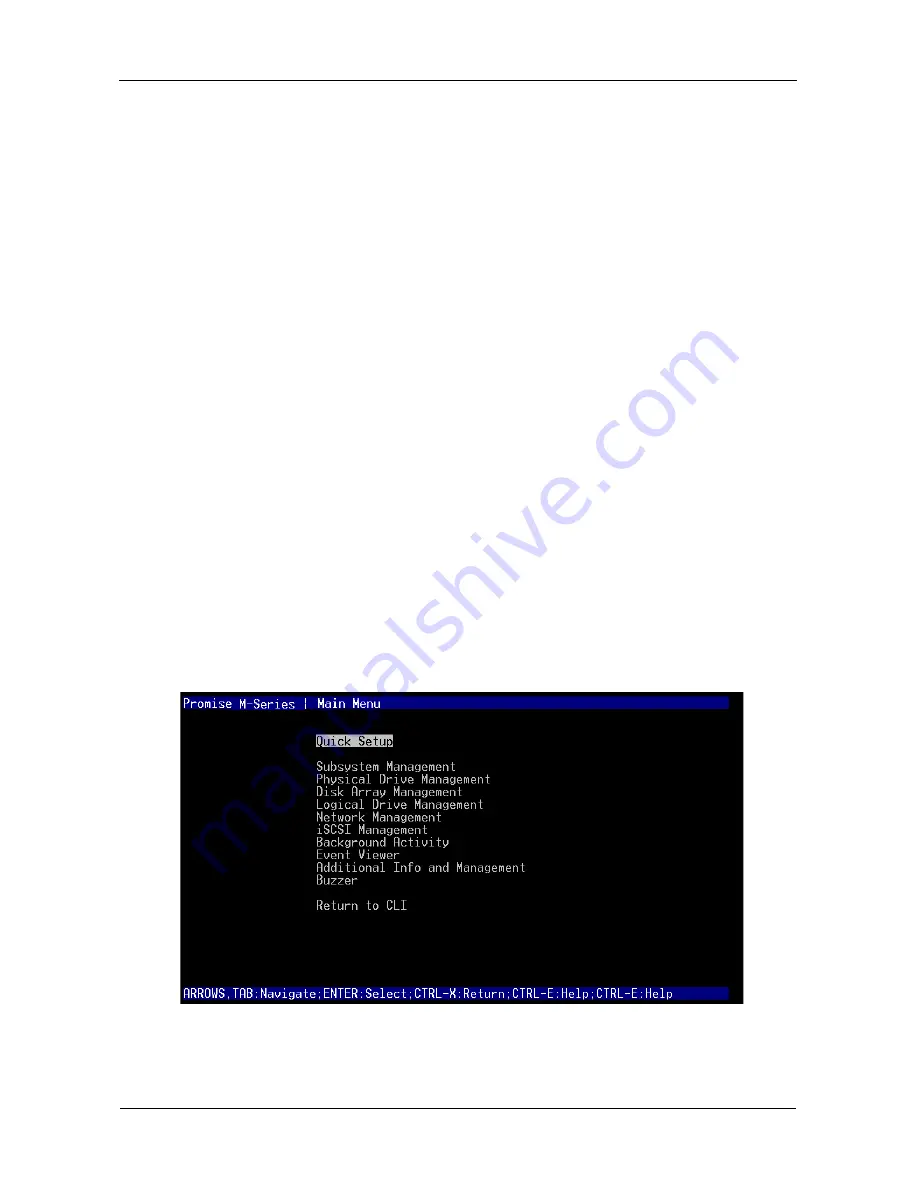
The CLU main menu appears.
2.
With
Quick Setup
highlighted, press Enter.
The first Quick Setup screen enables you to make Date and Time settings.
Содержание VTrack M-Class M200f
Страница 1: ...VTRAK M CLASS M500f M500i M500p M300f M300i M300p M200f M200i M200p PRODUCT MANUAL Version 1 5 SR 3 ...
Страница 18: ...VTrak M Class Product Manual 10 ...
Страница 36: ...VTrak M Class Product Manual 28 ...
Страница 61: ...Chapter 3 Setup 53 13 When you have finished specifying logical drives click the Next button ...
Страница 64: ...VTrak M Class Product Manual 56 ...
Страница 164: ...VTrak M Class Product Manual 156 ...
Страница 246: ...VTrak M Class Product Manual 238 ...
Страница 304: ...VTrak M Class Product Manual 296 ...


