


PROLiNK User's Manual for PRO1911W, PRO2211W
www.prolink2u.com
Version 1.2 (Feb’09)
7
Chapter 4
Operation
4.1
Power (ON/OFF) Switch Button
This button is used to turn the monitor on and off.
NOTE:
The ON/OFF switch button does not disconnect the device from the main voltage. To
completely disconnect the main voltage, please remove the power plug from the socket.
4.2 Power
LED/Indicator
GREEN lights indicate that the monitor operates normally.
Blinking GREEN lights indicate that there is no input signal from computer.
DARK (no lights) indicates that the monitor is turned off.
4.3 Auto
Press
AUTO
button and release, the auto adjust display mode will tune to the utmost
performance according to VGA settings.
4.4 Menu
Features
The following features can be accessed using monitor on screen menu system.
Press
button to move menu selection up or adjust increasing.
Press
button to move menu selection down or adjust decreasing.
Press
MENU
button to confirm selection or setting.
Press
EXIT
button to go back to previous menu, or exit from the screen menu system.
4.5 OSD
Menu
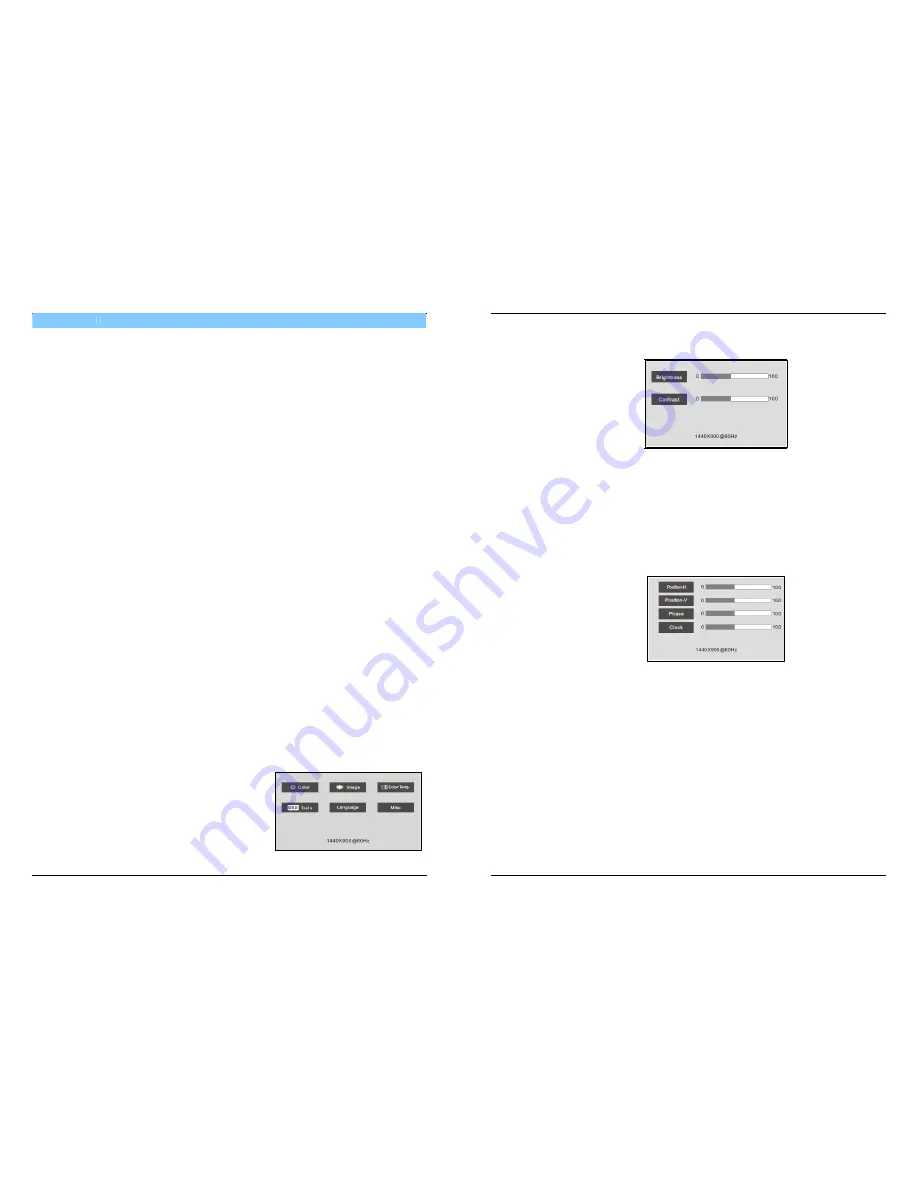
Main Menu
OSD Main Menu gives user an overview of the selection of controls available. When the user
wants to adjust the screen image, the user will press and release the Menu button.
The OSD Main Menu consists of:
1.
Color Adjustment
2.
Image Adjustment
3.
Color Temperature Adjustment
4.
OSD Tools
5.
Language
6.
Misc
PROLiNK User's Manual for PRO1911W, PRO2211W
www.prolink2u.com
Version 1.2 (Feb’09)
8
1.
Color Adjustment
1.1
Brightness adjustment
To adjust the image brightness to suit the user viewing requirements.
1.2
Contrast adjustment
To adjust the image contrast to obtain the best display on screen.
1.3
DCR Mode (option)
To select DCR ON or OFF
2.
Image Adjustment
2.1
Horizontal position adjustment
To move the picture image horizontally left or right.
2.2
Vertical position adjustment
To move the picture image vertically up or down.
2.3
Phase adjustment
To improve focus clarity an image stability.
2.4
Clock adjustment
To increase or decrease the horizontal size of image.


