


15
10. System
*1 Source Scan
When set to “Yes”, after turn on the monitor, the signal will be inspected and follow the sequence of
“SDI1→SDI2→HDMI→CVBS”.
For example: if channel is selected to SDI2, SDI-IN2 has no input, and CVBS has input. When turn
on the monitor, after automatic inspection, SDI2 has no recognized signal, and CVBS has
recognized signal, then the input signal will be CVBS.
When set to “No”, update model will not be supported.
*2 Logo
When powered on, the screen will display ProHD logo.
*3
、
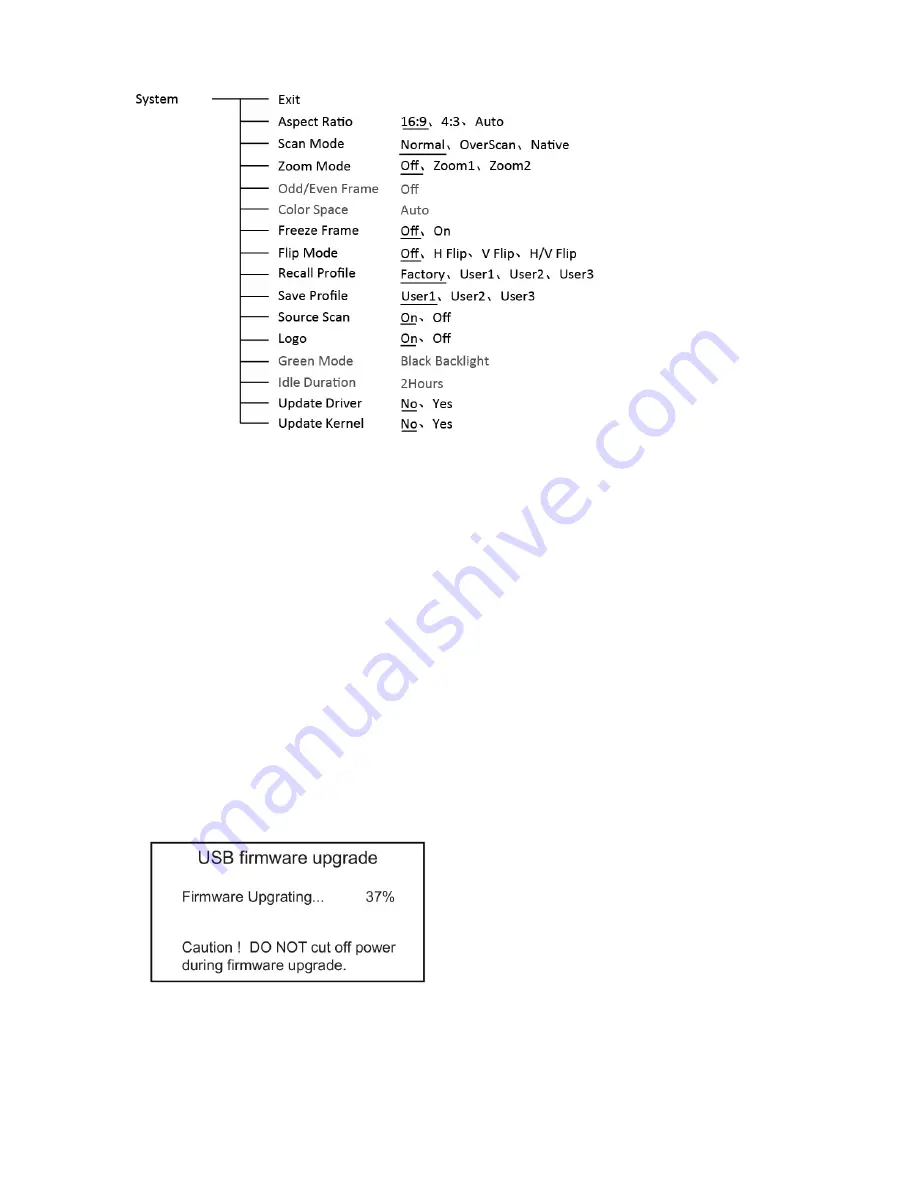
*4 Update Driver/ Kernel
Download latest firmware files in USB disk - root directory.
Switch on the monitor, and insert USB disk into the USB socket on rear panel.
Enter Menu – System – Update Driver, select YES and the monitor will upgrade automatically, and
will restart when upgrade finished.
Enter Menu – System – Update Kernel, select YES and the monitor will upgrade automatically, and
will restart when upgrade finished.
Please DO NOT cut off power during firmware upgrade.