13
6. When you are finished exercising, the console will
turn off automatically.
See step 6 on page 12.
THE OPTIONAL CHEST HEART RATE MONITOR
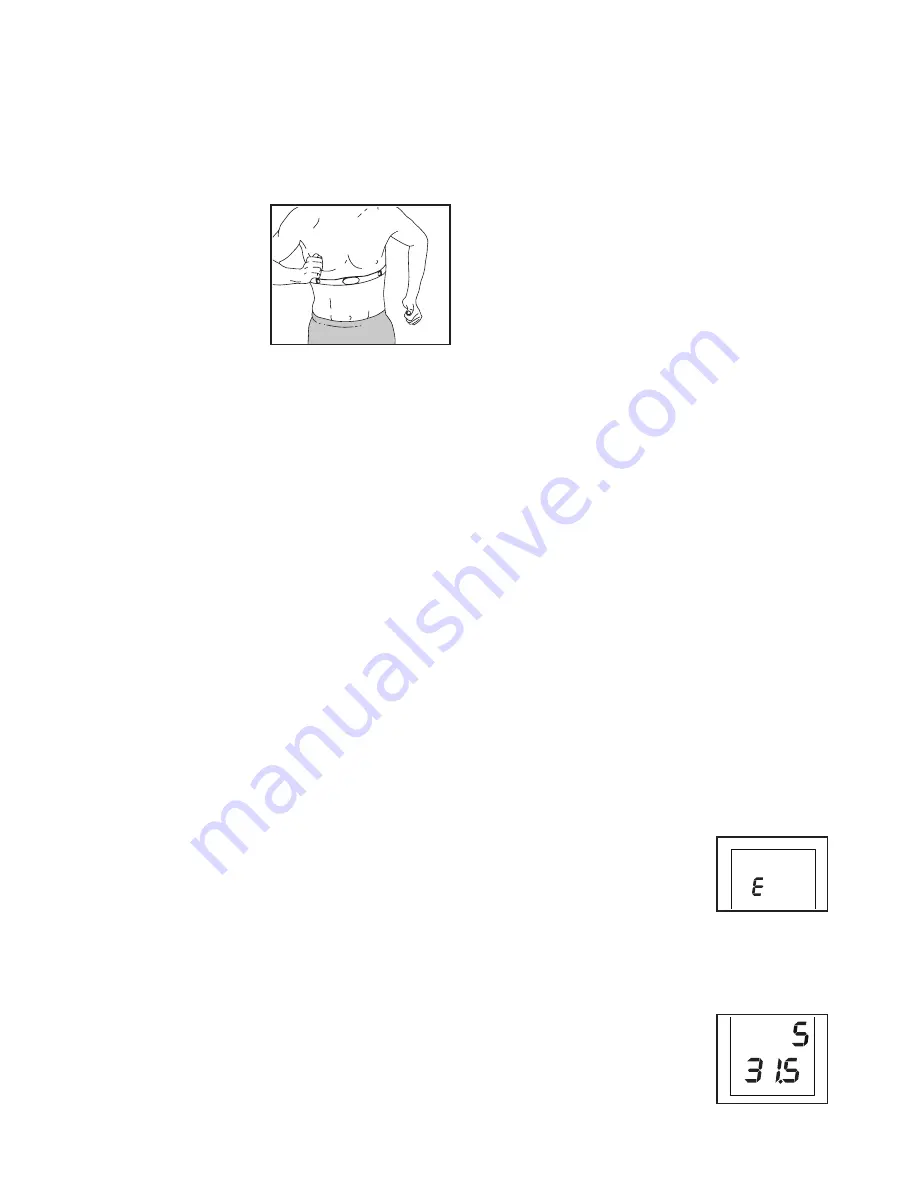
Whether your goal is to burn fat or to strengthen your car-
diovascular system, the
key to achieving the best
results is to maintain the
proper heart rate dur-
ing your workouts. The
optional chest heart rate
monitor will enable you
to continuously monitor
your heart rate while you
exercise, helping you to
reach your personal fitness goals. To purchase a chest
heart rate monitor, please see the front cover of this
manual.
Note: The console is compatible with all BLUETOOTH
Smart heart rate monitors.
HOW TO CONNECT YOUR SMART DEVICE TO THE
CONSOLE
The console supports BLUETOOTH connections to smart
devices via the iFit app and to compatible heart rate
monitors. Note: Other BLUETOOTH connections are not
supported.
1. Download and install the iFit app on your smart
device.
On your iOS
®
or Android™ smart device, open the App
Store℠ or the Google Play™ store, search for the free
iFit app, and then install the app on your smart device.
Make sure that the BLUETOOTH option is enabled
on your smart device.
Then, open the iFit app and follow the instructions to
set up an iFit account and customize settings.
2. Connect your smart device to the console.
Follow the instructions in the iFit app to connect your
smart device to the console.
When a connection is established, the LED on the con-
sole will flash blue. Press the Bluetooth Smart button
on the console to confirm the connection; the LED on
the console will then turn solid blue.
3. Record and track your workout information.
Follow the instructions in the iFit app to record and
track your workout information.
4. Disconnect your smart device from the console if
desired.
To disconnect your smart device from the console,
press and hold the Bluetooth Smart button on the
console for 5 seconds; the LED on the console will
light while the button is held and turn off when the but-
ton is released.
Note: All BLUETOOTH connections between the con-
sole and other devices (including any smart devices,
heart rate monitors, and so forth) will be disconnected.
HOW TO CONNECT YOUR HEART RATE MONITOR
TO THE CONSOLE
The console is compatible with all BLUETOOTH Smart
heart rate monitors.
To connect your BLUETOOTH Smart heart rate monitor
to the console, press the Bluetooth Smart button on the
console. When a connection is established, the LED on
the console will flash red twice.
Note: If there is more than one compatible heart rate moni-
tor near the console, the console will connect to the heart
rate monitor with the strongest signal.
To disconnect your heart rate monitor from the console,
press and hold the Bluetooth Smart button on the console
for 5 seconds; the LED on the console will light while the
button is held and turn off when the button is released.
Note: All BLUETOOTH connections between the console
and other devices (including any smart devices, heart
rate monitors, and so forth) will be disconnected.
THE SETTINGS MODE
The console features a settings mode that allows you to
select a unit of measurement for the console and to view
console usage information.
To select the settings mode, press and hold down the On/
Reset button until the settings mode information appears
in the display.
The console can show pedaling speed and distance in
either miles or kilometers. The upper display will show the
selected unit of measurement. An E for English miles or
an M for metric kilometers will appear in the display. To
change the unit of measurement,
press the Watts Workouts button
repeatedly.
Note: When you replace the batter-
ies, it may be necessary to reselect
the unit of measurement.
Press the Calorie Workouts button to view the total dis-
tance and the total time. The center display will show the
total time (in hours) that the console has been used since
the elliptical was purchased. The
lower display will show the total dis-
tance (in miles or kilometers) that
the elliptical has been pedaled.
To exit the settings mode, press the
Calories button repeatedly.
Содержание 80 CSX
Страница 18: ...18 EXPLODED DRAWING...
Страница 19: ...19 EXPLODED DRAWING...


