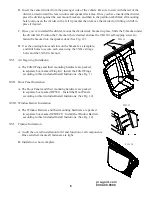
background image

pro-gard.com

800.480.6680

2

I. 

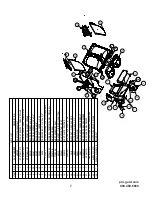
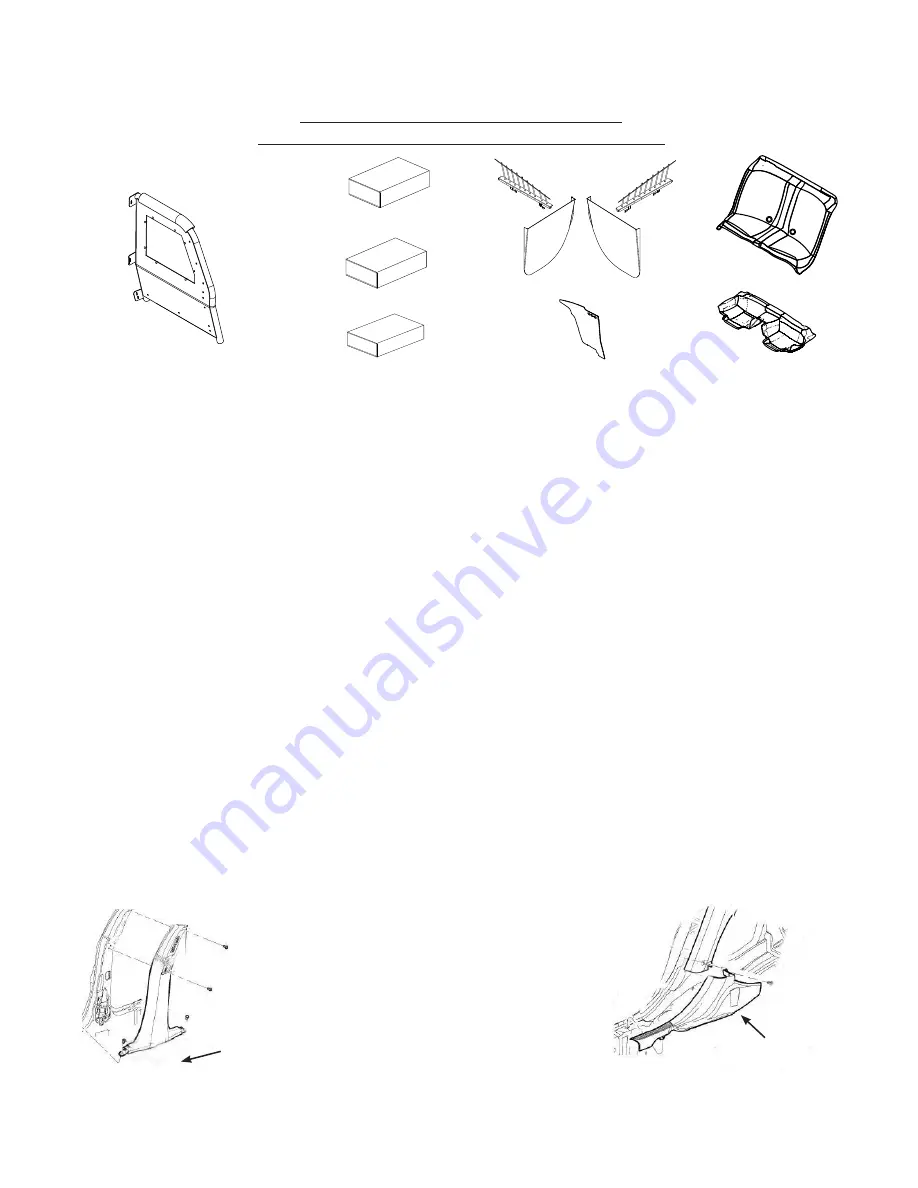
Refer to the diagram on the last page of these instructions to verify all parts were received.

II. 

The following tools will be required to complete the installation.


A. 1/4” or 3/8” drive ratchet with 3/8”, 7/16”, 7mm, 10mm, 18mm, socket


B.  3/16” Allen key 


C.  1-1/2” Hole saw


D.  Drill with 3/8” Socket


E.  T15 Torx Driver

III. 

Read all instructions carefully before starting the assembly process.


Caution: 

Locate all Wiring, Fuel Lines, Brake Lines, and/or Cooling Lines before drilling holes or installing Fasteners. 

IV. 

Removing the OEM Trim Panels


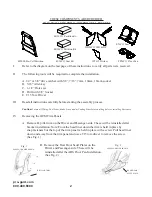
A.  Remove B-pillar trim on the Driver and Passenger-side. These will be reinstalled after  


      bracket installation. Note: From the head liner down the trim is held in place by  


      snap fasteners but the top of the trim panel is held in place with a screw. Pull head liner 


      down and away from the trim panel and use a T15 torx driver to remove the screw. 


      (See Fig. 1) 


B.  Remove the Rear Door Scuff Plates on the 


      Driver and Passenger-side. These will be 


      reinstalled after the ABS Floor Pan Installation.


      (See Fig. 2) 


THESE COMPONENTS ARE REQUIRED 

TO INSTALL THE PRO-GARD PRO-CELL SYSTEM 

S56C11 Seat

4P1000 Pro-Cell Partition

4S56C11 Seat Kit

3P5615 Divider

4K56C11 Partition Kit

4K56C11 Partition Kit

FP56C11 Floor Pan

WB56C11 WB & DP

Fig. 2


PASSENGER SIDE SHOWN

REAR DOOR 

SCUFF PLATE

Fig. 1


PASSENGER SIDE SHOWN

B-PILLAR TRIM

Содержание P1000 Pro-Cell

Страница 1: ...S T R O N G R E L I A B L E S E C U R E INSTALLATION GUIDE P1000 PRO CELL 2015 DODGE CHARGER pro gard com 800 480 6680...

Страница 2: ...on the Driver and Passenger side These will be reinstalled after bracket installation Note From the head liner down the trim is held in place by snap fasteners but the top of the trim panel is held i...

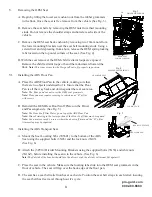
Страница 3: ...ehicle near B pillar with screws B Reinstall the OEM Rear Door Scuff Plates on the Driver and Passenger side See Fig 5 Note The Door Scuff Trim Plates go on top of the ABS Floor Pan Note Minor Trimmin...

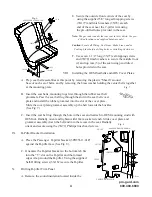
Страница 4: ...he B pillar bracket so the bottom tab fits into the T slot on the B pillar and the formed edges wrap around the B pillar Using the supplied Self Drilling screws 3X162 secure the B pillar X Drilling B...

Страница 5: ...t the partition into the vehicle lift and position the partition so that it alines with the Partition Mounting Plate and Center Support Bracket Secure the Partition using the supplied 1 4 20 x 3 4 Car...

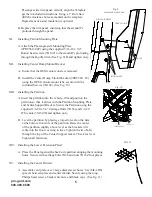
Страница 6: ...te and drill holes to secure each area using the 3X61 carriage bolts and the 3X16Z whiz nuts XVI Air Bag wing Installation A The Filler Wings and their mounting hardware are packed in separate box mar...

Страница 7: ...25 7 7 7 7 7 7 8 8 8 6 6 6 6 4 4 4 5 1 4 4 4 6 6 6 6 6 2 4 11 12 23 25 22 24 8 8 8 8 9 9 15 15 9 14 14 14 8 8 13 21 21 21 19 19 19 19 17 17 17 17 21 8 8 8 8 9 10 18 18 18 18 16 PARTS LIST DESCRIPTION...

Отзывы: