Using RFID
19
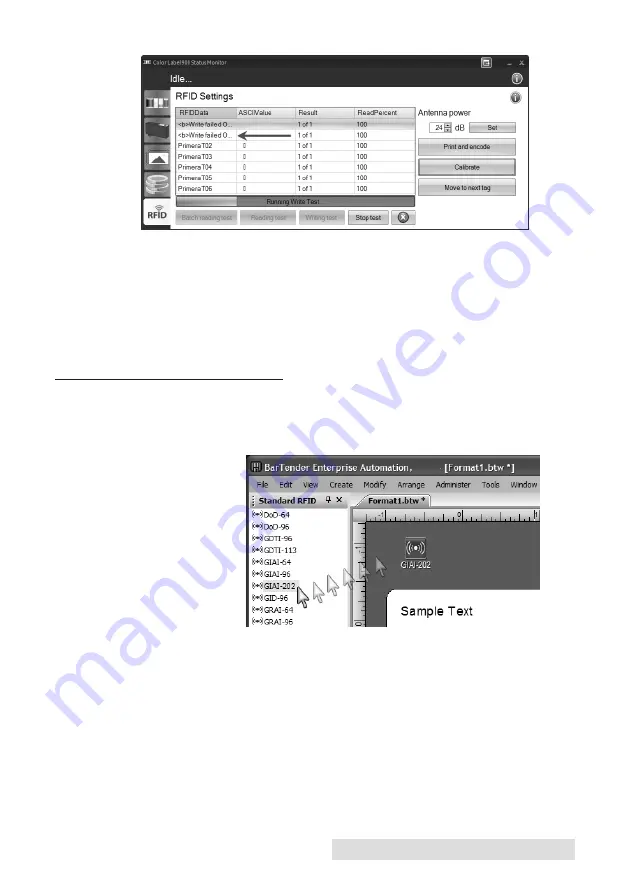
If write failures continue even after adjusting the position of
the writer, try adjusting the Antenna Power. First select Stop
Test. Now increase or decrease the power using the up and
down arrows. Click Set to send the setting to the printer. Try a
Writing Test again. After a successful Writing test you may
choose to verify the writing by running a reading test on the
same label/tag.
B. PRINTING AND ENCODING
Once you have a successful write test, you are ready to print from
your RFID equipped software program!
Refer to the print-
ing application’s
documentation for
details on RFID
printing. A trial
version of
Bartender is includ-
ed on the installa-
tion disc. To add
RFID encoding to a
label design using Bartender, once the label size has been chosen
and the blank label is on screen, click the Standard RFID button on
the lower left to display all RFID options. Simply drag the desired
data format to the area around the label. Double click on the icon
that appears to set the data or data source.
Note on Encoding Errors:
During printing from any application if an
encoding error appears, the PTStatus monitor will appear and display
an error. It will try to encode again after making calibration adjust-
ments. If it fails to encode, by default a series of XXXXs will auto-
matically be printed on the label to indicate that it was not encoded
properly. The job will then continue.


