


4
PRESTIGIO P178
ENG
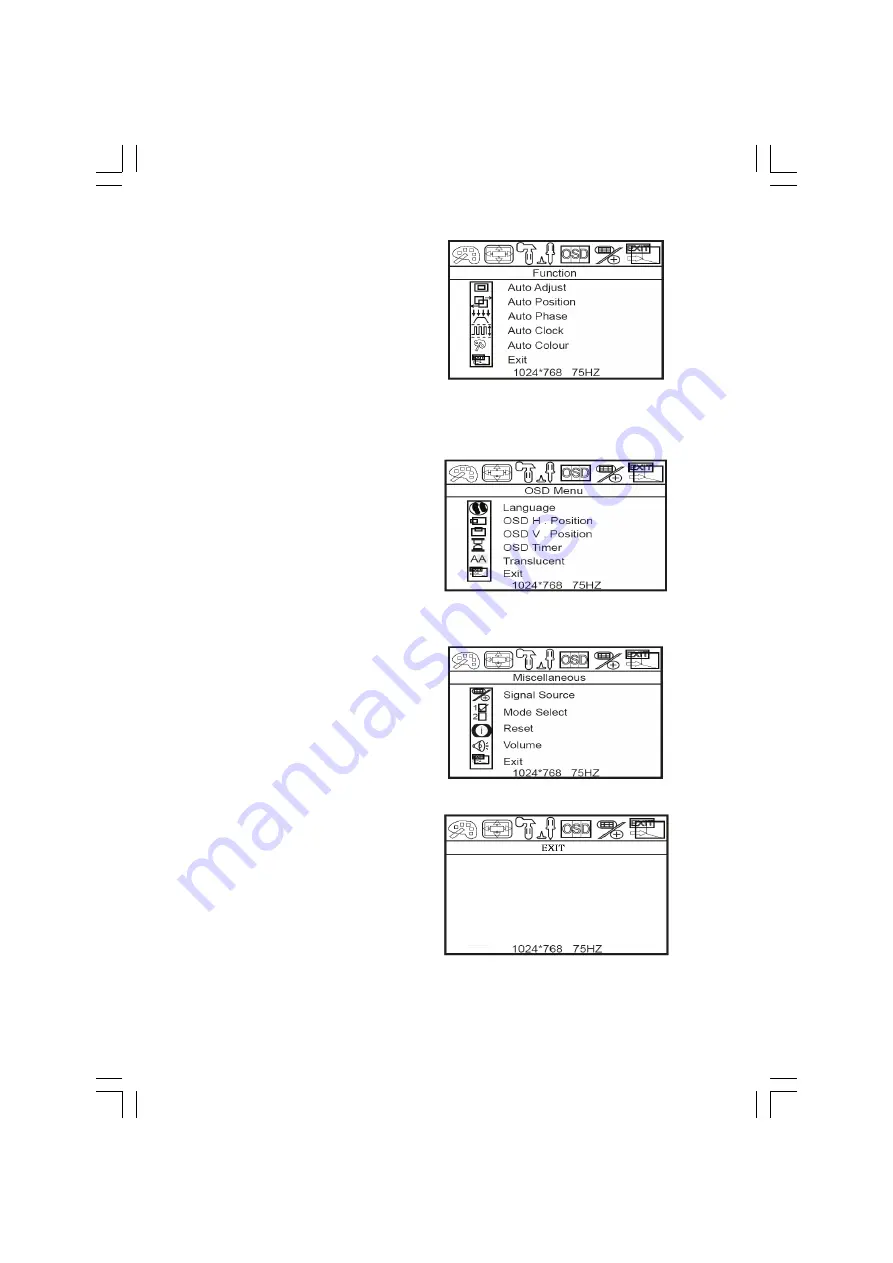
Function
Auto Adjust : Automatically adjusts H-Position, V-Position,
Pixel Clock and Phase for an optimal image
Auto Position : Automatically adjusts H-Position, V-Posi-
tion for an optimal image
Auto Phase : Automatically adjusts Phase for an optimal
image
Auto clock : Automatically adjusts Pixel Clock for an opti-
mal image
Auto Colour : Automatically adjusts color for an optimal image
Exit : To the main menu
OSD Menu
Language : Change the OSD language, and press “Menu” to
executing
OSD H-Position : Adjusts the OSD H-position. Press \/ or /\ to
change the position
OSD V-Position : Adjusts the OSD V-position. Press \/ or /\ to
change the position
OSD Timer : Adjusts the OSD table a retention period. Press
\/ or /\ to change
Translucent : Adjust the OSD transparency
Exit : To the main menu
Miscellaneous
Signal Source : Press \/ or /\ to adjust the input source (VGA
or DVI)
Mode Select : Press \/ or /\ to select the mode
Reset : Restore the default value(factory mode). Press “Menu
Key” to executing
Press \/ or /\ to adjust the volume setting
Exit : To the main menu
EXIT
Exit : Exit the main menu


