background image


www.precisionpower.com

 / For more info please contact 

[email protected]

  Features and Specifications are subject to 

change 
 

P 7 


In order to familiarize yourself with the software first, do not connect any  
amplifiers to your DSP outputs until you understand each object. 
Get to know the software first, then start playing audio…  
 

1.


The first step consists in downloading the following required frameworks: 

o


Microsoft• ®  .

NET framework v3.5

 or up (PC only) 

o


Latest version of 

Adobe AIR environment

 (Mac/Win) 

o


Latest version of 

Adobe Flash player

 (Mac/Win) 


2.


Double click on the .air file to install the plug-in.  

                 Once the configuration finalized, the plug-in will automatically boot up.  

 
3.


You can now connect the Synthesis board to one of the USB 2.0 port of your PC. The device will be recognized as a HID 
driver and does not require any driver installation. 


4.


The next step is to gain control of the board by synchronizing the PC configuration to the board. Please read carefully the 
following section to understand how this process works.  


By default, all plug-ins start in offline mode, meaning changes made on the user interface do not affect your configuration. It is 
designed in such a way that you can visually confirm your configuration before loading it to the DEQ.8.  
You should also know that plug-ins can only synchronize from PC to board and are not able to “retrieve” a configuration from the kit. 

In other words, make sure your favorite configuration is saved on your PC if you ever decide to change the configuration.  
 

5.


Once the configuration checked, the next step is to “Connect & Synchronize” by clicking on the Green button on the top 
right. Note that this button is ONLY active in an unconnected mode. Once connected, it will disappear since no more 

synchronization will be required from there on.  


a) Synchronize

: With this option, the current plug-in configuration will be loaded/flashed to the DEQ.8  and your plug-in turned to “On-

line” mode. Warning that it will overwrite whatever configuration was previously loaded on the board. If you’d like to load a different 

configuration, click cancel and go to the settings tab to load one of your previously saved configurations. 
 

b) 

Restore to Default: 


With this option, the software application resets all settings back to factory default and reload the firmware. 

Warning that all current settings will be lost and there are no ways to be able to recover them. 

 
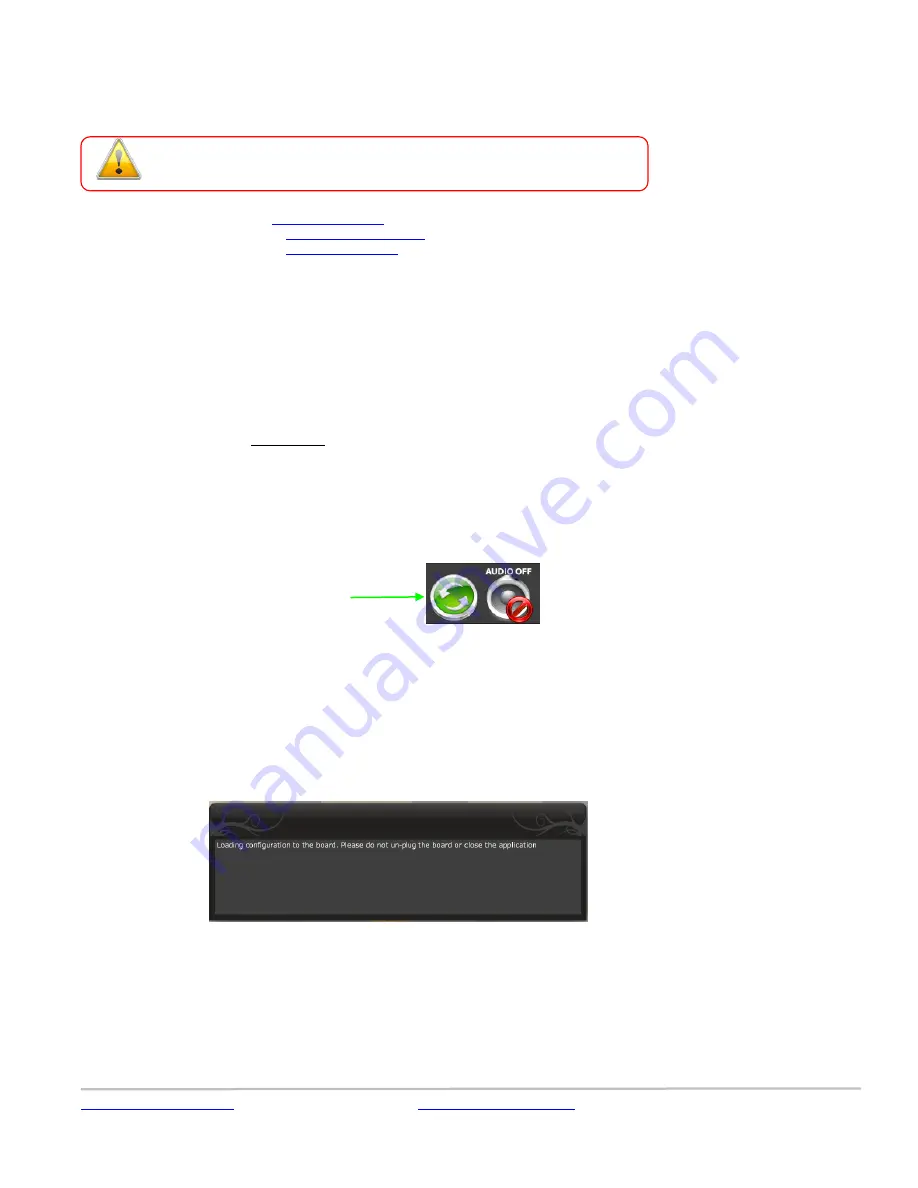
In either synchronization steps, the following dialog box will pop-up. It’s very important that you do not un-plug the board in the 
middle of a firmware upgrades or you may corrupt the configuration. 


Once the board fully synchronized, a “Successful connection to the board” message pops up. From this point on, all changes to the 
configuration will be real time and live, therefore giving you the chance to hear the effect of your equalization, filtering, tuning… 

 
Let’s move on to the architecture of the software to understand how to setup your system.  
 

Connect & Synchronize 

Содержание DEQ.8

Страница 1: ...www precisionpower com For more info please contact tech precisionpower com Features and Specifications are subject to change P 1 DEQ 8 USER MANUAL www precisionpower com...

Страница 2: ...3 Plug in Architecture 8 3 1 1 Main Page 8 3 1 2 Preset Memory selection 8 3 1 3 Input Tab 8 3 2 Matrix Tab 9 3 3 Output Tab 10 3 3 1 Custom Label 10 3 3 2 Monitor 10 3 3 3 Output volume 10 3 3 4 Cro...

Страница 3: ...s are also automatically saved to both the DSP and the Flash for long term memory Once happy with your configuration you can disconnect the board from your computer since from this point on the audio...

Страница 4: ...uts of the DSP loudspeakers other output sources Doing so will insure that you have the software correctly configured and won t cause any damage to your system Once again Precisionpower can not be res...

Страница 5: ...rmation take a look underneath the PCB for the silkscreen labels Top corner of the PCB REM IN The remote IN input will TURN ON OFF the Synthesis above a threshold of 4V It can be a useful feature for...

Страница 6: ...ectivity on your DSP processor Signal Max input Max output Maximum Input signal 0dBFS RCA connector 2Vrms 8 dBu or 0 9Vrms High Level Inputs 4Vrms 14 dBu with an unbalanced signal 8Vrms with a balance...

Страница 7: ...from the kit In other words make sure your favorite configuration is saved on your PC if you ever decide to change the configuration 5 Once the configuration checked the next step is to Connect Synch...

Страница 8: ...latform are saved Placed at the top of the user interface the use of configurations couldn t be easier Simply toggle between configurations by clicking on the config button The currently selected conf...

Страница 9: ...uts And the status ON OFF of the buttons at the crosspoint of rows inputs columns outputs will define the routing and mixing of the audio to one of 8 outputs The following configuration shows how the...

Страница 10: ...nel on a RMS meter Note that the information is shown in dBFS 3 3 3 Output volume A fader control for 0 to 70dB digital gain control Similar to the input volume control 3 3 4 Crossover Controls for th...

Страница 11: ...able Disable the filter Make sure to bypass the filter if you do not need the filter enabled Linking feature allows you to link real time the settings of two crossover windows a handy feature for ster...

Страница 12: ...igh Shelf Bypass Disables the equalization but doesn t reset the settings A handy tool to check the influence of equalization on your system without resetting to zero Note that the bypass button is pe...

Страница 13: ...to save the file anywhere on your PC as a xml format All 4 memory preset configurations will be saved 3 4 3 Restore Factory default Use this feature to restore the board back to factory default Warni...

Страница 14: ...signal Confirm that master mute is disabled 10 3 Audio on input RMS meters but no audio on outputs Make sure the matrix mixer is set to send audio to the output channels in a mixer plug in Check the...

Отзывы: