PR Lighting XR480 BEAM Скачать руководство пользователя страница 9

9/28 

5.


SETUP AND CONFIGURATION   

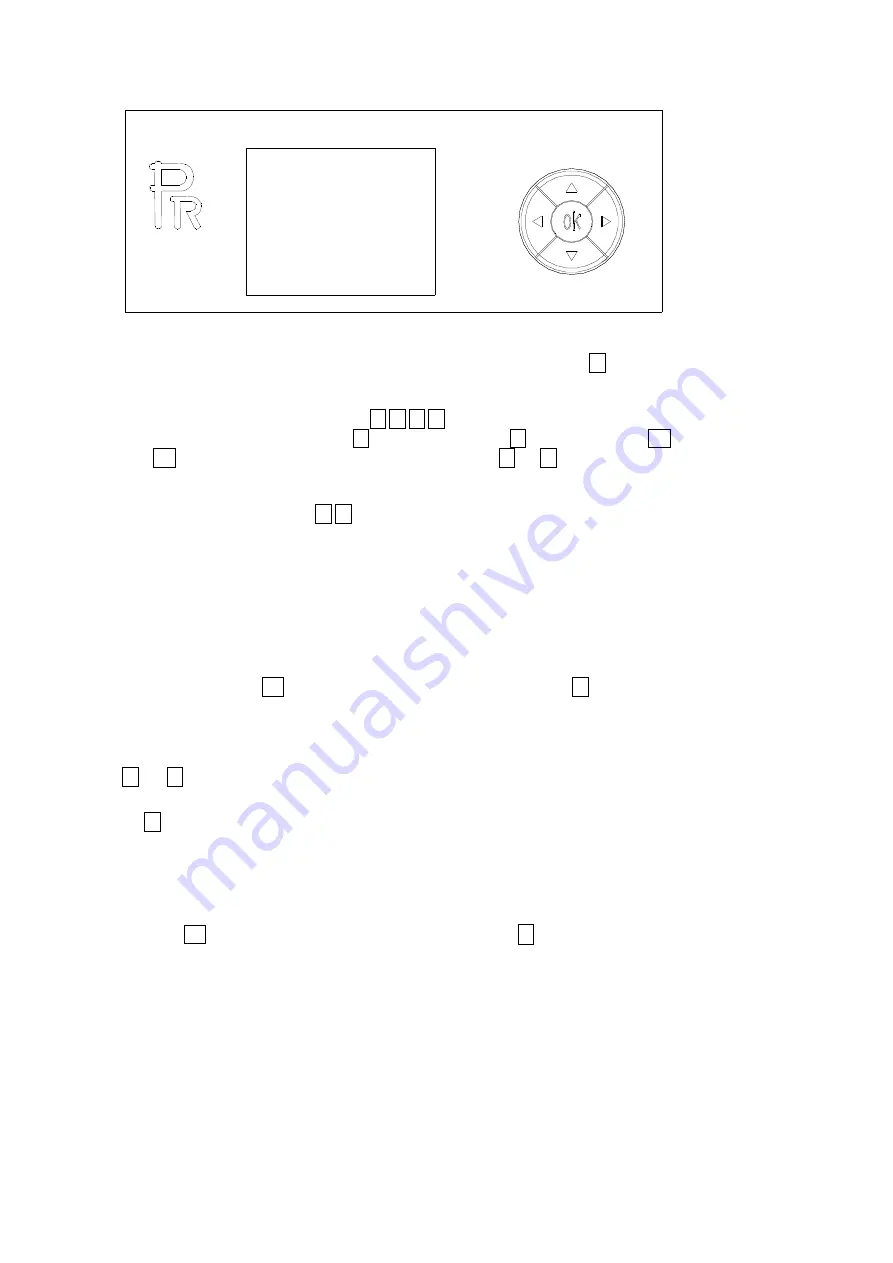
FRONT PANEL OPERATION


The projector configuration can be set conveniently via push buttons and color touch screen.   
To browse through or change the projector 

s settings, touch the white area of the touch screen or press OK button for more than 

3s(Only powered by the battery, pressing the OK button) to unlock the screen , then press 

 key to enter the projector 

s function 

menus. Each main menu has its sub-menus. And each menu stands for special function. For the details, please see the following 6

th


point 

Operation Menu

.: 

1.


At the page to set the fixture

s functions, press 

,

,

,

 keys 

or their respective icons to select the functions desired.


2.


While at 2

nd

,3

rd

 and 4

th

 level of menus, the


key is for ESCAPE, but 

 key won

t work, and 

OK

 key is used for ENTER. 

Press 

OK 

key to save the changes or enter into the sub menus. Press 

or   


  keys to change the numbers(minus or plus). 

Or touch the option needed for change. 
Shortcut keys: After the Function Menu is entered into, there are all options for the functions on the top of the screen. On the 
right there are 4 shortcut keys like   

,

 Lamp Control and English/Chinese. 


 DMX START ADDRESS

 (If the projector has the function)


Each projector must be given a DMX start address so that the correct projector responds to the correct control signals. This DMX start 

address is the channel number from which the projector starts to 

listen

 to the digital control information being sent out from the 

controller. The projector has 3DMX modes. There are standard mode ,short mode and extended mode. For example standard mode 

has  26

  c

hannels,  so  set  the  No.  1  projector

s  address  001,  No.  2  projector

s  address  027,  No.  3  projector

s  address  053,No.  4 

projector

s address 079, and so on. 

Switch on the Projector . Press OK key more than 3 seconds to unlock panel, then press 

 key to enter into the fixture

s operation 

menus.


Select DMX Address icon and press OK key or touch the icon directly on the display and select DMX address at the 2

nd

 level menu 

for the address setting. 

Press


  or 


  keys or touch

<

>displayed for the DMX address desired. 

Press OK key to confirm. 

Press the

 key to go back to the upper level menu. 

DMX WIRELESS CONTROL


  The projector has wireless control function with wireless receiver module and antenna for remote control. 

  The setup of it is below: 

1. Press    OK for more than 3s to unlock the control panel, then press 

 key to enter into the operation menu and select 

Config Settings

.


2. Select 

Wireless First

 or 

Wireless Only

 from the menu of 

Signal Select

Only after the projector is linked with a transmitter, can it receive wireless signal sent by the transmitter. If unlinking it, Press 

Enter


for  the  menu of Un-link Wireless  under  the  upper  level  menu of  Config Settigns , then the  fixture is  unlinked  with  the  wireless 

transmitter. 

STAND-ALONE MODE 


Operate the projector without connecting with a controller, enable the master mode through the operation panel, the 
projector will run in Stand-Alone mode automatically.   

MASTER/SLAVE MODE   


Many projectors can run synchronously in the Master/Slave mode by linking them with each other. First, 
connect the first fixture

s DMX output to the second fixture

s DMX input using XLR-XLR control cable and then connect the second 

Содержание XR480 BEAM

Страница 1: ...ual contains important information about the safe installation and use of a projector Please read and follow these instructions carefully and keep the manual in a safe place for future reference PR LI...

Страница 2: ...male Safetycord 1 Pc User manual 1 Pc clamps 2 Pcs Optional Please note that as part of our ongoing commitment to continuous product development specifications are subject to change without notice Whi...

Страница 3: ...he projector and do not open covers for maintenance by yourself Don t look straightly into the light sources especially for epileptics otherwise eyes will be burned Do not connect this device to any t...

Страница 4: ...f When it happens please check if the fans run normally or fan shield is blocked by dust After the issue is solved restart the projector The accumulation of oil smoke and dust on the lens will comprom...

Страница 5: ...t or grease from the lenses The project image appears to have a halo Carefully clean the lamp optical lenses and other components Heavily Defective Beam Check if lens are in good condition not cracked...

Страница 6: ...the structure that you are going to mount the projector to is secure and strong enough to support the weight of a XR 1000 Framing WARNING The projector MUSTbe lifted or carried by the HANDLES instead...

Страница 7: ...s DMX output to the second fixture s DMX input and connect the rest fixtures in the same way Eventually connect the last fixture s DMX output to a DMX terminator as shown in the figure below DMXTERMIN...

Страница 8: ...in plug its power wires Don t touch the internal surface of the reflector and the burner of the lamp with bare hands so as not to impair the beam output While lamp s installation do not damage the met...

Страница 9: ...ode short mode and extended mode For example standard mode has 26 channels so set the No 1 projector s address 001 No 2 projector s address 027 No 3 projector s address 053 No 4 projector s address 07...

Страница 10: ...to the third fixture s DMX input and so on until all projector are connected in this way Eventually connect the Set 1st projector as the master and others are Slaves Start Addresses ofall Slaves are...

Страница 11: ...Select XLROnly XLRFirst WirelessOnly WirelessFirst WirelessIn XLR Out LossofDMX Normaltimeout Hold LastValue DisplayConfig DisplayMode OffAfterDelay OnAlways DisplayInvert InvertOFF InvertON InvertAut...

Страница 12: ...ctive maximum speeds TimeMode means bothPan and Tilt will arrive at designated pointatthesame time It s advised TimeModebe used iftheprojector runscircles orin obliquelines DimmerInvert OFF ON CYM Inv...

Страница 13: ...an2 xxxon off BasicFan xxxon off X Axis XXX Y Axis XXX Z Axis XXX StrobeXXX DimmerXXX DimmerFineXXX CYM Macro XXX Cyan XXX Cyan FineXXX YellowXXX YellowFine XXX MagentaXXX MagentaFineXXX ColorWheelXXX...

Страница 14: ...s m Linkto Step XXX EditStaticScene StrobeXXX DimmerXXX DimmerFineXXX CYM Macro XXX Cyan XXX Cyan FineXXX YellowXXX YellowFine XXX MagentaXXX MagentaFineXXX ColorWheelXXX ColorWheelFineXXX Fixed Gobo...

Страница 15: ...Pan TiltSpeed Time XXX ControlFunction XXX Init UserMemory ResetUserMemory1 ResetUserMemory ConfirmorCancel ResetUserMemory2 ResetUserMemory ConfirmorCancel ResetStaticScene ResetStaticScene Confirmor...

Страница 16: ...Fine 000 255 Cyan in 16 Bit 5 6 7 Yellow 000 255 Yellow linear 0 100 8 Yellow Fine 000 255 Yellow in 16 Bit 6 7 9 Magenta 000 255 Magenta linear 0 100 10 Magenta Fine 000 255 Magenta in 16 Bit 7 8 11...

Страница 17: ...3 Shake effect 5 fromslow to fast 204 207 Shake effect 6 fromslow to fast 208 211 Shake effect 7 fromslow to fast 212 215 Shake effect 8 fromslow to fast 216 219 Shake effect 9 fromslow to fast 220 22...

Страница 18: ...ion Clockwise fromslow to fast 192 Stop 193 255 Rotation Anti Clockwisefromslowtofast 13 16 19 Prism2 000 016 White 017 255 Prism 14 17 20 Prism2 Rotation 000 128 Prism Indexing via rotation 128 Stop...

Страница 19: ...Reset 150 159 Color System Reset 160 169 Gobo Wheels Reset 170 179 Dimmer Shutter Reset 180 189 Frost Focus Prism Reset 190 199 Reserved 200 209 Total Reset 210 229 Reserved 230 239 Lamp Off 240 255 R...

Страница 20: ...s and motors are normal Check if wiring positioning parts and motors are normal Check if wiring positioning parts and motors are normal Check if wiring positioning parts and motors are normal Check if...

Страница 21: ...Open Rainbow effect with bi directional and variable speeds Stepping linear color changing Color 9 No Code No Color 1 092550001A Red 2 092550002A Light Green 3 092550003A Blue 4 092550004A Cyan 5 092...

Страница 22: ...2 P N 090071036 4 Dots in a line P N 090071037 DoubleT Gobo6 Gobo7 PRISM 2Pcs of independent prisms STD setup 8 facet and 16 circular liner gradient prisms 22 28 directionally rotatable and shakable a...

Страница 23: ...hannels in short mode 26channels in standard mode and 29channels in extended mode Self test mode OTHER FUNCTIONS Adjustable Pan Tilt speed Lamp s and fixture s hours displayed Modular Structure for ea...

Страница 24: ...24 28 SIZES LIGHTOUTPUT 601 410 544 392 395 338...

Страница 25: ...25 28 9 CIRCUITDIAGRAMAND PCB CONNECTIONS CIRCUITDIAGRAM...

Страница 26: ...oard 21 Signal output 11 Fan for Power Supplyand ballast 22 Signal input 8 Channel Slave1 1 M1 1 Motor 12 24VPower Input 2 M1 2 Motor 13 3 M1 3 Motor 14 HALL2 7 Magnet Sensor 4 M1 4 Motor 15 HALL2 6 M...

Страница 27: ...her 2 in the base TURBO FAN 030060102 3 Lamp fan1 and 2 CMYfan FAN 030060089 1 Base TURBO FAN 030060098 1 Ceramic Stand Fan LAMPBALLAST 040070127 1 LAMP 100070041 1 ROTATINGGOBOWHEEL ACCESSORY 1201107...

Страница 28: ...2 China TEL 86 20 3995 2888 PR lighting will try its best to offer accurate and overall information about a product s technical data Any changes won t be notified if necessary Patented Products Counte...

Отзывы: