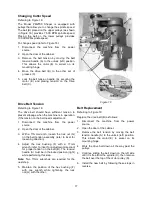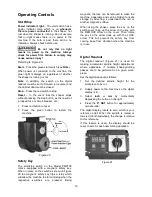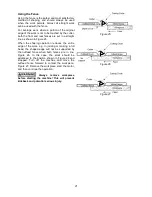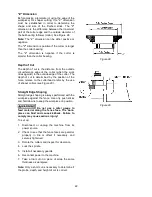
25
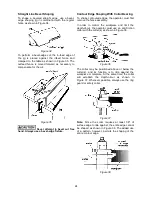
If the workpiece is to be shaped all around the
perimeter, hold it firmly and push the work straight
into the cutter until the depth of cut is established
by the collar as shown in Figure 39. Continue to
feed the work so that the point of contact on the
edge is always 90 degrees to the collar (or directly
in line with the cutter edge) and held firmly against
it.
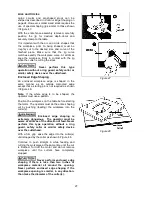
When the workpiece is not contoured all around,
start the cut as shown in Figure 45. With this
operation, the workpiece is positioned against the
starter pin and the end swung into place to start
the cut. When the cut has begun and the
workpiece firmly against the collar, swing the stock
away from the pin and proceed with cut.
Freehand shaping is extremely
dangerous. The operator must be aware at all
times of the proximity of his hands to the
cutter. Hands must never come closer than 12
inches to the cutter without the proper guard or
similar safety device over the cutterhead.
Shaping With Collars
When shaping with collars and starting pin, always
adhere to the following rules for good work and
safe operation:
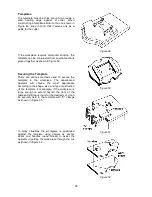
The collar must have sufficient bearing surface, as
shown in Figure 40. Also, the stock must be fairly
heavy in proportion to the cut being made. Under
no circumstances should a short, light workpiece
be shaped against the collars, as in Figure 41.
Note:
The edge of the work to be shaped must be
smooth. Any irregularity on the surface which rides
against the collar will be duplicated on the molded
surface.
Collars must be smooth and free from pitch and
other substances.
Position of Collars
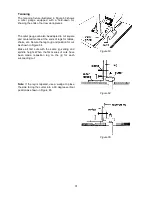
Collars may be used above, below or between
cutterheads.
1. When the collar is used below the cutter, as
shown in Figure 42, the progress of the cut can
be seen throughout the operation. However,
any accidental lifting of the work will gouge the
wood and ruin the workpiece.
2. When the collar is used above the cutter, as
shown in Figure 43, the cut cannot be seen.
But this method offers an advantage in that the
cut is not affected by slight variations in the
thickness of the stock. Also, accidental lifting of
the workpiece will not gouge the workpiece;
simply repeat the operation to correct the
mistake.
Figure 39
Figure 40
Figure 41
Figure 42
Figure 43
Содержание 2700
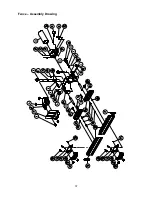
Страница 35: ...35 Table Assembly Drawing ...
Страница 37: ...37 Fence Assembly Drawing ...
Страница 41: ...41 Elevator Assembly Drawing ...
Страница 43: ...43 Caster Assembly Drawing ...
Страница 45: ...45 Spindle Assembly Drawing 1 1 4 Spindle 3 4 Spindle 1 Spindle 1 2 Spindle 30mm Spindle ...
Страница 48: ...48 Cabinet and Base ...


