background image


6

V. PC SETUP AND SYSTEM INITIATION 

PC setup Procedure:   
1.) Connect the standard RS232 cable to the DB9 port.   
2.) Open the PC setup program. 
3.) Select the correct COM port for communication. 
4.) Click “OK” to start the program 
5.) Power on the device. 

Note that, if the connection fails, please check the cable connection is secured correctly. 

 
A. LOGIN dialog window 
Connect UNIT DB9 port to the PC serial port with a standard serial cable. Select the COM port, and click 
“OK”. 


Note that: it is necessary to power on the device soon after starting the PC setup program.   
PC setup program will detect the hardware for 60 seconds. If no hardware is detected, it will exit.   
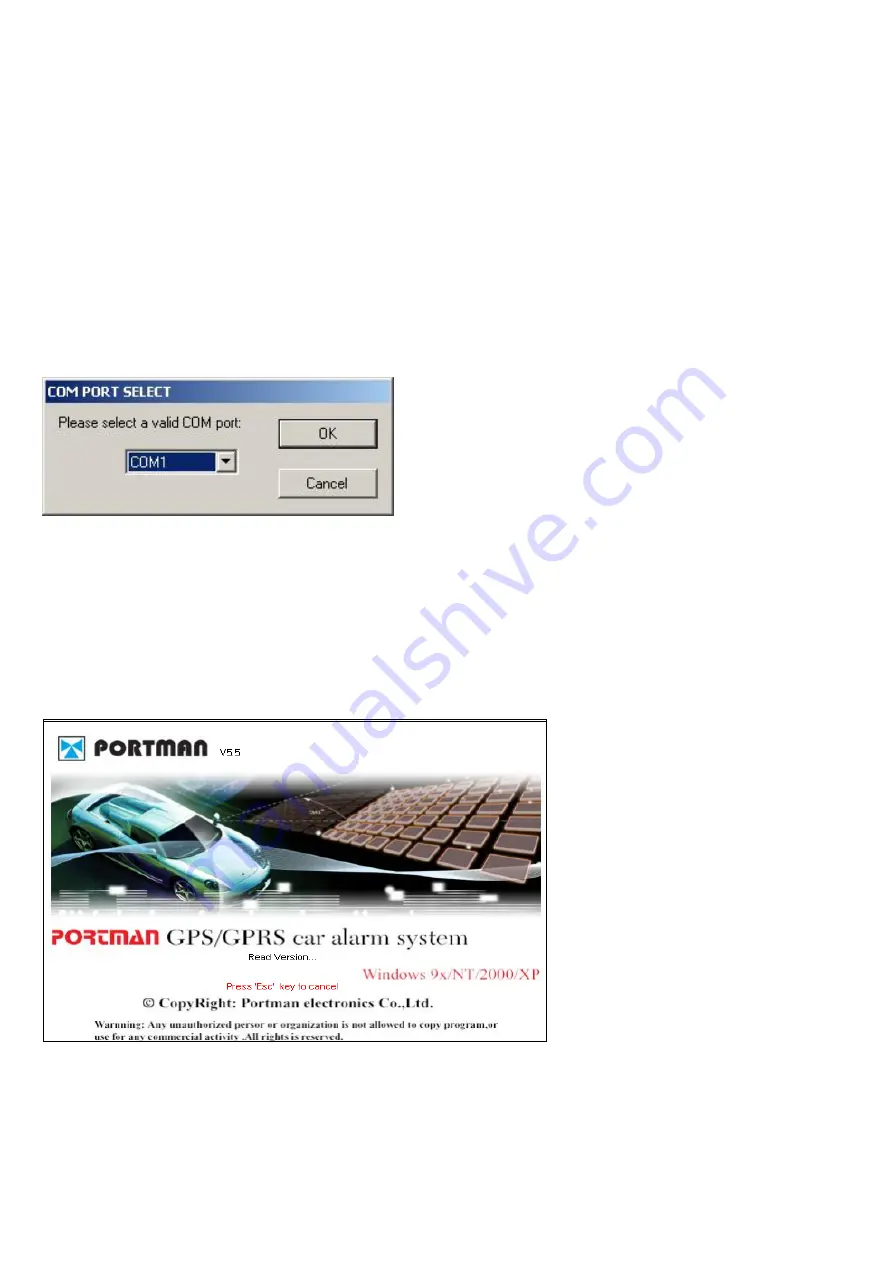
During the opening up screen shown as below, user can press “Esc” key to terminate the program.   
 
B. Version No. Checking 
The below interface will last until correct UNIT Version No. is checked. (You should run this program before 
turn on power of UNIT)   


Содержание GT2000NP

Страница 1: ...OPERATION MANUAL GPS GPRS PERSONAL TRACKING GT2000NP GT2500NP ...

Страница 2: ... by PC setup program in order to make communication with the remote server call center There are three main sections that allow users to program the device 1 User detail Device ID server IP and port GPRS APN 2 Geo fence 5 circular Geo fence 3 Report Time Distance speed Low battery wakeup A unique help report user can press the Button 3 for 2 seconds after the unit power on The unit will send the h...

Страница 3: ...th valid GPRS connection It will stay continuously on when it is in GSM mode It will stay off if there is no GSM reception GPS indicator bottom LED LED is GREEN when the unit has acquired a valid GPS signal and it will flash when the unit is searching GPS signal Note that the GREEN LED s indication will not be valid until the system goes to the working mode normally 30 seconds after power on II BA...

Страница 4: ...tton once Power LED flash 1time 3sec Power ON Power off Power LED normal is green if low power then change to red Low power Press power switch button for 3sec Power LED off Power OFF Power on If charging then power LED is red if charge ok then power LED change to green Charging Press button1 once Power LED change to orange Answer the coming call When an incoming call is received ...

Страница 5: ...or in communication or Dialing out When the unit enters Taxi mode the Power LED will flash 3 times 3sec and unit will vibrate once every minute Put the unit into Taxi mode When in Taxi mode the unit will automatically vibrate every one minute When the unit vibrates at these intervals the user must press button2 within one minute each time if not the unit will automatically send an SOS report to th...

Страница 6: ... chirp once If dialing out to a number fails the unit will chirp twice Auto dialing out the second telephone No of preset by PC setup No incoming call is received Press button3 once then press button3 once within 2sec Power LED change to orange and flash quickly When dialing out the unit will chirp once If dialing out to a number fails the unit will chirp twice Auto dialing out the third telephone...

Страница 7: ...indow Connect UNIT DB9 port to the PC serial port with a standard serial cable Select the COM port and click OK Note that it is necessary to power on the device soon after starting the PC setup program PC setup program will detect the hardware for 60 seconds If no hardware is detected it will exit During the opening up screen shown as below user can press Esc key to terminate the program B Version...

Страница 8: ...for the device Set Access Point Name APN User Name Password The maximum length of the APN User name and Password is 49 characters TCP UDP address and Port number of alarm center being set UNIT will send message to these address Note that either TCP or UDP should be selected Note the IP address and port must input correctly otherwise it will cause fail to make a call ...

Страница 9: ...ialize button clear all data in UNIT Request All read out the whole existing setting from GT2000NP GT2500NP Request read out the setting in the current page Apply transfer the setting to GT2000NP GT2500NP in the current pages Apply All transfer the whole setting to GT2000NP GT2500NP Load load the saved configuration files Save save the current configuration setting to a file Exit button exit PC Se...

Страница 10: ...rmal mode and second is the Power saving mode In normal mode the GPS will be always activated if GT2000NP GT2500NP is in moving state However if in Power saving mode GT2000NP GT2500NP will turn off the GPS power if there is no report to send Note that user can configure the wakeup report if the device is in stop not moving state Normal mode report will be summarized as 1 Fixed time report Paramete...

Страница 11: ...in When Moving section Power saving mode While in Power saving mode GT2000NP GT2500NP will cut off the GPS power if there is no report to send Report configuration will be listed as the fixed time report while moving and wakeup report or no GPS wakeup report while stop In this mode in order to save power unit will cut power of GPS only wake up GPS at the time of send report GPRS dial up procedure ...

Страница 12: ...set to send short keep alive report to the server in order to prevent the disconnection from the mobile service provider Send reports after a successful keep alive ACK Parameters On Off If you select this function all the reports will only be sent out after a successful keep alive ACK So if your keep alive time is shorter then select this function will be OK This function is very useful while usin...

Страница 13: ...shed by the tilt angle of the device If the unit tilted more than the degree set here GT2000NP GT2500NP will be in moving mode Otherwise it will be in stop mode The smaller the parameter of degree for the sensor set in pc setup is the higher the sensitivity is otherwise the result is the opposite You can select the Acceleration sensor trigger report to be sent or not while the unit is moved Select...

Страница 14: ...tocol NMEA0183 Baud Rate 4800 Signal L1 1575 42 MHz Accuracy 5 meters 50 Velocity 0 1 m sec Reacquisition 0 1 sec average Snap Start 1 sec average Hot Start 8 sec Warm Start 38 sec Cold Start 42 sec Antenna Type Embedded Omni directional antenna IO Connection Five Buttons One Power button 3 speed dialing buttons 1 volume adjust button Communication GPRS SMS RS232 Environmental Operating Temperatur...

Страница 15: ...e interference by one or more of the following measures Reorient or relocate the receiving antenna Increase the separation between the equipment and receiver Connect the equipment into an outlet on a circuit different from that to which the receiver is connected Consult the dealer or an experienced radio TV technician for help You are cautioned that changes or modifications not expressly approved ...

Отзывы: